Tag Archive | AYOS 2013

Schnibbles Recap for 2013-2014

CAN YOU FEEL IT???

It is almost time for the new Schnibbles year to start again!  Visit the blogs of Sinta and Sherri later today to see the announcement of the first pattern that we will do for this new season!  It will be called

AYOS and a Little  Bit More

Last year, I tried to participate as much as possible – but only got through a few of them.  I’m hoping for more time this year and very excited to play along.

Here is a quick recap of my successes from the past series.  I completed four quilt tops, but only got two actually quilted:

HAT TRICK with Lario Collection by 3 Sisters

image

DULCINEA with Indigo Crossing Collection by Minick & Simpson

Dulcinea June AYOS 2013

LINCOLN with BOHO Collection by Urban Chiks (added the borders and then quilted it myself – gave away as a baby gift)


Another AYOS Done!  Lincoln!!

Another AYOS Done! Lincoln!!

IMG01091-20130915-0948

CLOVER with Posh Pumpkins Collection by Sandy Gervais (added the borders and prairie points.  I had it quilted last month and given to a friend and co-worker who just moved away)

photo 7
Actually, looking back – I’m quite happy with what I got done.  I love all of them, and am now determined to pull out those other two I haven’t quilted yet and get them D.O.N.E.!

Are you playing along this year??

All the best for a quilty week!

Jennifer

Fall Cleaning and Organizing

There’s nothing like getting back to a school routine to make you want to organize the kids rooms and really clean them inside and out.  That’s what I’ve been working on mostly for the past two weeks.  The hideousness of my son’s room was too much to share on a public website.  But I’m happy to say that we are 90% done.  That excludes the decorating effects.  That is just picking up the accumulated crap.  We have about 4 big bins of toys to donate, I’ve thrown out at least three full trash bags and we still have to go through his clothes.

Anyway – he loves his room again, and that is priceless for me.  Gets him out of my sewing area with his snacks and drinks and shoes and sand-filled socks from the playground, etc…. WIN-WIN

Next up – my daughter’s room.  We are pulling up the carpet in her room, and exposing the fairly decent hardwood floors in there also.  My intention is to re-carpet again – but I’m waiting to decide after I see it all cleared out.  Again, I want her to love to be in her room again for all the reasons pointed out above.

I did get a couple blocks made to finish up the series of the 2013 Designer’s Mystery BOM quilt.

Block 12 is on the left.


photo 1


The great thing about this block is even though I may have cut the 1/4′ indention a bit close on some of the sides, when it is pieced into the quilt, this block is very forgiving.  You won’t be able to tell.

photo 2


I also got back my AYOS Clover quilt this past week.  It is going to a friend and co-worker that just recently had to return to Colombia.  She had been in the states for 6 years, but her application was denied to stay longer.  She hopes to reapply again in a year and come back.  We have an office branch in Colombia as well, so we still work together – but it is now over phone/email and Skype webcams.

photo 7

The times I visited her apartment, I noticed that she had a preference to autumn colors.  I hope she likes this lap quilt.

Linh at LiMa Sews did the quilting for me and it turned out great.  She had no problem with my border of prairie points.

photo 8

Can you see the oak leaf design she worked into the main part of the quilt?

photo 9


I love the back too – lots of pretty polka dots!

photo 10

I have to get the binding on before Monday if I want to send it for free with my boss on his trip to Colombia next week.  Better get started!

Hope you have time for some quilty adventures this weekend.  Have fun and thanks for stopping by to visit!


Jennifer

I want to play too!

Some of my favorite bloggers are doing a sew along project, starting now, using the Midwinter Reds collection by Minick & Simpson.  The pattern they are all doing is Nantucket (also by M&S).  I had already decided that I loved, loved, loved this fabric and had also purchased this pattern.  Hence – I am inviting myself to sew along with them and see how well I can keep up!  Click on my link to visit Nicole over at Sister’s Choice Quilts to read more about the sew along.  Or click on this link to go over to Thelma at Cupcakes ‘n Daisies blog to read her post on it.  Sinta, at Pink Pincushion hasn’t blogged yet on the sew along, look for it this week.  And finally, there is Lisa over at Stashmaster and you can read her blog post too!  Lots of girls doing the same quilt.  Wonder how different they will all look when they are done?

Nantucket Pattern

The pattern calls for 12 red fat quarters, 9 of which are featured as stars in the center.  Here are my 9 choices for the stars:

Nantucket Stars FQs

The lightest one will be in the center, similar to the pattern design.

Here is my FQ bundle, all spread out.  Once I take off that Moda Ribbon – it is a good sign I’ll actually get started on the quilt project..

Midwinter Reds FQ Bundle

I had also thought of doing this pattern, that I got free as an insert to a quilting magazine subscription solicitation… I put it to a vote and Nantucket won out.  When I asked why my husband voted for Nantucket – he said because “it looks more difficult”.  Thanks Sweetie.  I like the size of Nantucket more anyway though – I want to be able to use this as a lap quilt when I’m done.

Midwinter Optional pattern

BUT FIRST!

I had to finish up my Clover quilt top.  I completed the basic pattern for the parade on Nov 1st … but I already had intentions on adding borders to make it larger.  The pattern triangles seemed to call out for something similar in the borders – so I decided to try prairie points for the first time.  I think it echos the design elements pretty well.  I have them just on the top and bottom right now and still deciding if I’m going to do the sides.  I think it looks good like this.  What do you think?

Clover Borders Grass

I need to do the borders on the sides – don’t I?  I know the answer. … I’m just ready to move on to my new projects…  I love this result though.

Clover Prairie Points Clover Prairie Points 3

Clover Prairie Points 1

So – are you doing a Midwinter Red quilt project now?  Perfect for Christmas, you know!

Thanks for visiting today.  And THANK YOU to all the sweet readers who left me a comment on the Clover quilt.  I appreciate it very much!

Jennifer

Witching Hour – Made It!!

I have 15 minutes to spare!  Clover quilt flimsy is DONE!  D.O.N.E.  That was a tough one for me.  No actual blocks to put together, just square after square after square set on a diagonal.  I’m happy to have the quilt though and I will be adding some borders to it before I FMQ it myself.  It’s done just in time for the Thanksgiving holidays.

Here’s my reveal for the purposes of the AYOS parade tomorrow:

Clover Flimsy

Fabric collection is mostly “Posh Pumpkins” by Sandy Gervais, but I had a charm pack of “Give Thanks” by Deb Strain that went into the four patch units.

I haven’t measured it yet.  It is something like 36″ square.  I literally just trimmed the corners down and put it back up (barely) on my design wall so I could snap some pictures.

Here’s my favorite block in the set, I think because of the brown medallion fabric:

Clover Block 1

But I also like this one, because of the polka dot fabric.  I bought lots more of that fabric – when I thought I was going to make this thing bigger…

Clover Block 2


This is my fourth completed AYOS project for this year.  They are fun to do, but this one stressed me out.  I’ll be skipping on the November AYOS because of another sew along I want to join and to get caught up on my BOM projects that are already underway and one that just started this month (Hampton Ridge).

I look forward to seeing some other Clovers tomorrow in the AYOS parade hosted by Sinta and Sherri.  I need some ideas on how to quilt this top.

Thanks for stopping by and I hope you and your family had a safe and happy Halloween tonight!

Jennifer

Quick update on Clover

Grabbed a couple of quick pics this morning on my way out.  I am seeing a light.  Only about 20 more 4 patch units to make and place on the design wall, then I can finish the assembly.  I have my strips sewn, just need to slice, dice and resew to make the units.  Plenty of side triangles left to finish as well.  The colors in this picture came out kind of neon for some reason.  Looks much better in person.

Clover Bits


Here’s the updated design wall.  A few nights ago, I decided to get some momentum going and did some chain piecing of all the squares except 4 patch units.  The rows that have the end setting triangles are already sewn together.  The other rows are just stuck up there for now.  A few more holes, rearranging and it should be a fast finish after that!

Clover Wall Almost Done

I had already talked myself out of making the 5×5 setting, because it is just not as fun as I wanted it to be.  However, I have the matching pumpkin panel, so maybe just a single block with a pumpkin and two others to make this a 3×4 setting and with borders, it could be a good lap quilt.  I’ll have to check out that math later tonight.  Stay tuned!

Have a great weekend!

Jennifer

Stay strong!

Worked on my Clover quilt for AYOS this week, but I don’t have much to show (or so it seems to me).  And I TOTALLY get why she named the quilt pattern CLOVER.  See below…

I started assembling a few rows together so I could get some instant gratification and see how much the layout would shrink as I went along.  Assembling each individual block together and on point isn’t my favorite activity right now.  I spent 3 hours last night putting together the first four rows while trying to keep them square (or triangle if you prefer) as I added more.  It was hard and I unpicked the stitches more than once.

Clover Fabric Cutting


Once I got a row as ‘perfect’ as I could get it, I added the next one – but only after I had squared up the entire row individually first.  Then I pinned the hell out of it before running it under the machine.

Clover Corner Pins

Here’s a picture of the pattern namesake:

Clover Seam Ripper


Once it was attached, I recheck my levels:

Clover Squaring Corner


This looks pretty good.  It was also after 1:00 am this morning.  Only four rows attached.  And my big idea to make this thing BIGGER!  OMG!!

Here it is up on the design wall corner:

Clover Corner Closeup

Carrie gives you large setting triangles so that you will have this 1/2′ cushion on the edge.  This wee little corner looks pretty good to me.

Clover Corner Design Wall


It does shrink up quite a bit.  I have the next two rows sitting next to my sewing machine, so don’t think that what you see goes next to each other.  I still LOVE LOVE LOVE the colors and the fabric collections and the overall look of this quilt, so I will try to push on.  I don’t know how far I’ll be by month end for the parade though.  I’ll stay strong for now!

All the best to you for a great weekend ahead!

Jennifer

Design Wall Friday – a New Project!

Oh boy – look what I have gotten into here.  I am really REALLY liking this quilt already.  My daughter stayed up later than she should while I was working on it last night, and she finally passed out to sleep in the guest bed.

Clover pattern by Miss Rosie’s Quilt Co and fabric from (mostly) Posh Pumpkins by Sandy Gervais.  I have thrown in some charm squares from “Give Thanks” by Deb Strain.  The polka dots are Give Thanks as well.  These colors are just so beautiful together!  I had a few yards of the background fabric already, but I don’t recall what it is right now.  This will be a great early Fall to mid December blanket:

Clover yardage purchase


The pattern mostly calls for cutting 2 1/4″ squares and also 1 3/8″ strips to subcut into the four patch units:

Clover in process

I love how this is taking shape:

Clover Initial 3 Rings

And since I am making it 5 x 5 blocks, I am playing around with options for the center squares of each block.  One color for the center block, first ring and second ring.  I’m thinking of following the pattern and using the background fabric in the center for the outer ring, using the ‘solid’ orange for the inner ring and a dark orange print for the very middle block.  See below to illustrate:

Clover Design Wall


One last look at the pattern that is being made by the four patch units:

Clover - a beginning

Clover – a beginning


Have you gotten started yet?

I’ll end with a picture of the two tuxedo kittens snuggling with Nora this morning.  Diamond is in the foreground and Rosy is sleeping on Nora’s cheek:

Tuxedo Kittens with Nora

Thanks for stopping by for a visit!  See you again real soon!

Jennifer

Pumpkin Time!

We are getting a head start on our Halloween festivities.  The decorations got pulled out of storage last weekend and have been strewn EVERYWHERE in the house, in the yard, on the porch – you name it.  My kids also love to paint pumpkins.  Which is great for me, because the carving process is kind of cumbersome.  And these are just small pumpkins right now.  We’ll get some bigger ones this weekend to cut up and light.

Kids Pumpkin Painting 2013 2

One thing to notice here… my kids poured out their own paint into their little plastic palettes.  Look at Nora’s and then Oliver’s.  Amazing.  While she is still dutifully planning out how to decorate her pumpkin, he has already slathered a ton of blue paint on his.

Kids Pumpkin Painting 2013

Here she is paining her stem in sparkle pink!  Oliver is planning on making his a zombie pumpkin.

I love this time of year – the start of all of the holidays!

I also got my CLOVER pattern from Miss Rosie’s Quilt Co yesterday.  This is the chosen October pattern for the AYOS project hosted by Sinta and Sherri.  I decided to jump into this month and make a fall themed quilt for the family.  You can also order the pattern as a PDF download or paper copy from Carrie’s website.  Click here to link over to the Clover pattern on her shop site.  It is also for sale at Fat Quarter Shop.  (Sorry – I can’t seem to make this image bigger without it getting really distorted):

MRQ-Clovers-202

I had bought a charm pack a while back of Posh Pumpkins by Sandy Gervais for Moda and instantly knew that was what I wanted to use for the quilt:

Posh Pumpkin Charm Pack


NOTE TO SELF:  ALWAYS BUY TWO CHARM PACKS – ONE IS NEVER ENOUGH.

So, when I started reading through the directions, it was clear that it would have been best to have two charm packs instead of one to make the quilt.  However, I like this one so much that I want to make it into a lap quilt – so a layer cake would have been best anyway!

I couldn’t get this out of my mind and I finally just decided at lunch time to race 30 miles away to GRS Creations and Fabric in Old Town Spring.  They have nearly EVERY Moda collection that comes out.  Tons of fabric.  TONS and TONS!  I don’t know why I don’t visit more often!  Oh yes, … money.  That would be a reason.

So … my trip to their shop netted me one layer cake of Posh Pumpkins and perhaps a wee bit of yardage to go along with it.  I’ll show my winnings tomorrow … they are tucked away in my backseat at the moment.

Can’t wait to get started on this one!

How about you – are you joining AYOS this month?

Jennifer


Productive absence

Well, I have been gone awhile from a regular blog post – but that doesn’t mean I haven’t been working.  I’m still trying to adjust to having two school age kids with homework and bedtime/morning routines that are honestly kicking my a@@.  We’re taking it one day at a time, but at this rate – I will be a white haired mental patient by the time they reach high school.  Why does everything have to be a struggle?  Get dressed… struggle.  Eat something … ANYTHING … struggle.  Brush your teeth – forget about it.

Well, I have managed to steal away some precious moments to complete THREE of my quilts and give them away.

#1 – Swoon quilt completed and given to my friend at work.  She loved it!  I am waiting for a picture of her and the new husband with the quilt, but hopefully G rated!

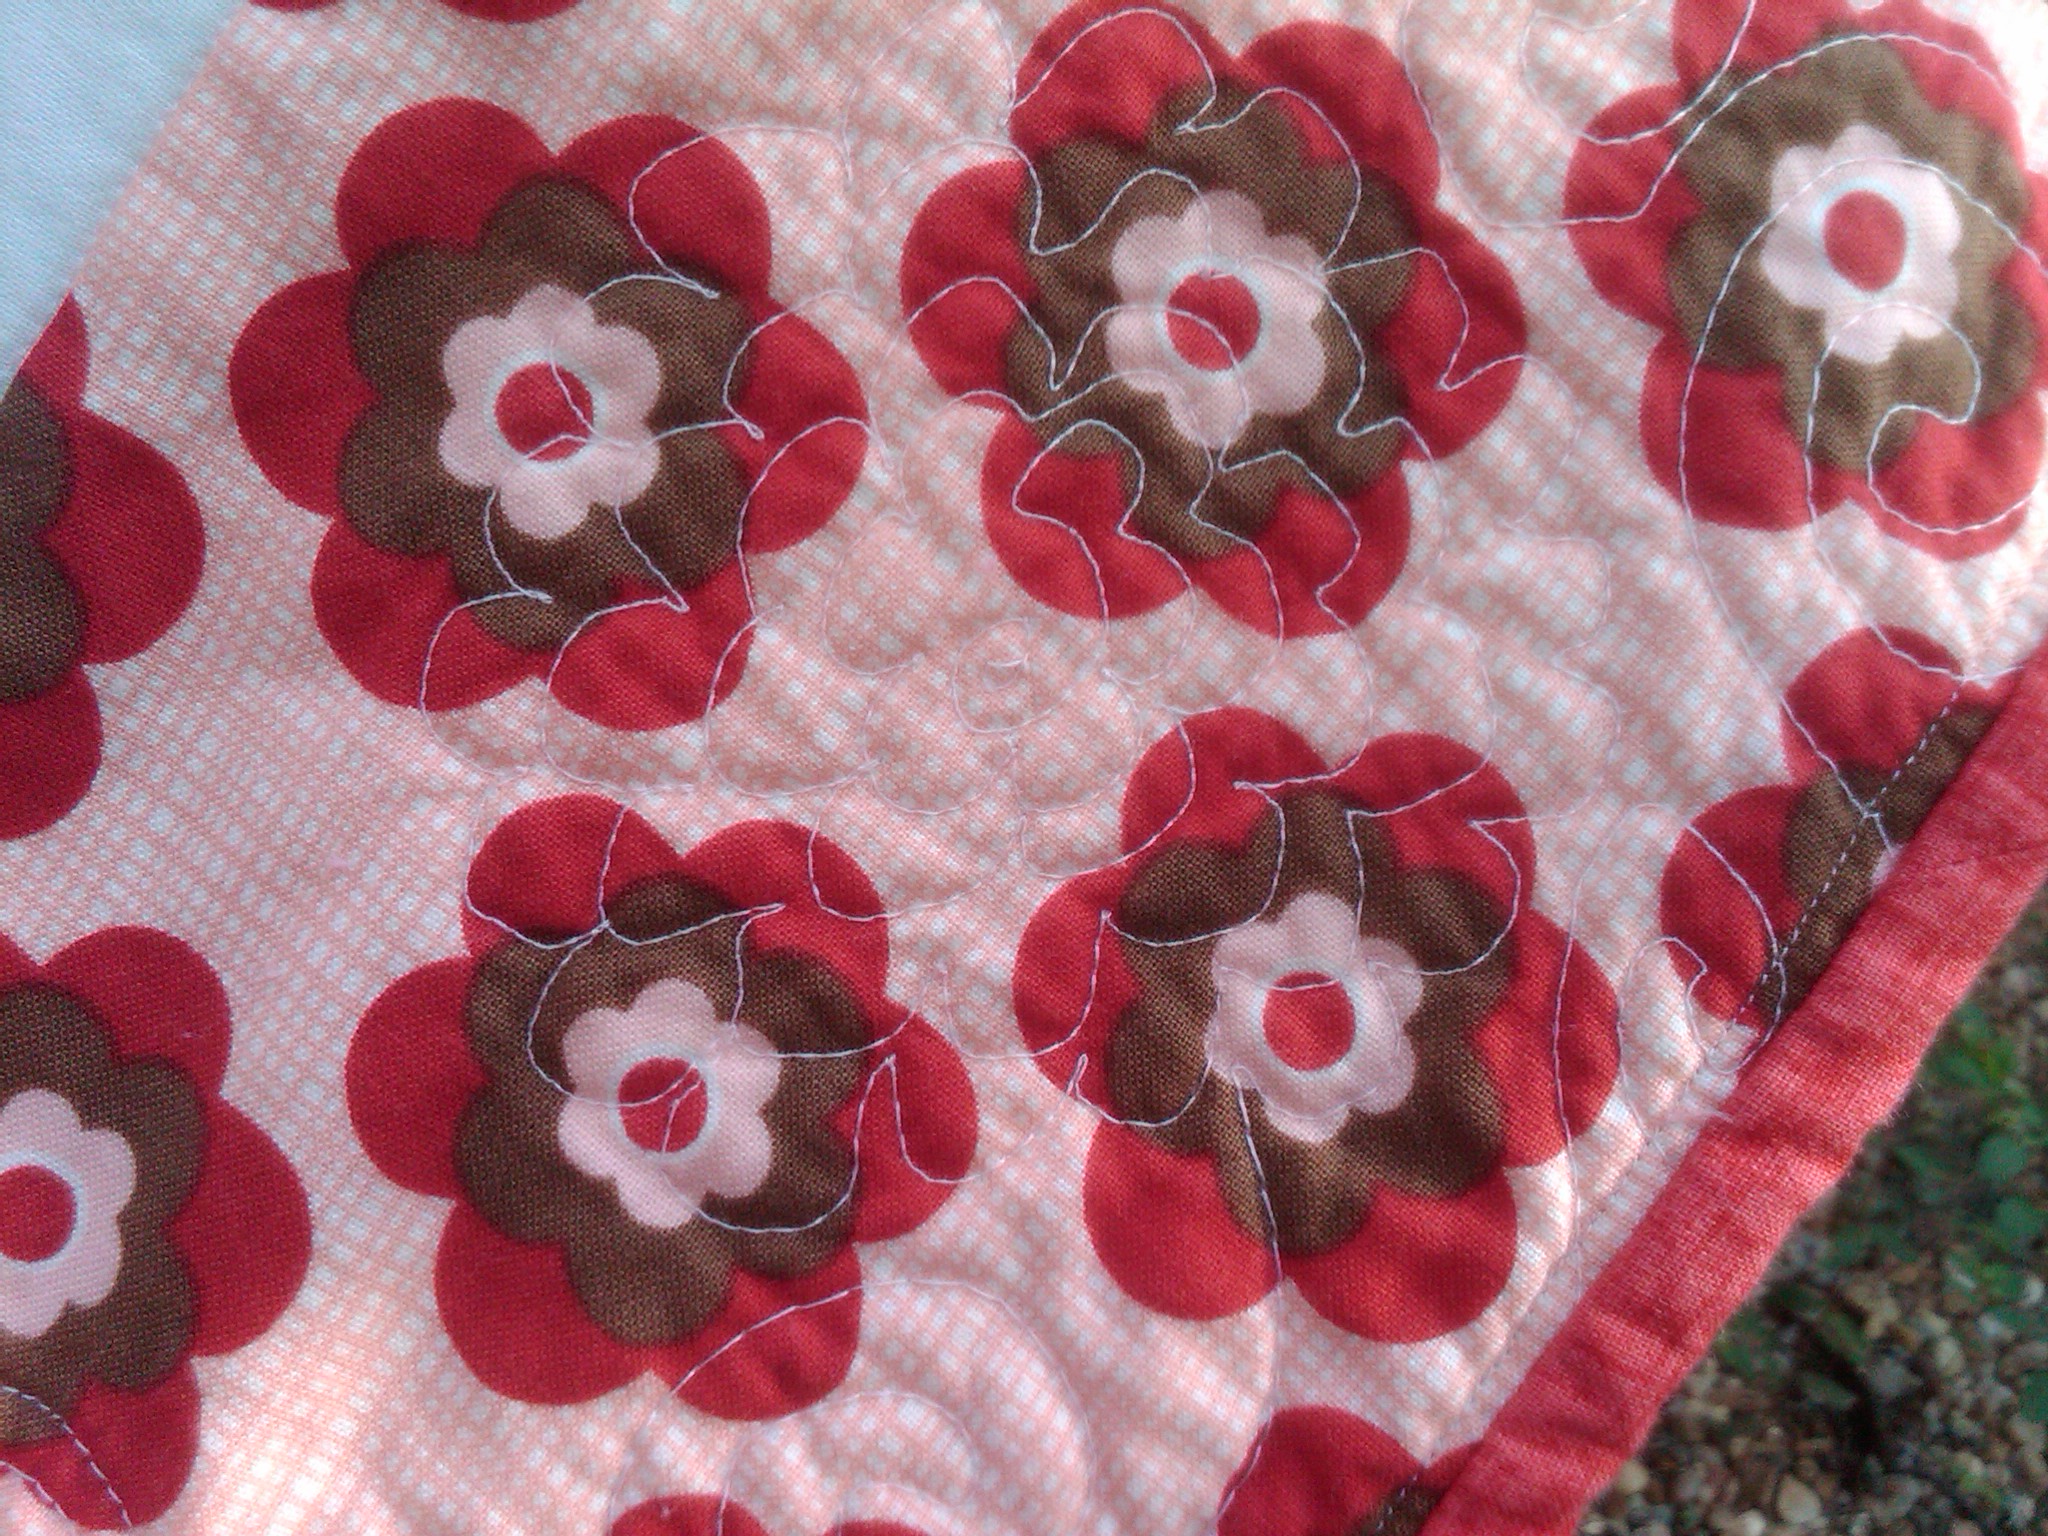
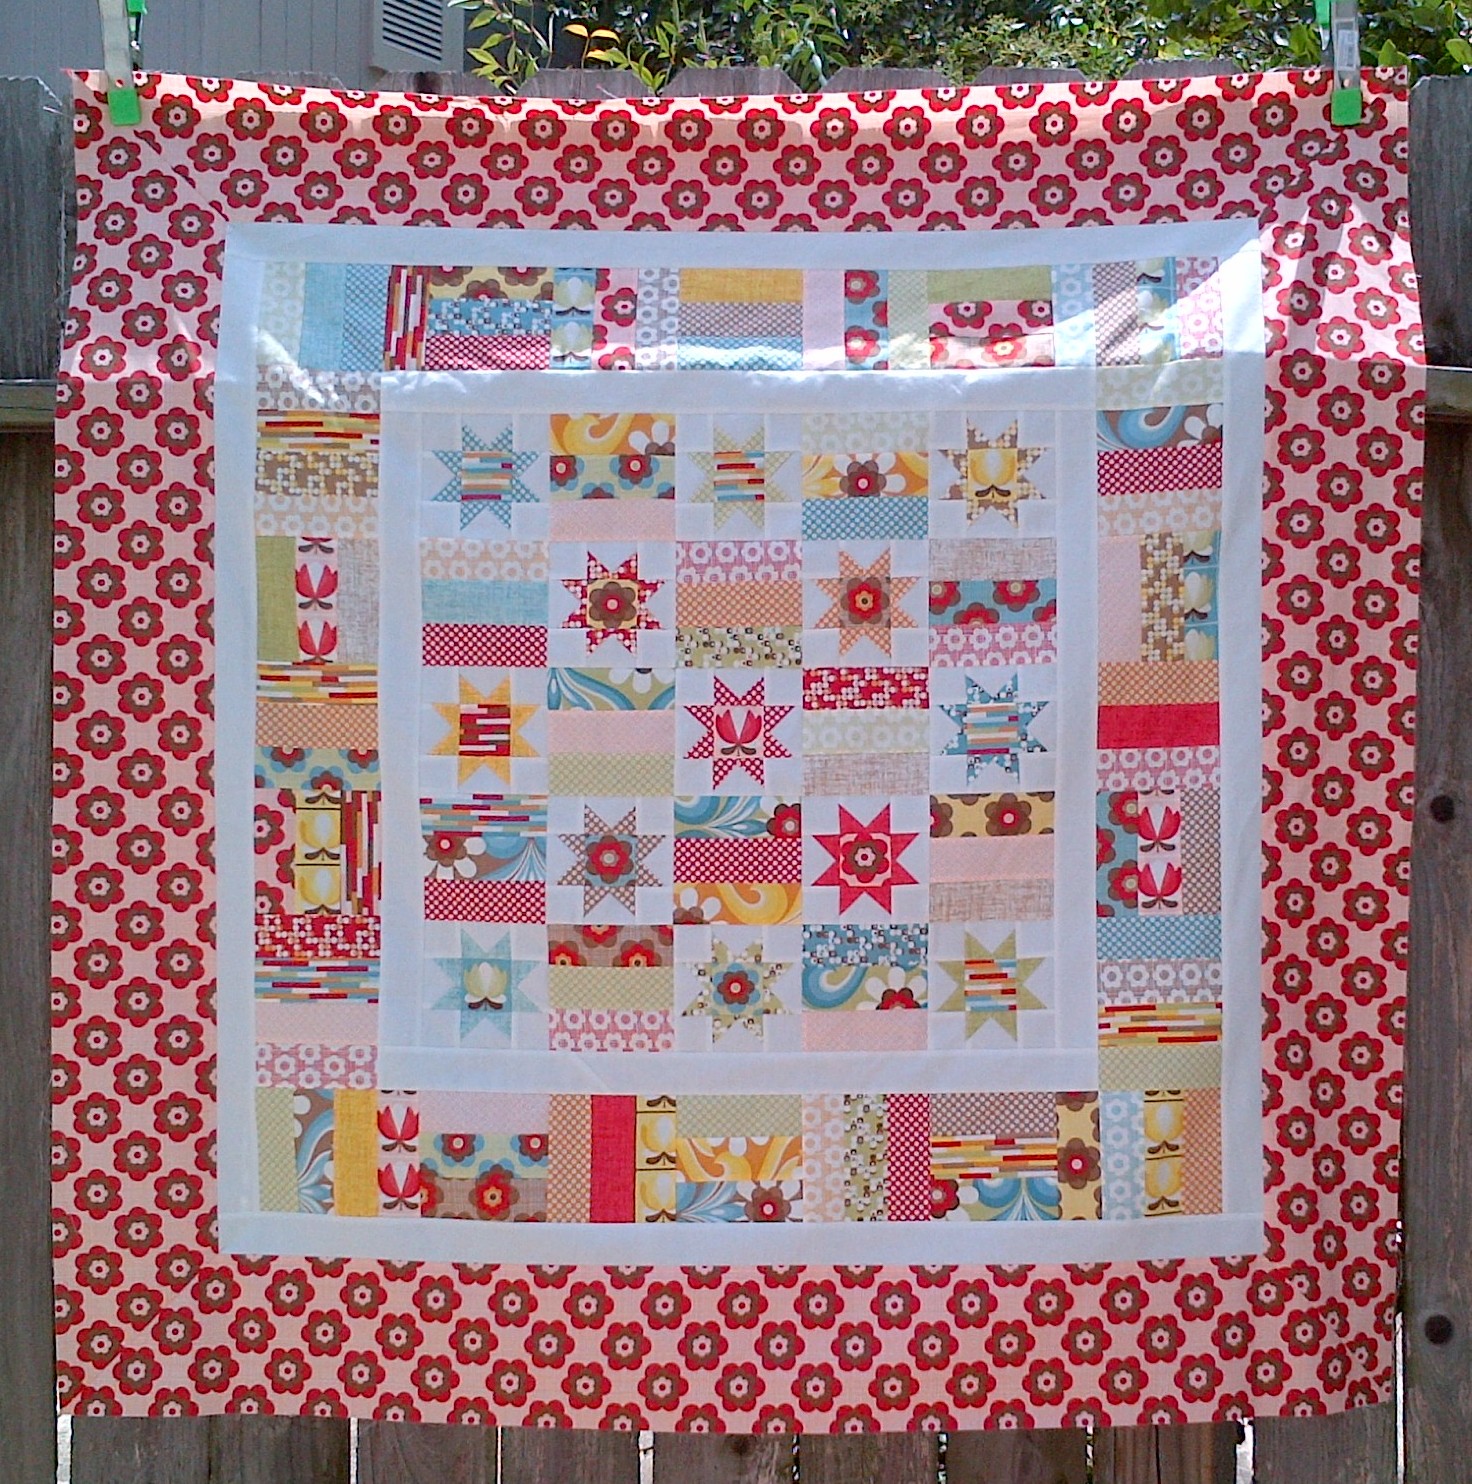
#2 – I free motion quilted my Boho AYOS quilt made with the Lincoln pattern.  It was actually really fun to do the quilting myself.  I just had to temporarily relocate the machine to the cleared dining table so I would have plenty of room to move it around.  I look forward to the next one I can try myself.  I did find that my shoulders kept creeping up to my ears as I stitched away.  Why is that?

Don’t you love my label?  I cut into some of my adorable Briar Rose fat quarter for this snipit:

IMG01090-20130915-0947


IMG01095-20130915-0950

I mostly just did a made up version of a swirly wave shape or something around the border … and in a couple of spots, I made up a dahlia shaped flower.  Other than the border, I just did a stitch in the ditch concentric squares starting with the very center 2″ square and working out from there.

I had browsed ideas in my copy of the book Free-Motion Quilting by Angela Walters … but whatever I could manage to do consistently was what I ended up doing.


IMG01094-20130915-0949

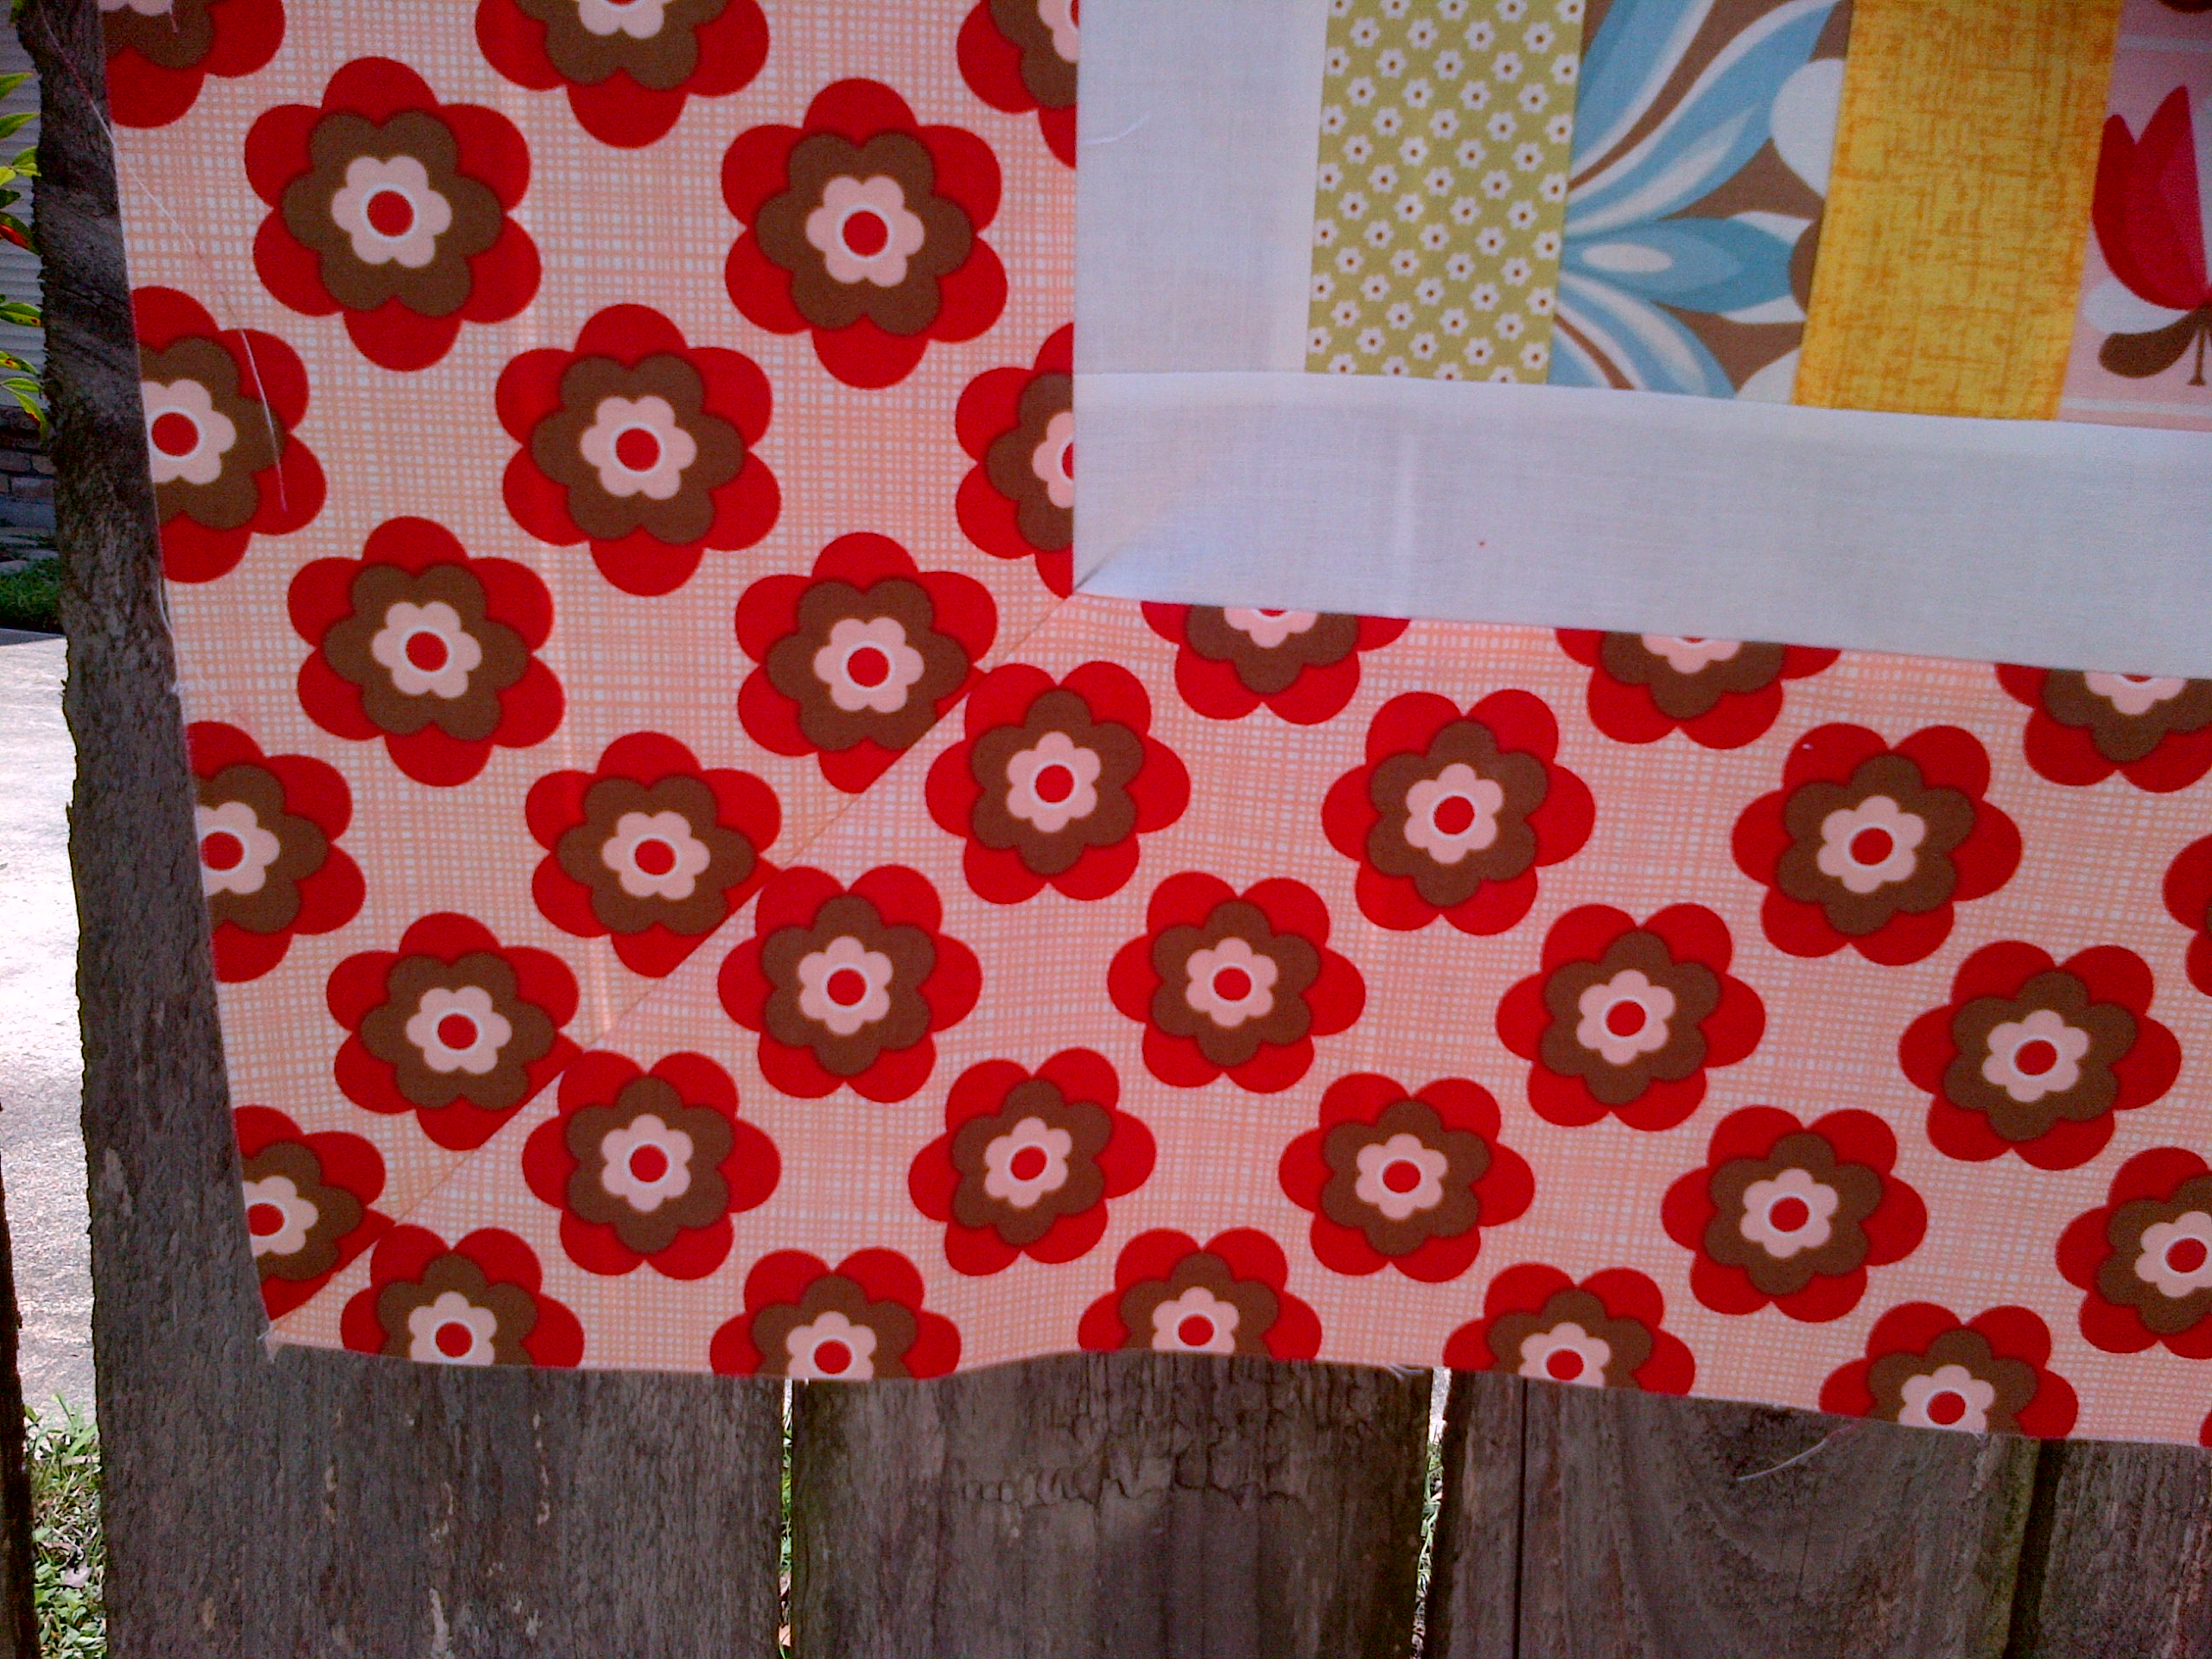
I was running out of time for this quilt, because we were taking it to a reception for the baby on that Saturday.  Therefore I did a machine binding on the front and the back.  You can see the machine stitching on the front in the picture below.  Should hold up well though and it turned out so great after it was washed.

IMG01093-20130915-0949


IMG01092-20130915-0948


IMG01091-20130915-0948


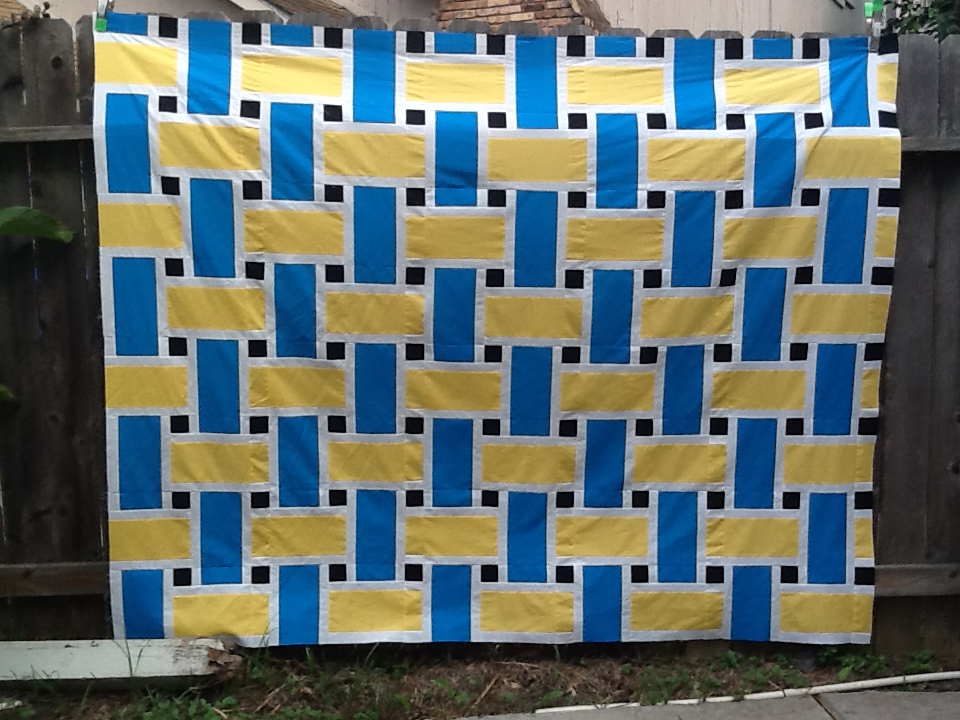
And finally – #3 Quilt – Rally for UCLA

I gave this to my boss today for him to pass along to his son who starts at UCLA this week.  I got Abby from Latimer Lane quilts to do the longarm quilting on it and she turned it around so fast for me!

I got her to do a spiral square shape pantograph, which complemented the straight lines and squares on the quilt front.  Here’s a reminder of what the front of the quilt looked like (before quilting) and a picture of the back which shows the quilt motif.


Rally Top 2

Rally Quilt design

The recipient is pursuing an acting career, so I added the drama masks to the quilt label to emphasize his ambitions.  Just used those Micron pens and some word art that I found online to create the label text and pictures in WORD and then printed it off and traced it with a small light box onto the fabric.

Rally Label 2

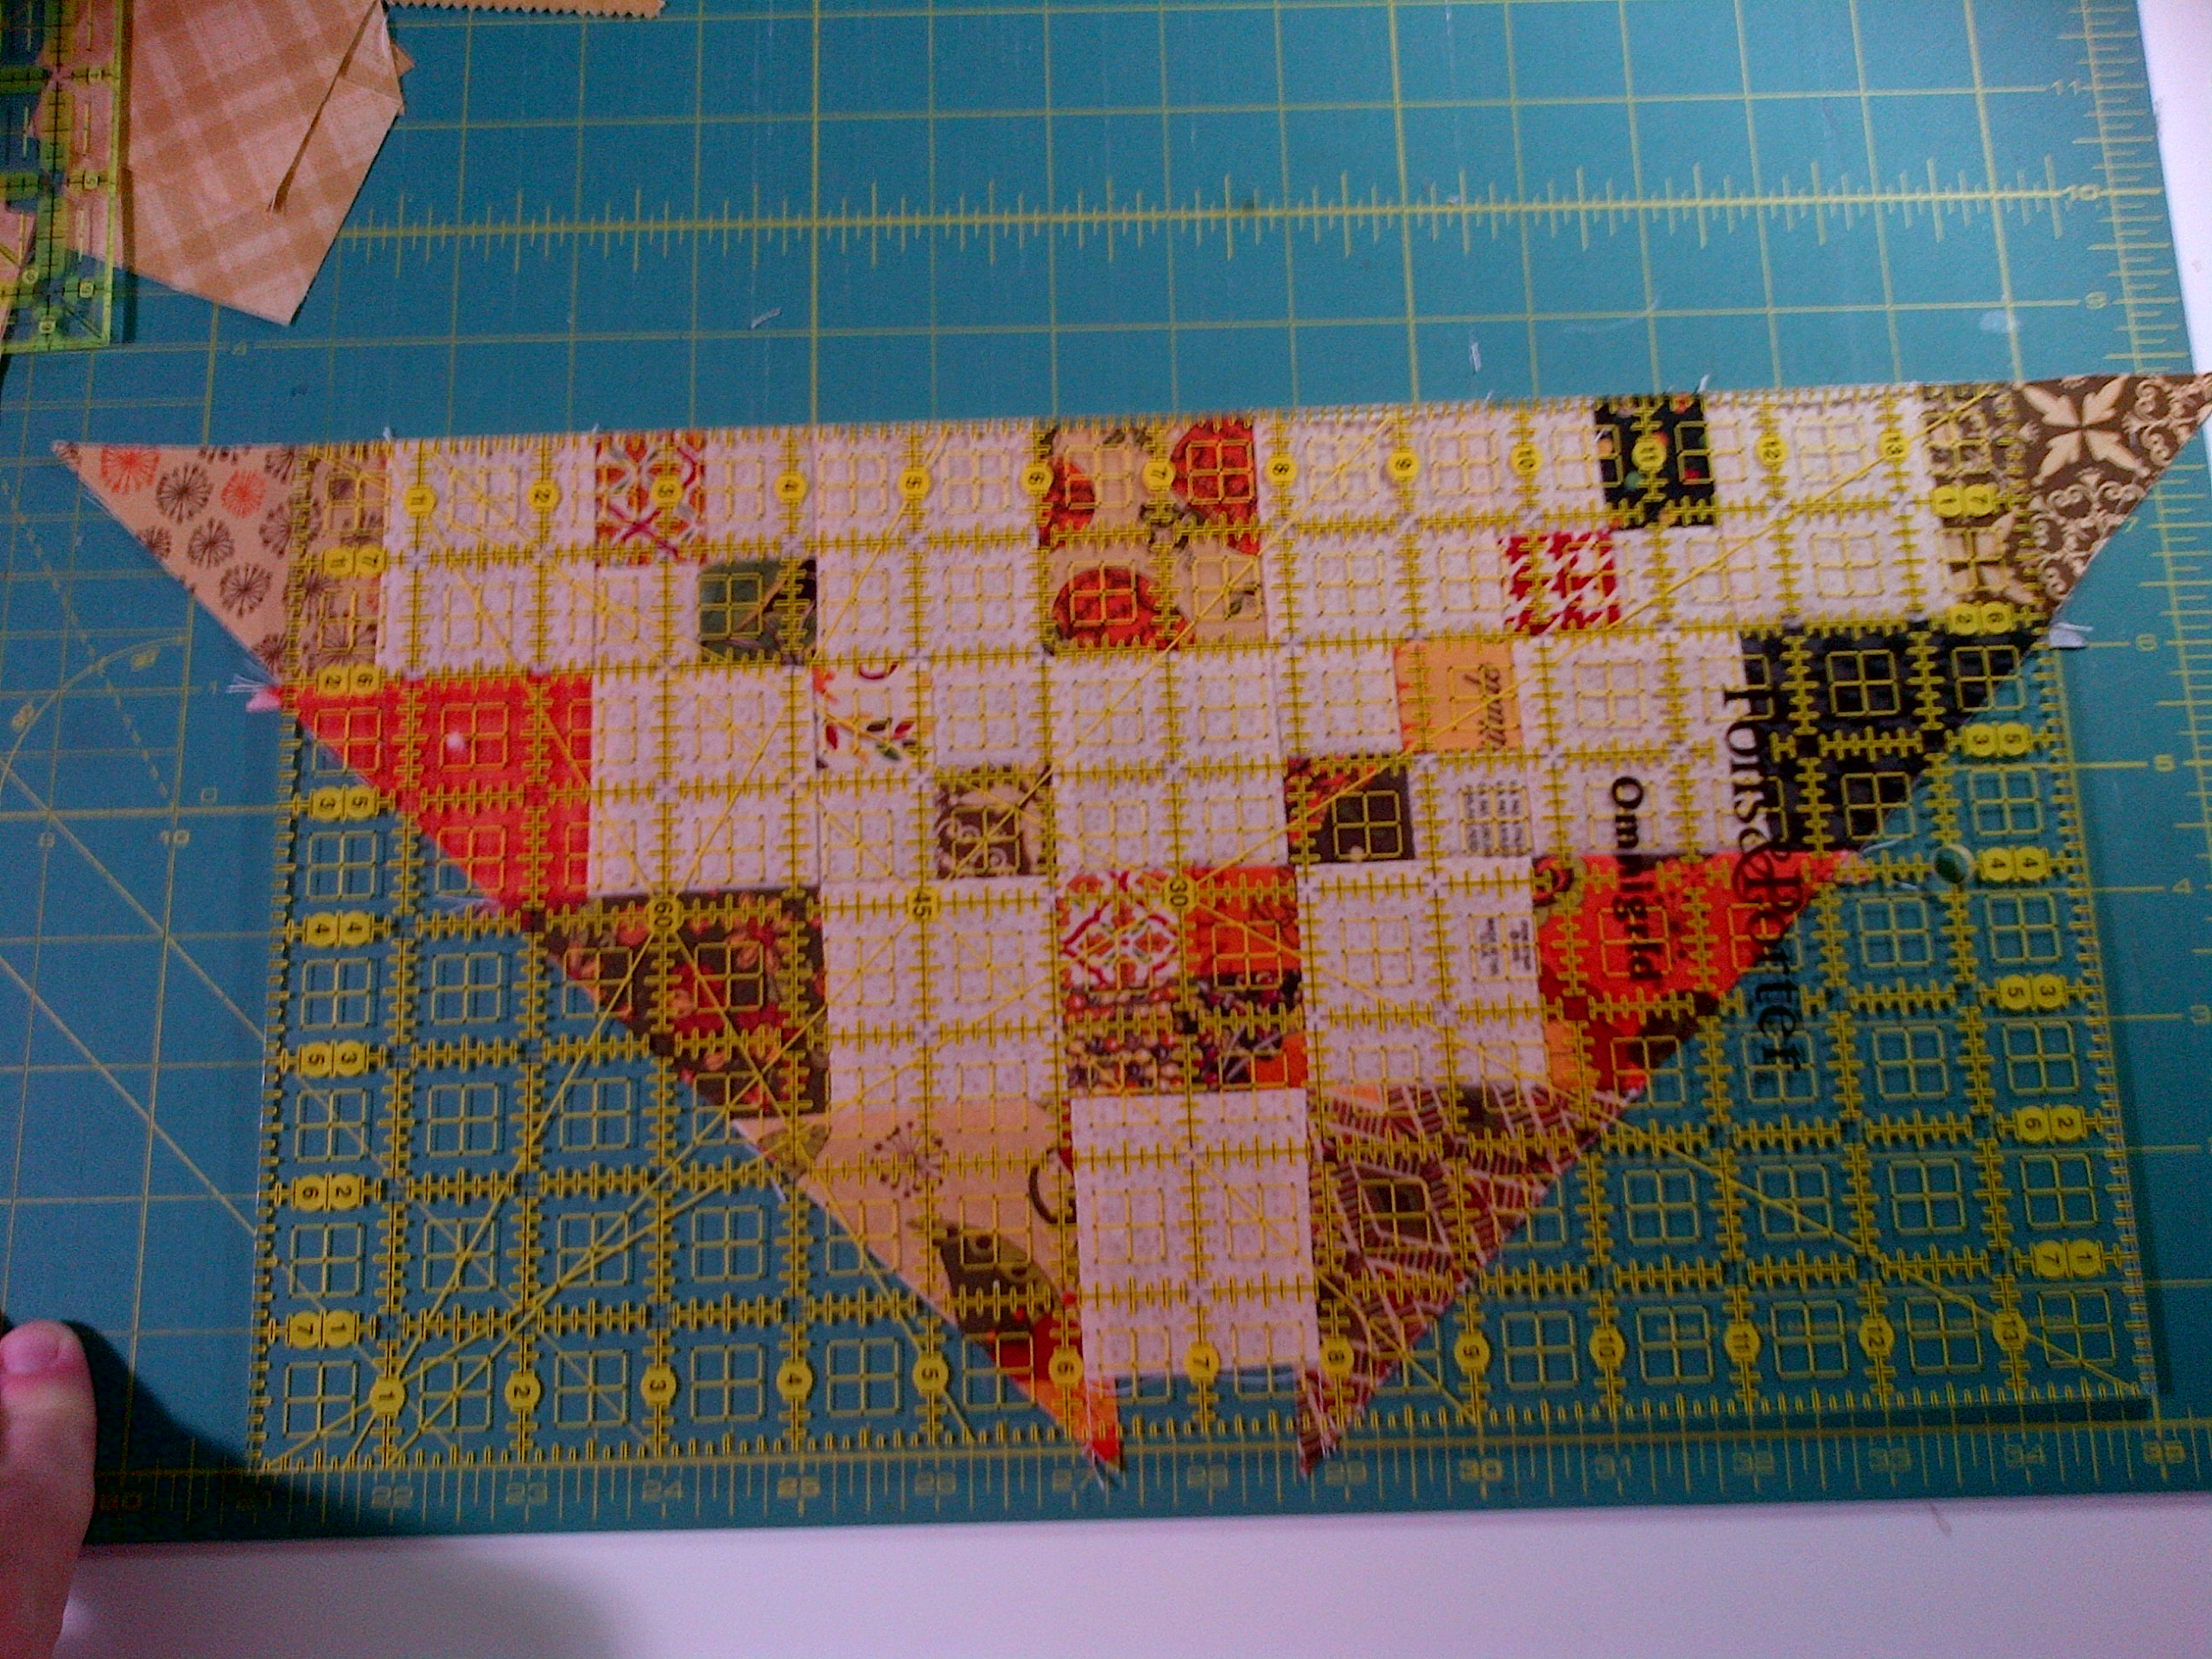
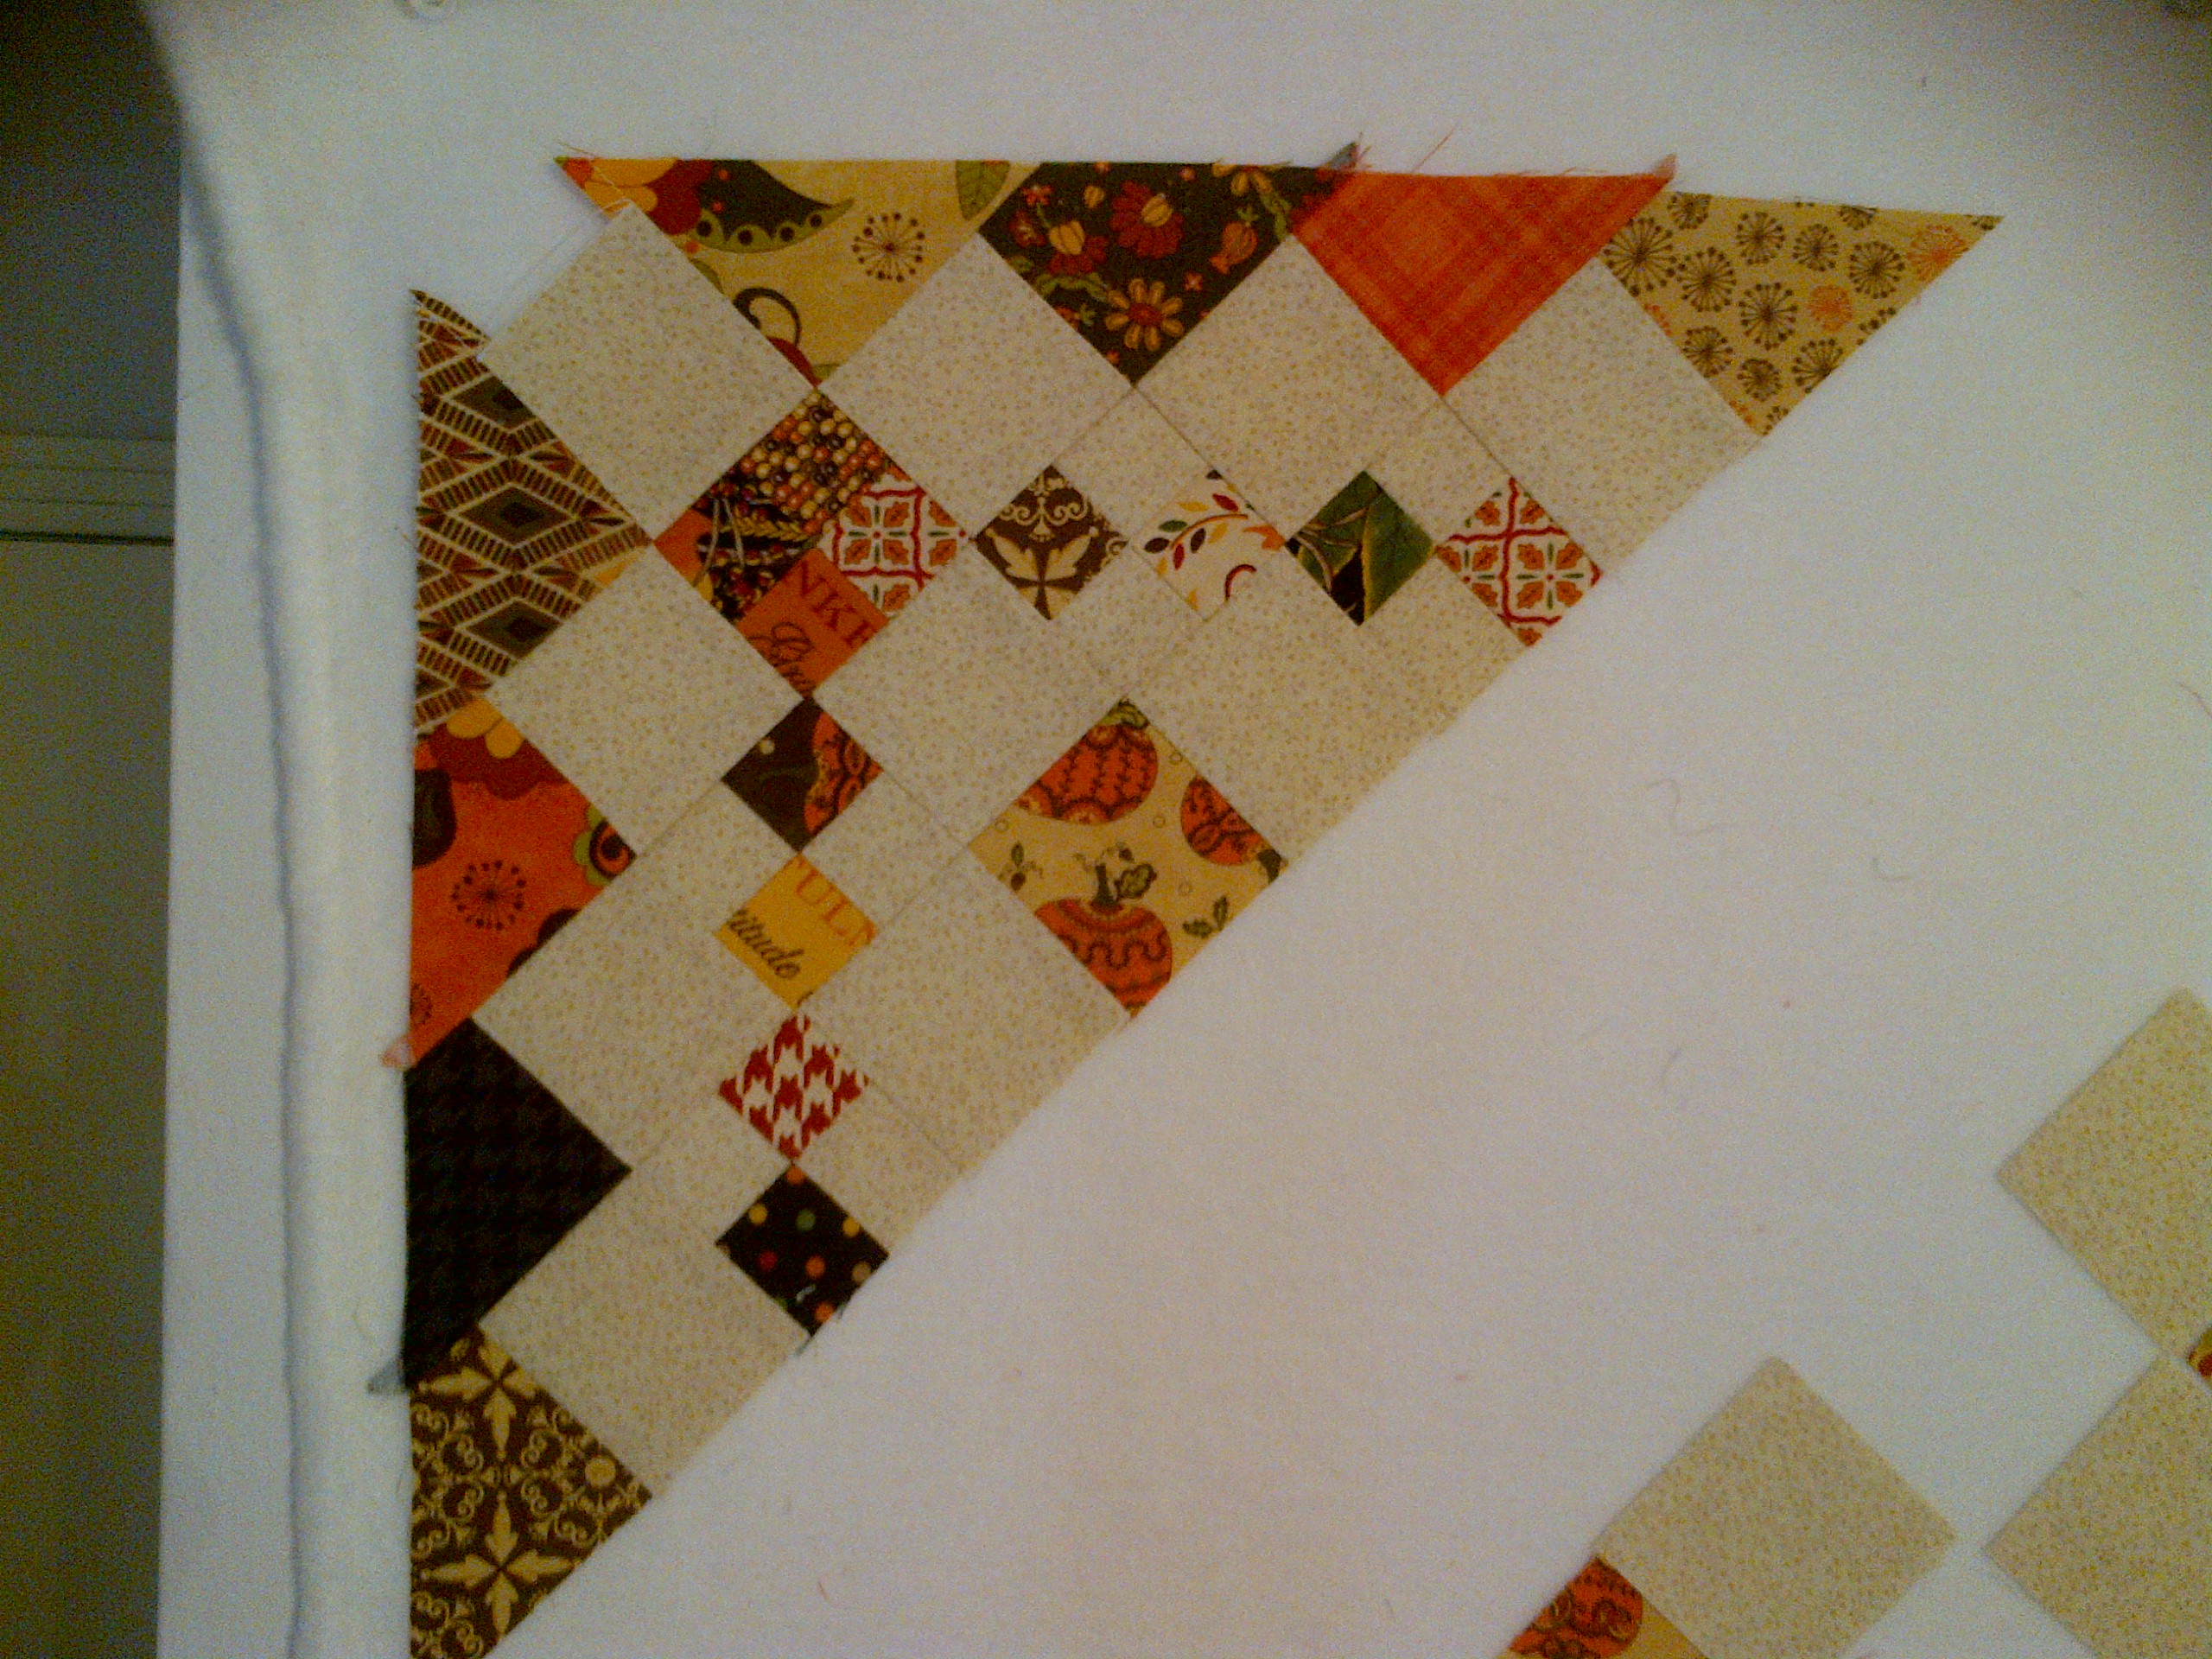
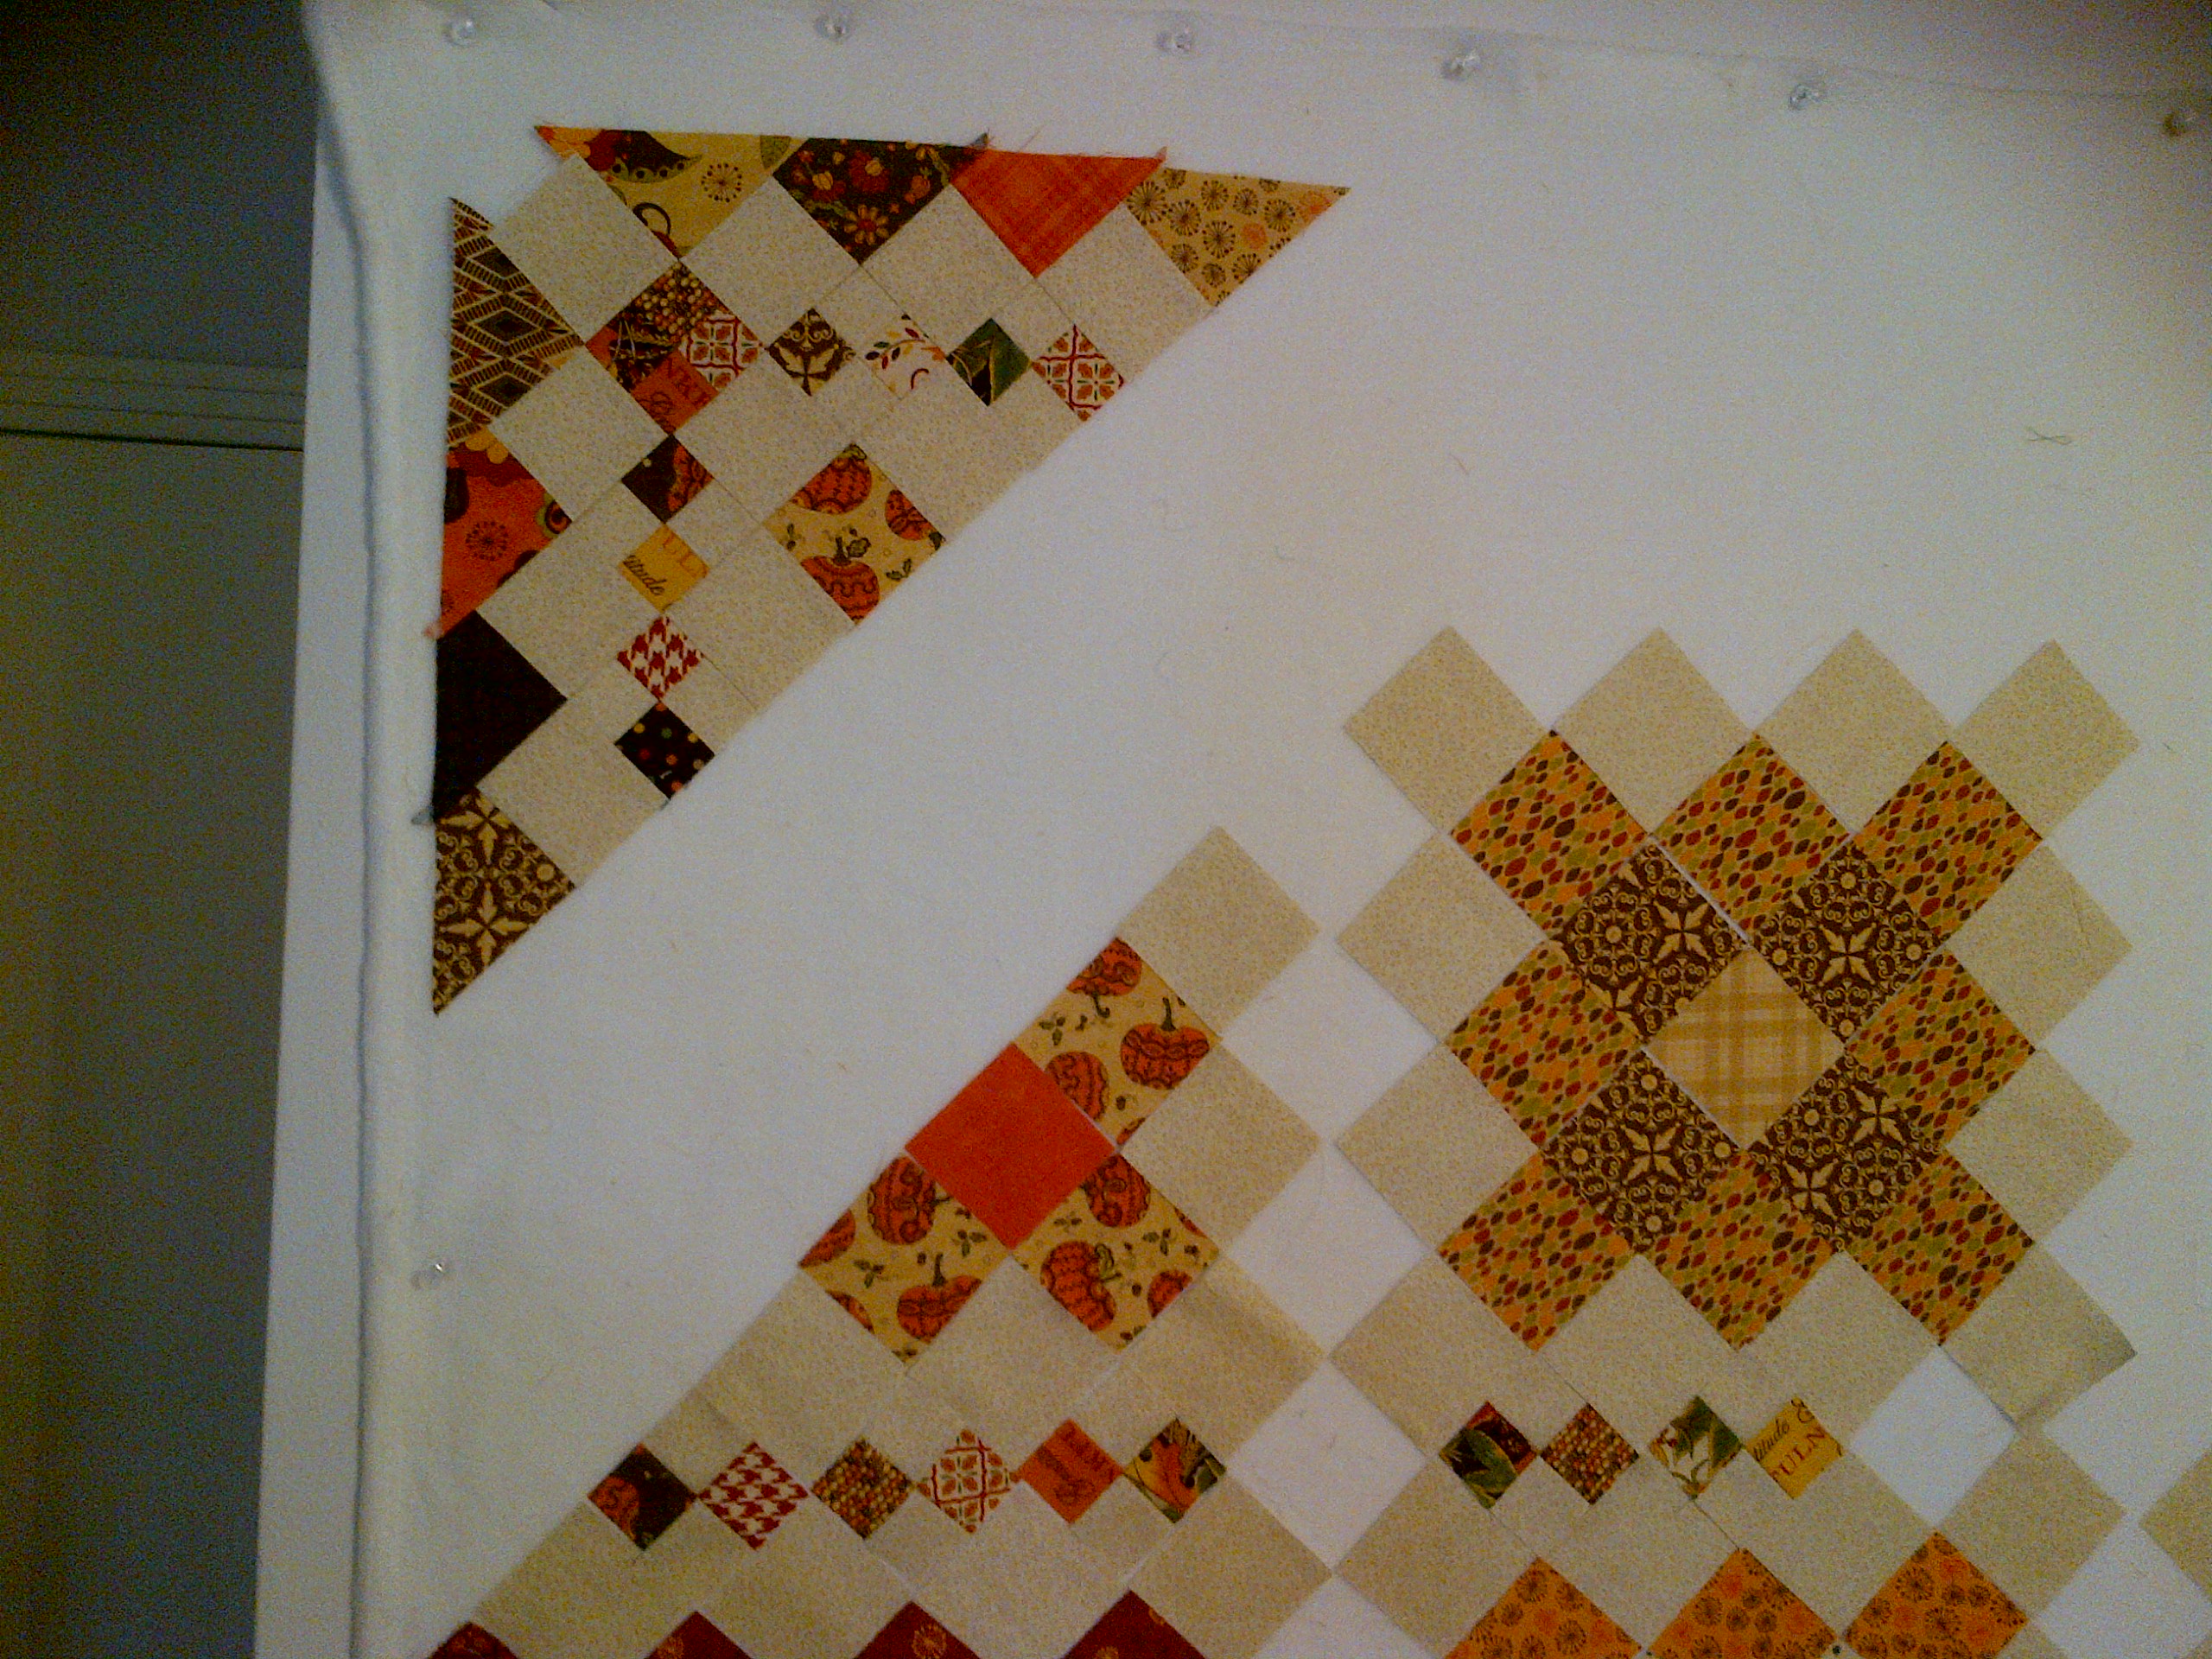
So … that should be enough … but I have also completed Block 3 of the FQS Mystery Designer BOM.  I’m starting Block 4 tonight (perhaps).  So, later this week, a show and tell on those blocks!

Enjoy and thanks for waiting around for me!

Jennifer

The start of a great week ahead!

I have a feeling this is going to be a great week.  My boss left today for a week long cruise and I completed my July AYOS!

I present to you… Lincoln!

Another AYOS Done!  Lincoln!!

Another AYOS Done! Lincoln!!

Fabric is from the Boho collection by Urban Chiks for Moda.

Top finishes at just under 50″ square.

I’m thrilled with how this came out.  As I mentioned in an earlier email, I probably would not have ever purchased this fabric collection for myself – but I received two charm packs as part of my winnings from last month’s AYOS submission.  Once I got started with it, I truly enjoyed every minute working on this quilt.  I also decided that this would be a unique and beautiful baby girl quilt, so I added in the extra borders to maximize the size.

Here’s a picture of the two inserted 1 1/2″ finished inner white borders that vary from the small Lincoln pattern:

Lincoln Done 6

I happen to have some light/dark alternating pink polka dot flannel fabric that I am going to use for the backing – to make it extra soft for the baby.

I decided on a mitered outer border, which I usually don’t fool with – but I had long enough strips to give it a try.

Here’s my one perfect corner:

Lincoln Done 3

The other three corners ended up with a bit of a pucker in the seam – but not so bad as to want to rip out and do over (at least for me at the end stage of a quilt completion – although, maybe I just have to remove a few stitches from that corner…):

Lincoln Done 4

Here’s two more pictures on our side fence:

Lincoln Done 7 Lincoln Done 5

I’m so glad to have joined in this month.  However – depending on the pattern for August – I may have to take a break so I can get some other WIPs continued.  We will see on Thursday when the parade of quilts is made on Sinta and Sherri’s blogs!

Hope you have a great week ahead of you also.  Thank you so much for stopping by today!

Jennifer