Nantucket Backgrounds

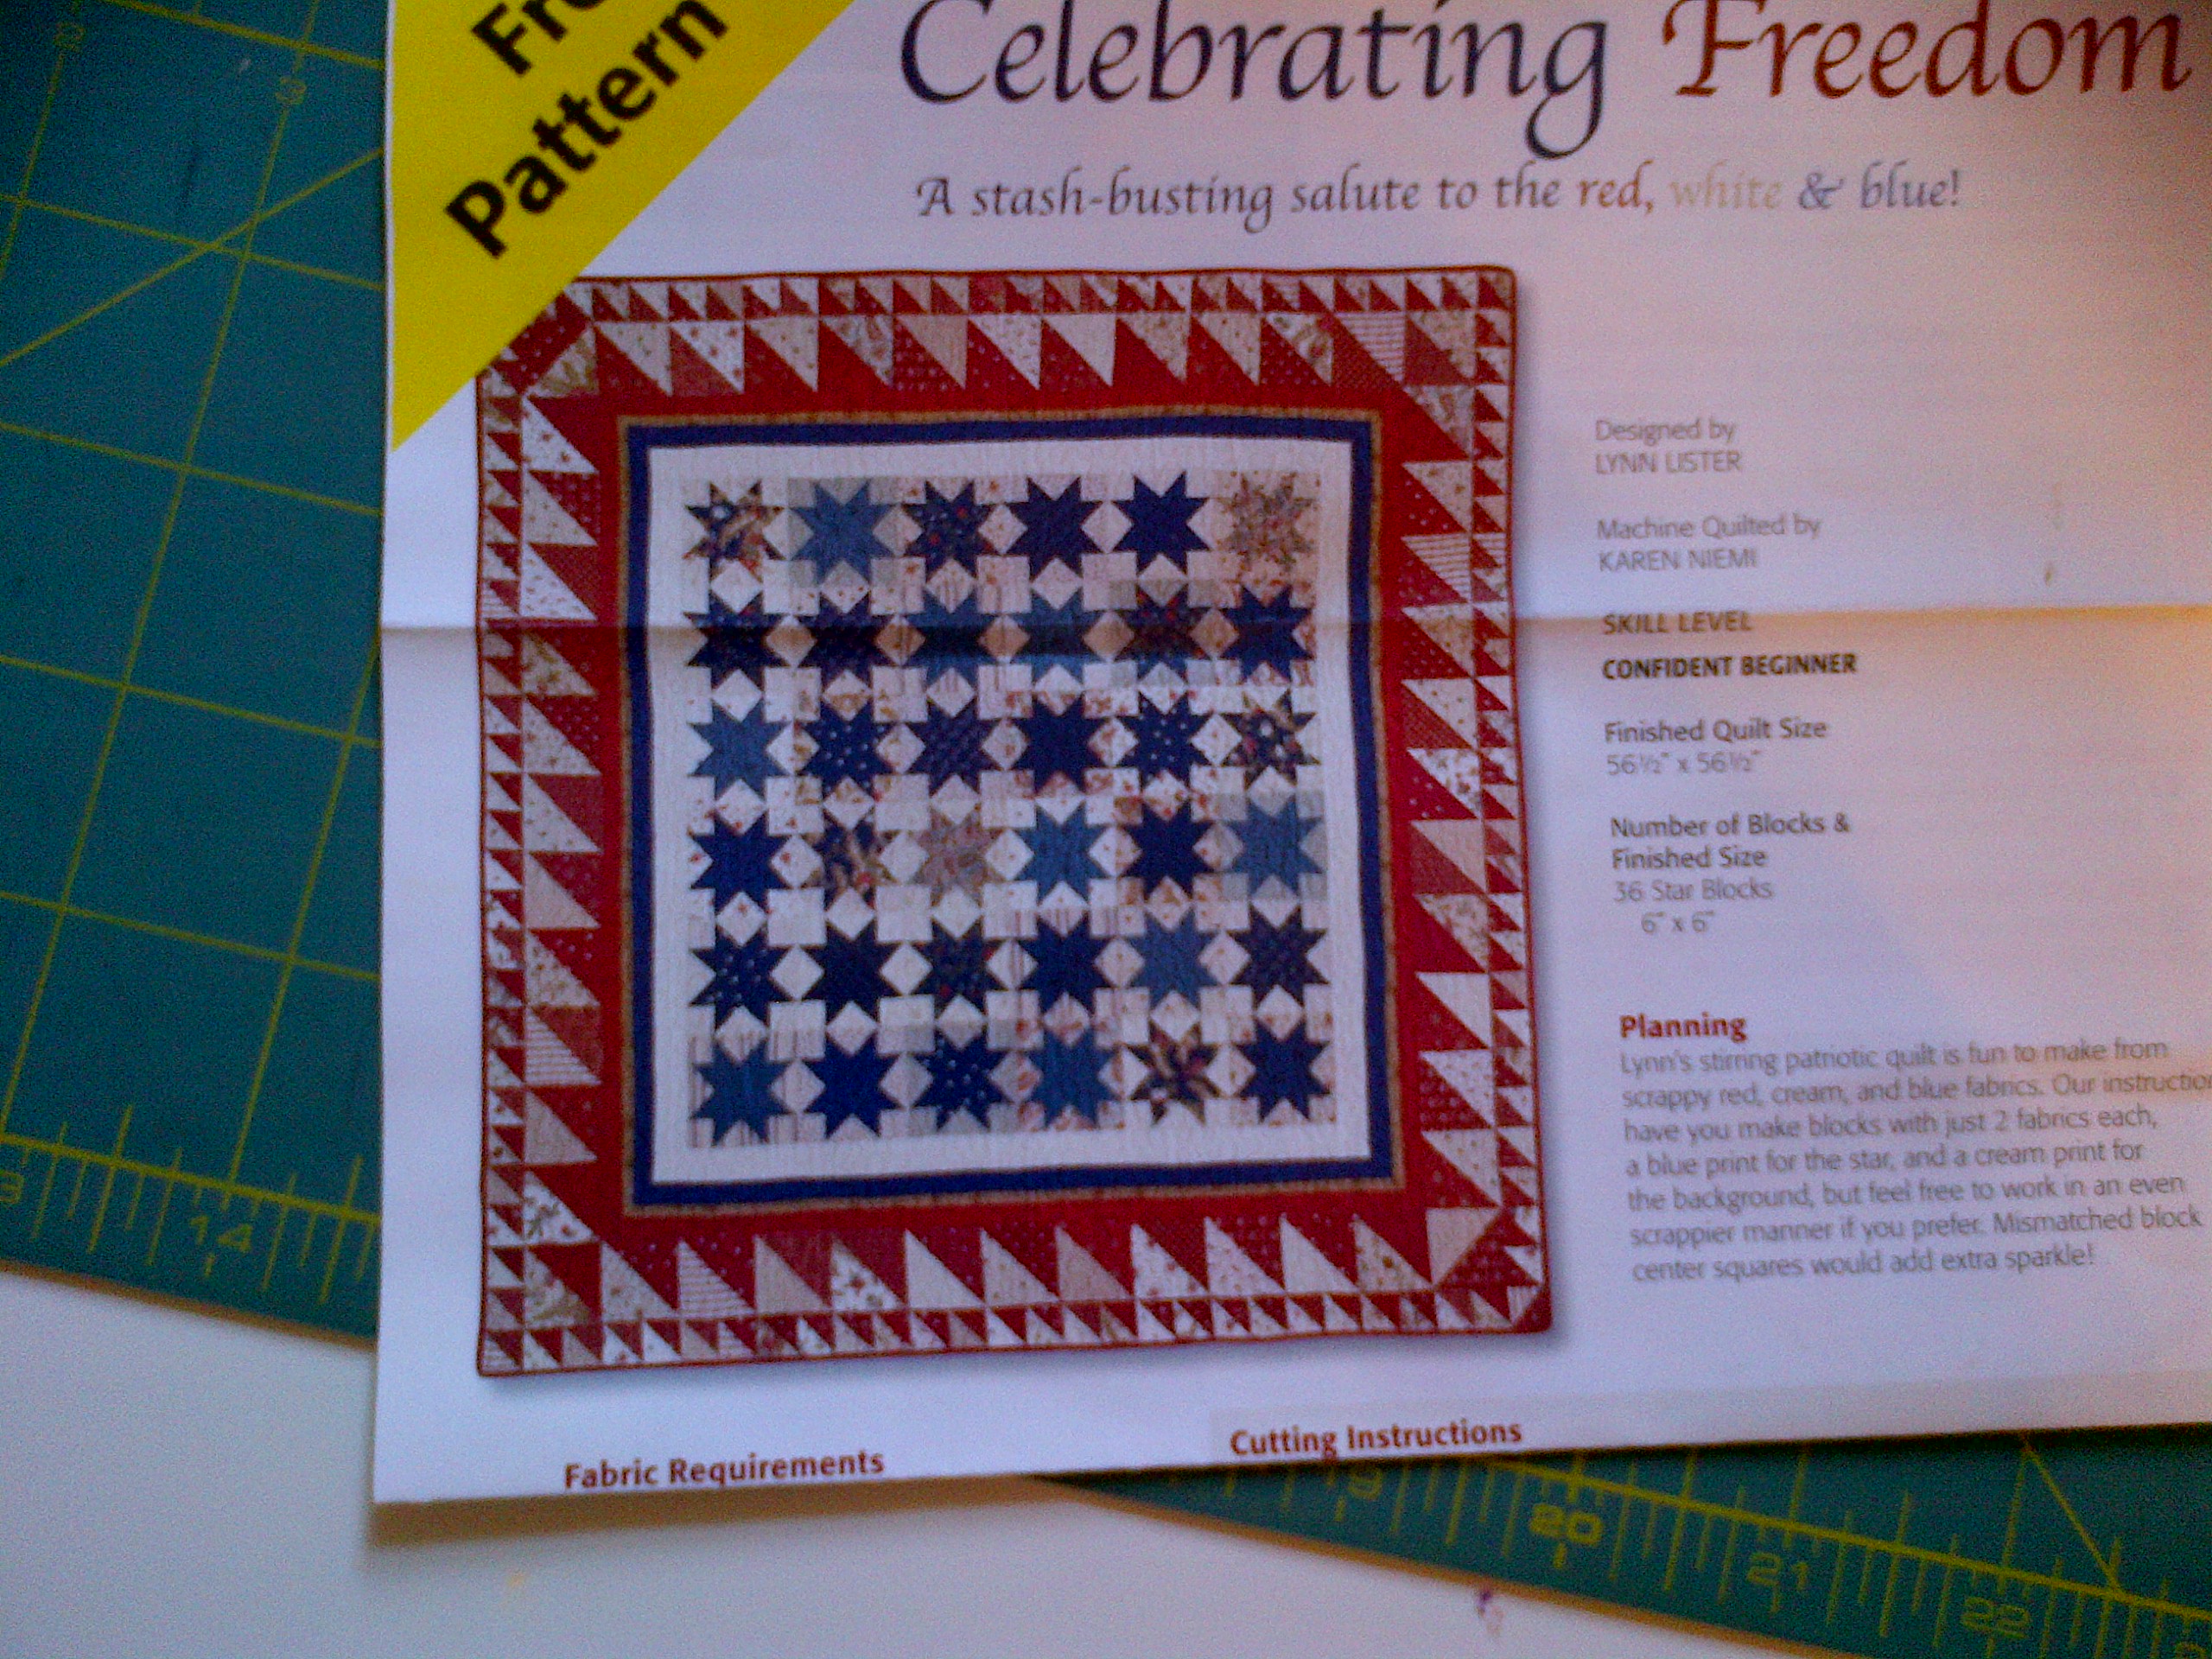
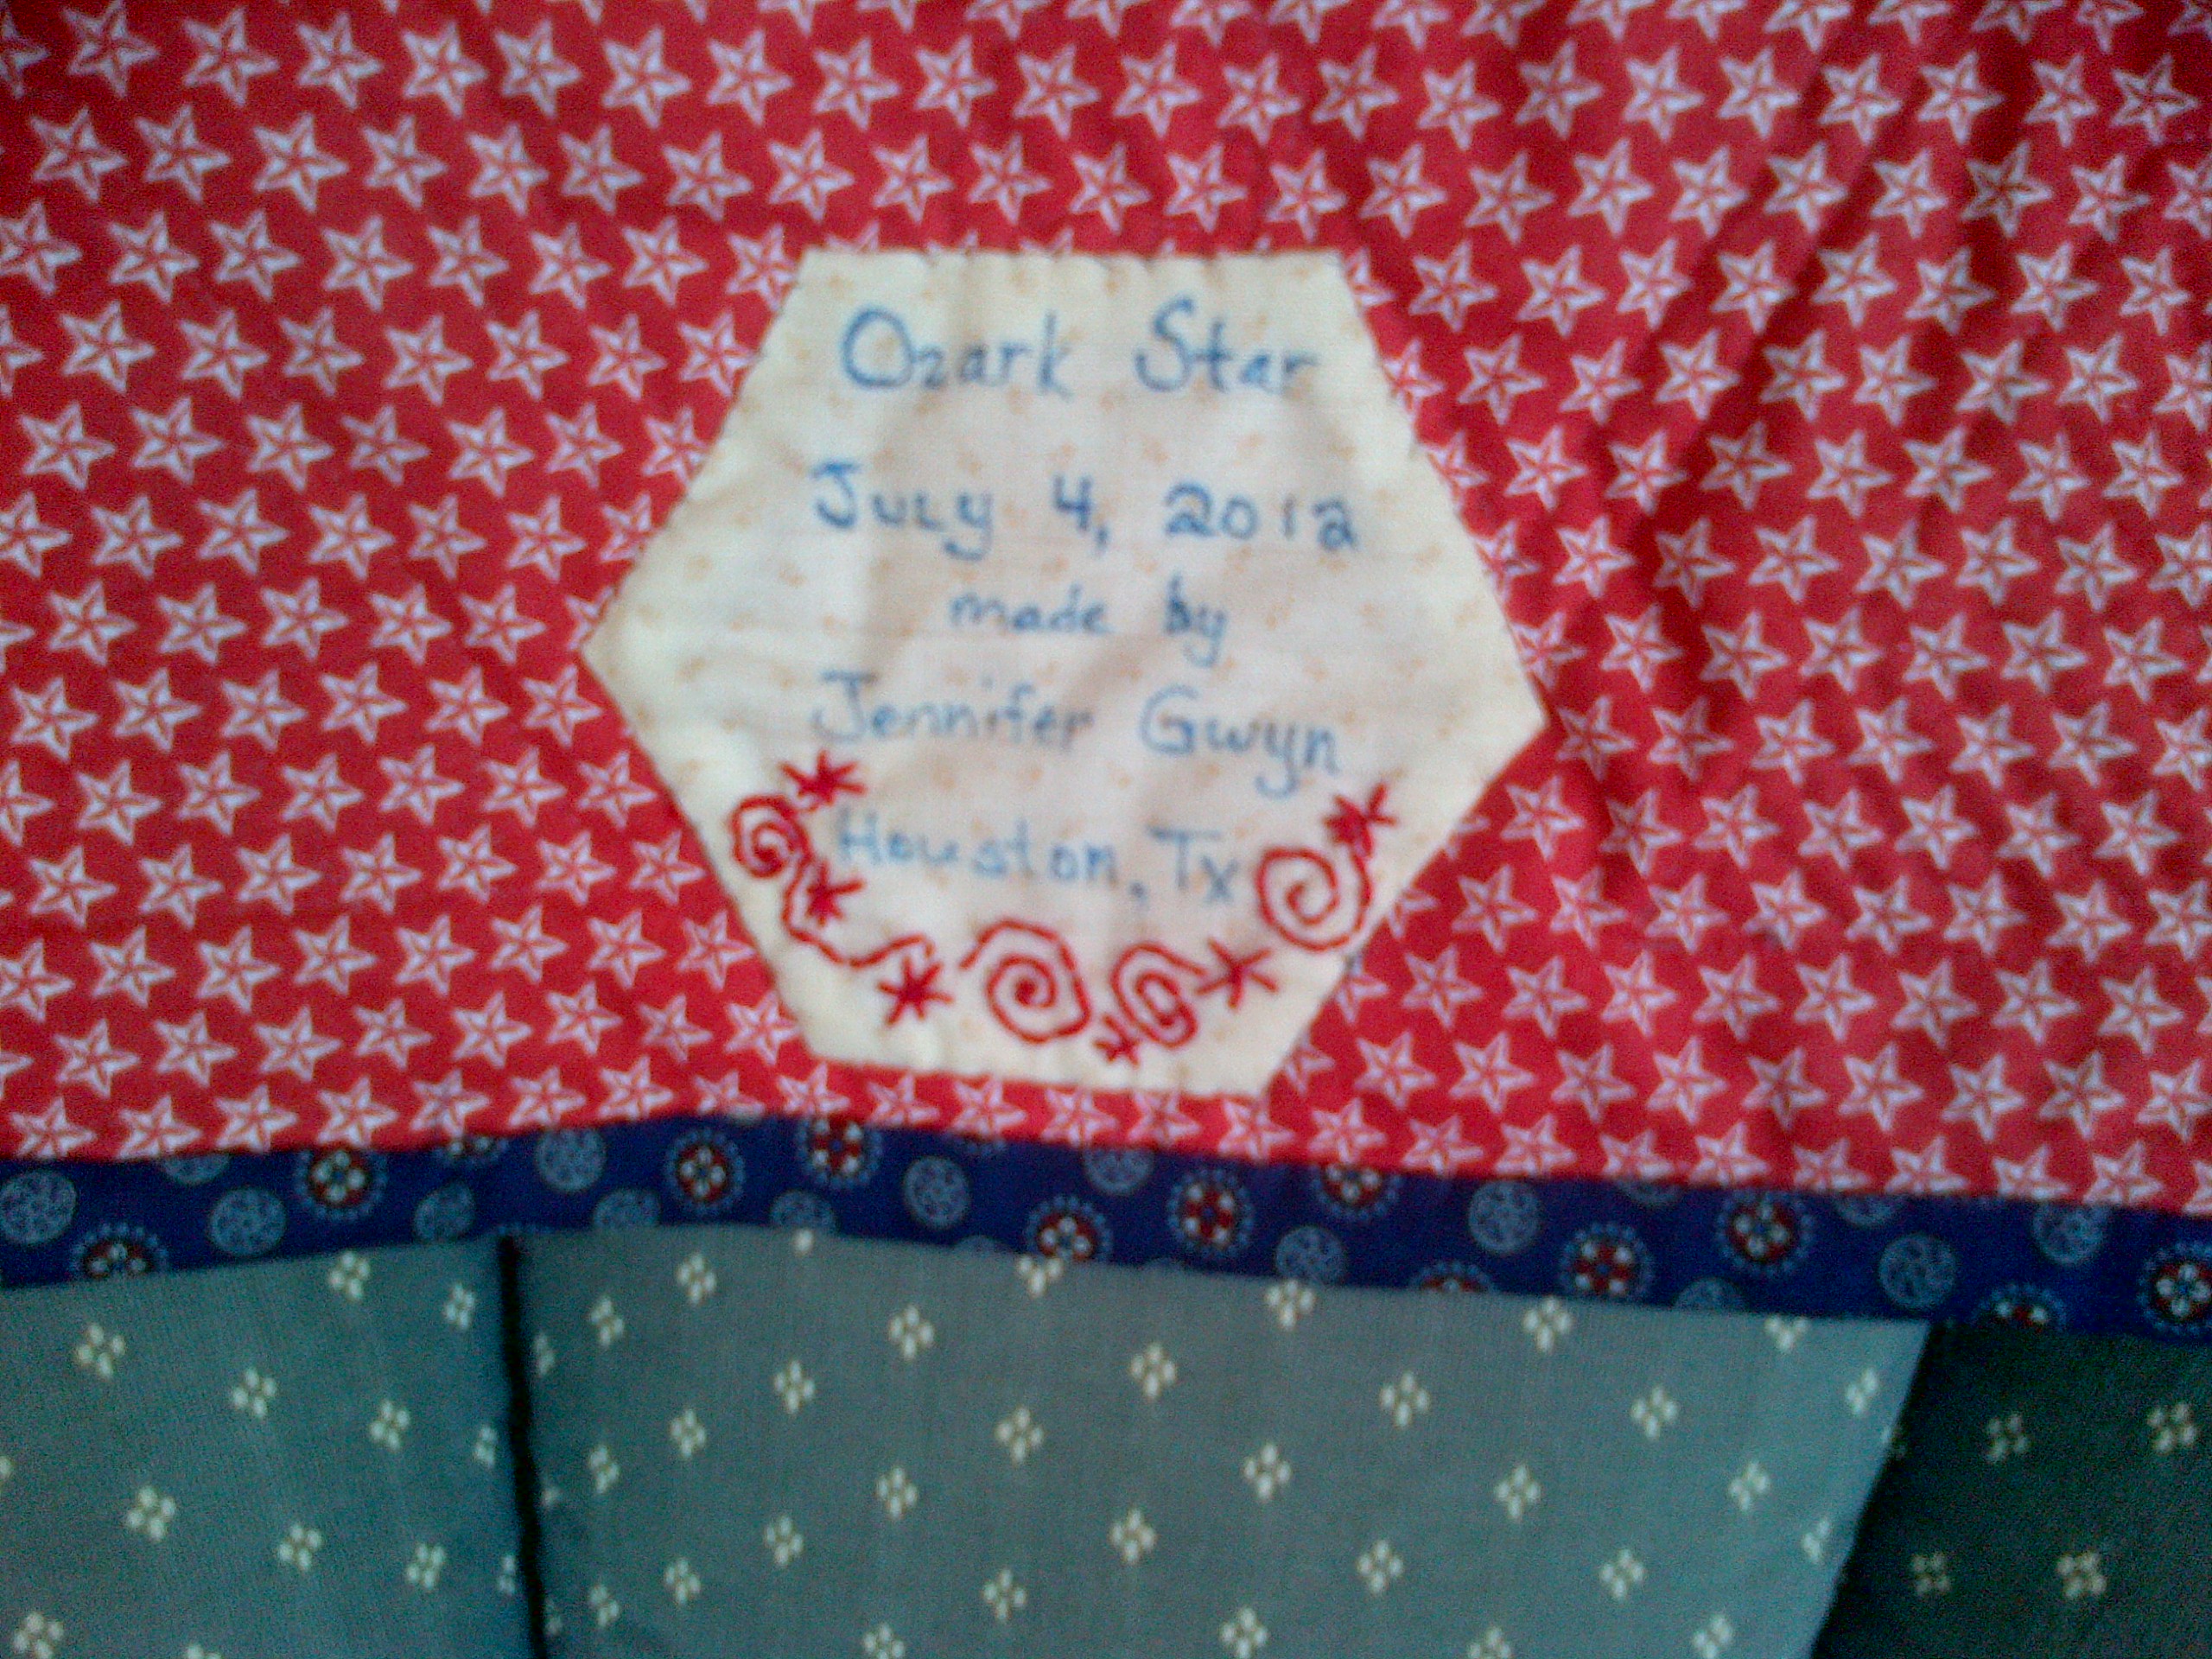
I’m working as much as I can at night to get this project off the ground.  I can’t wait to get to the end result!

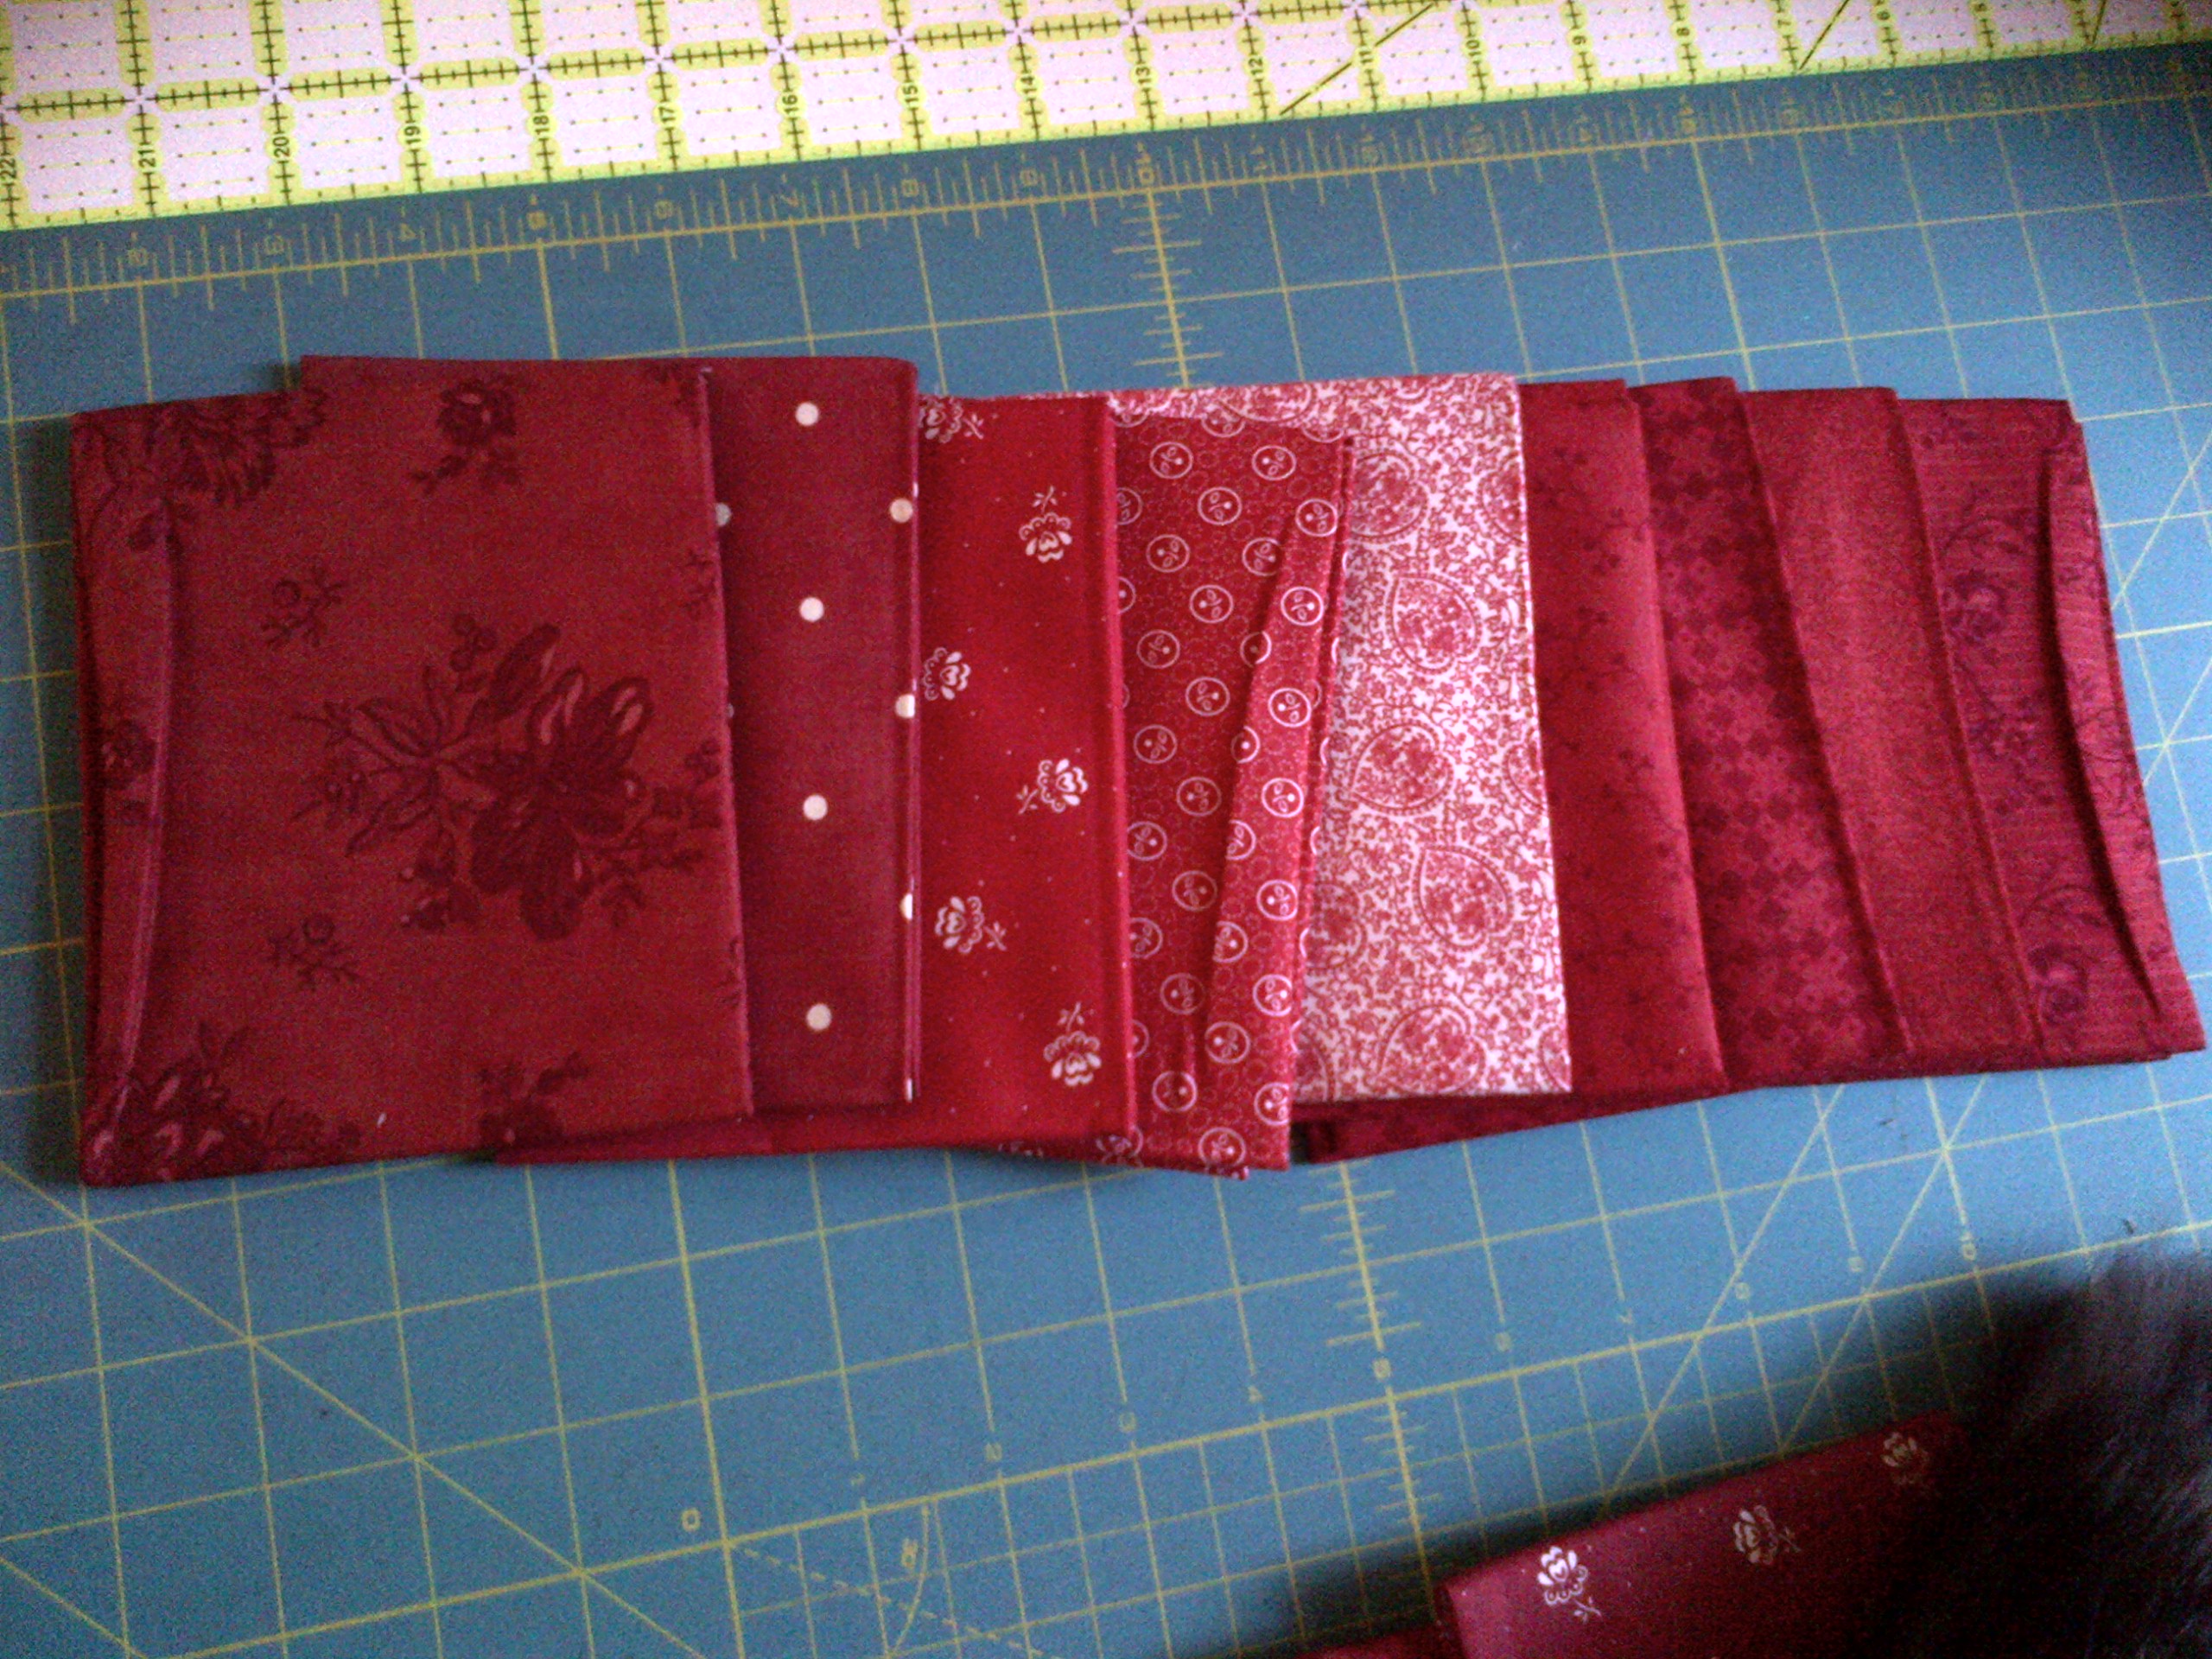
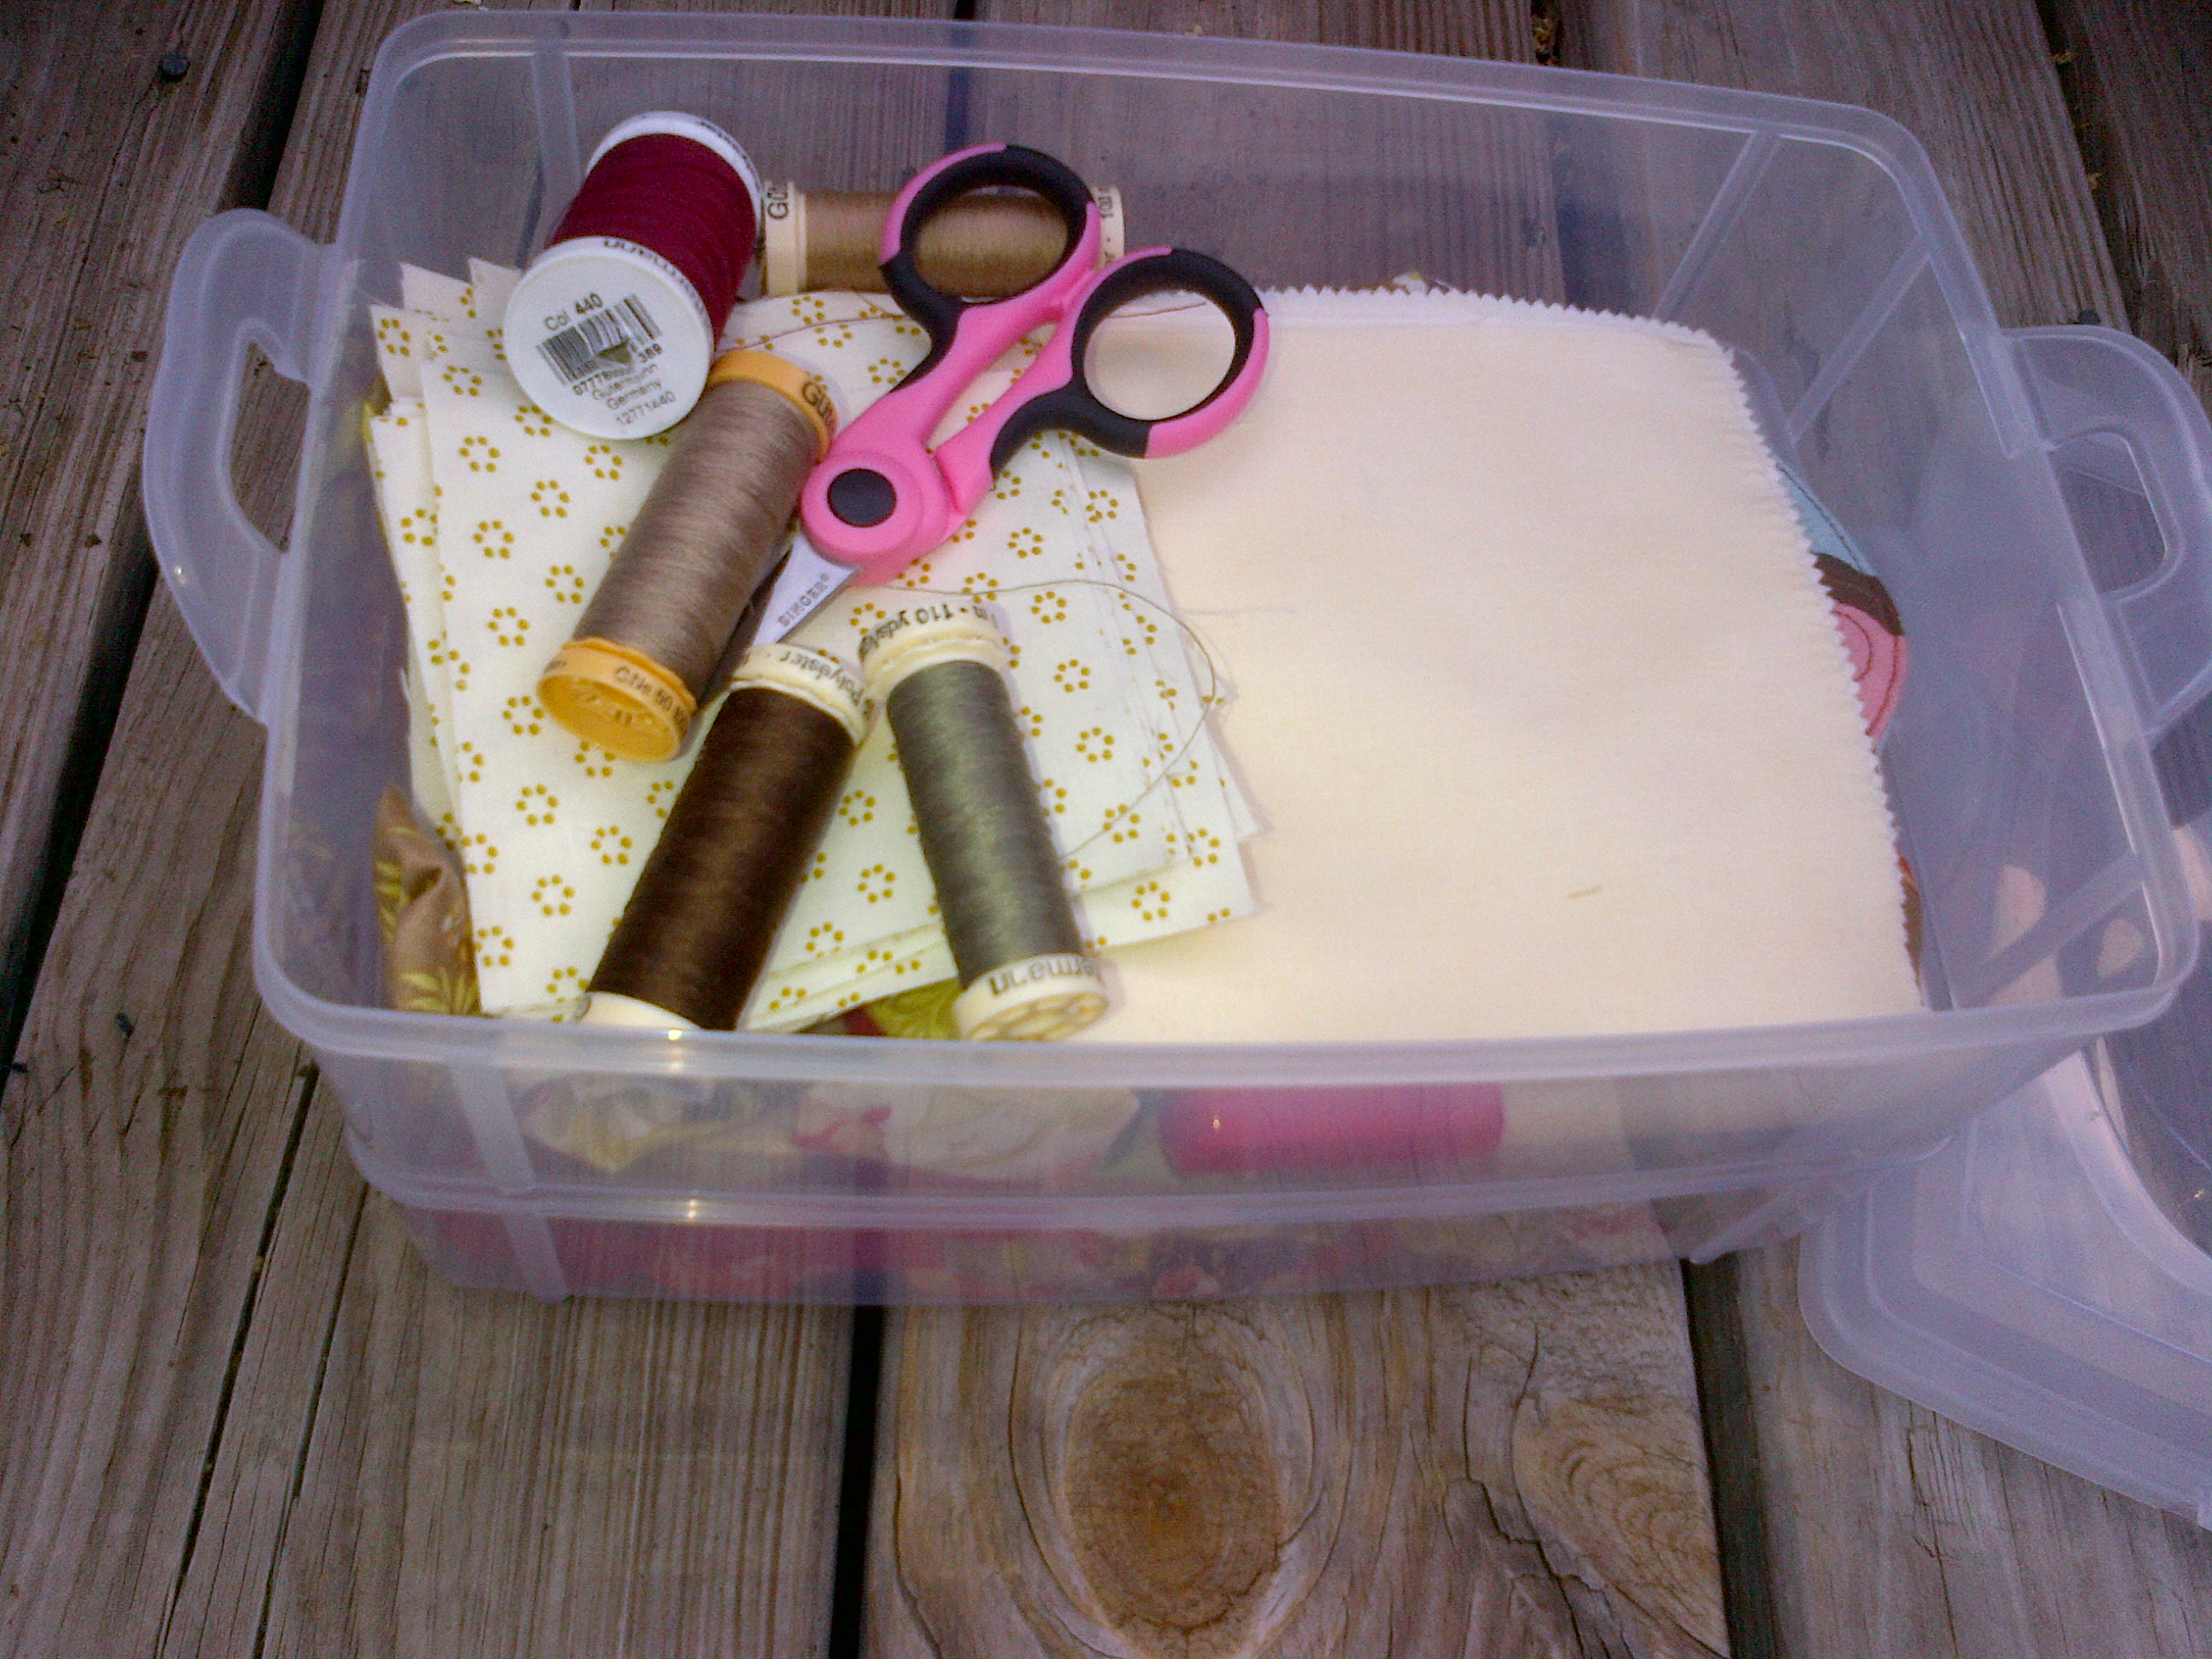
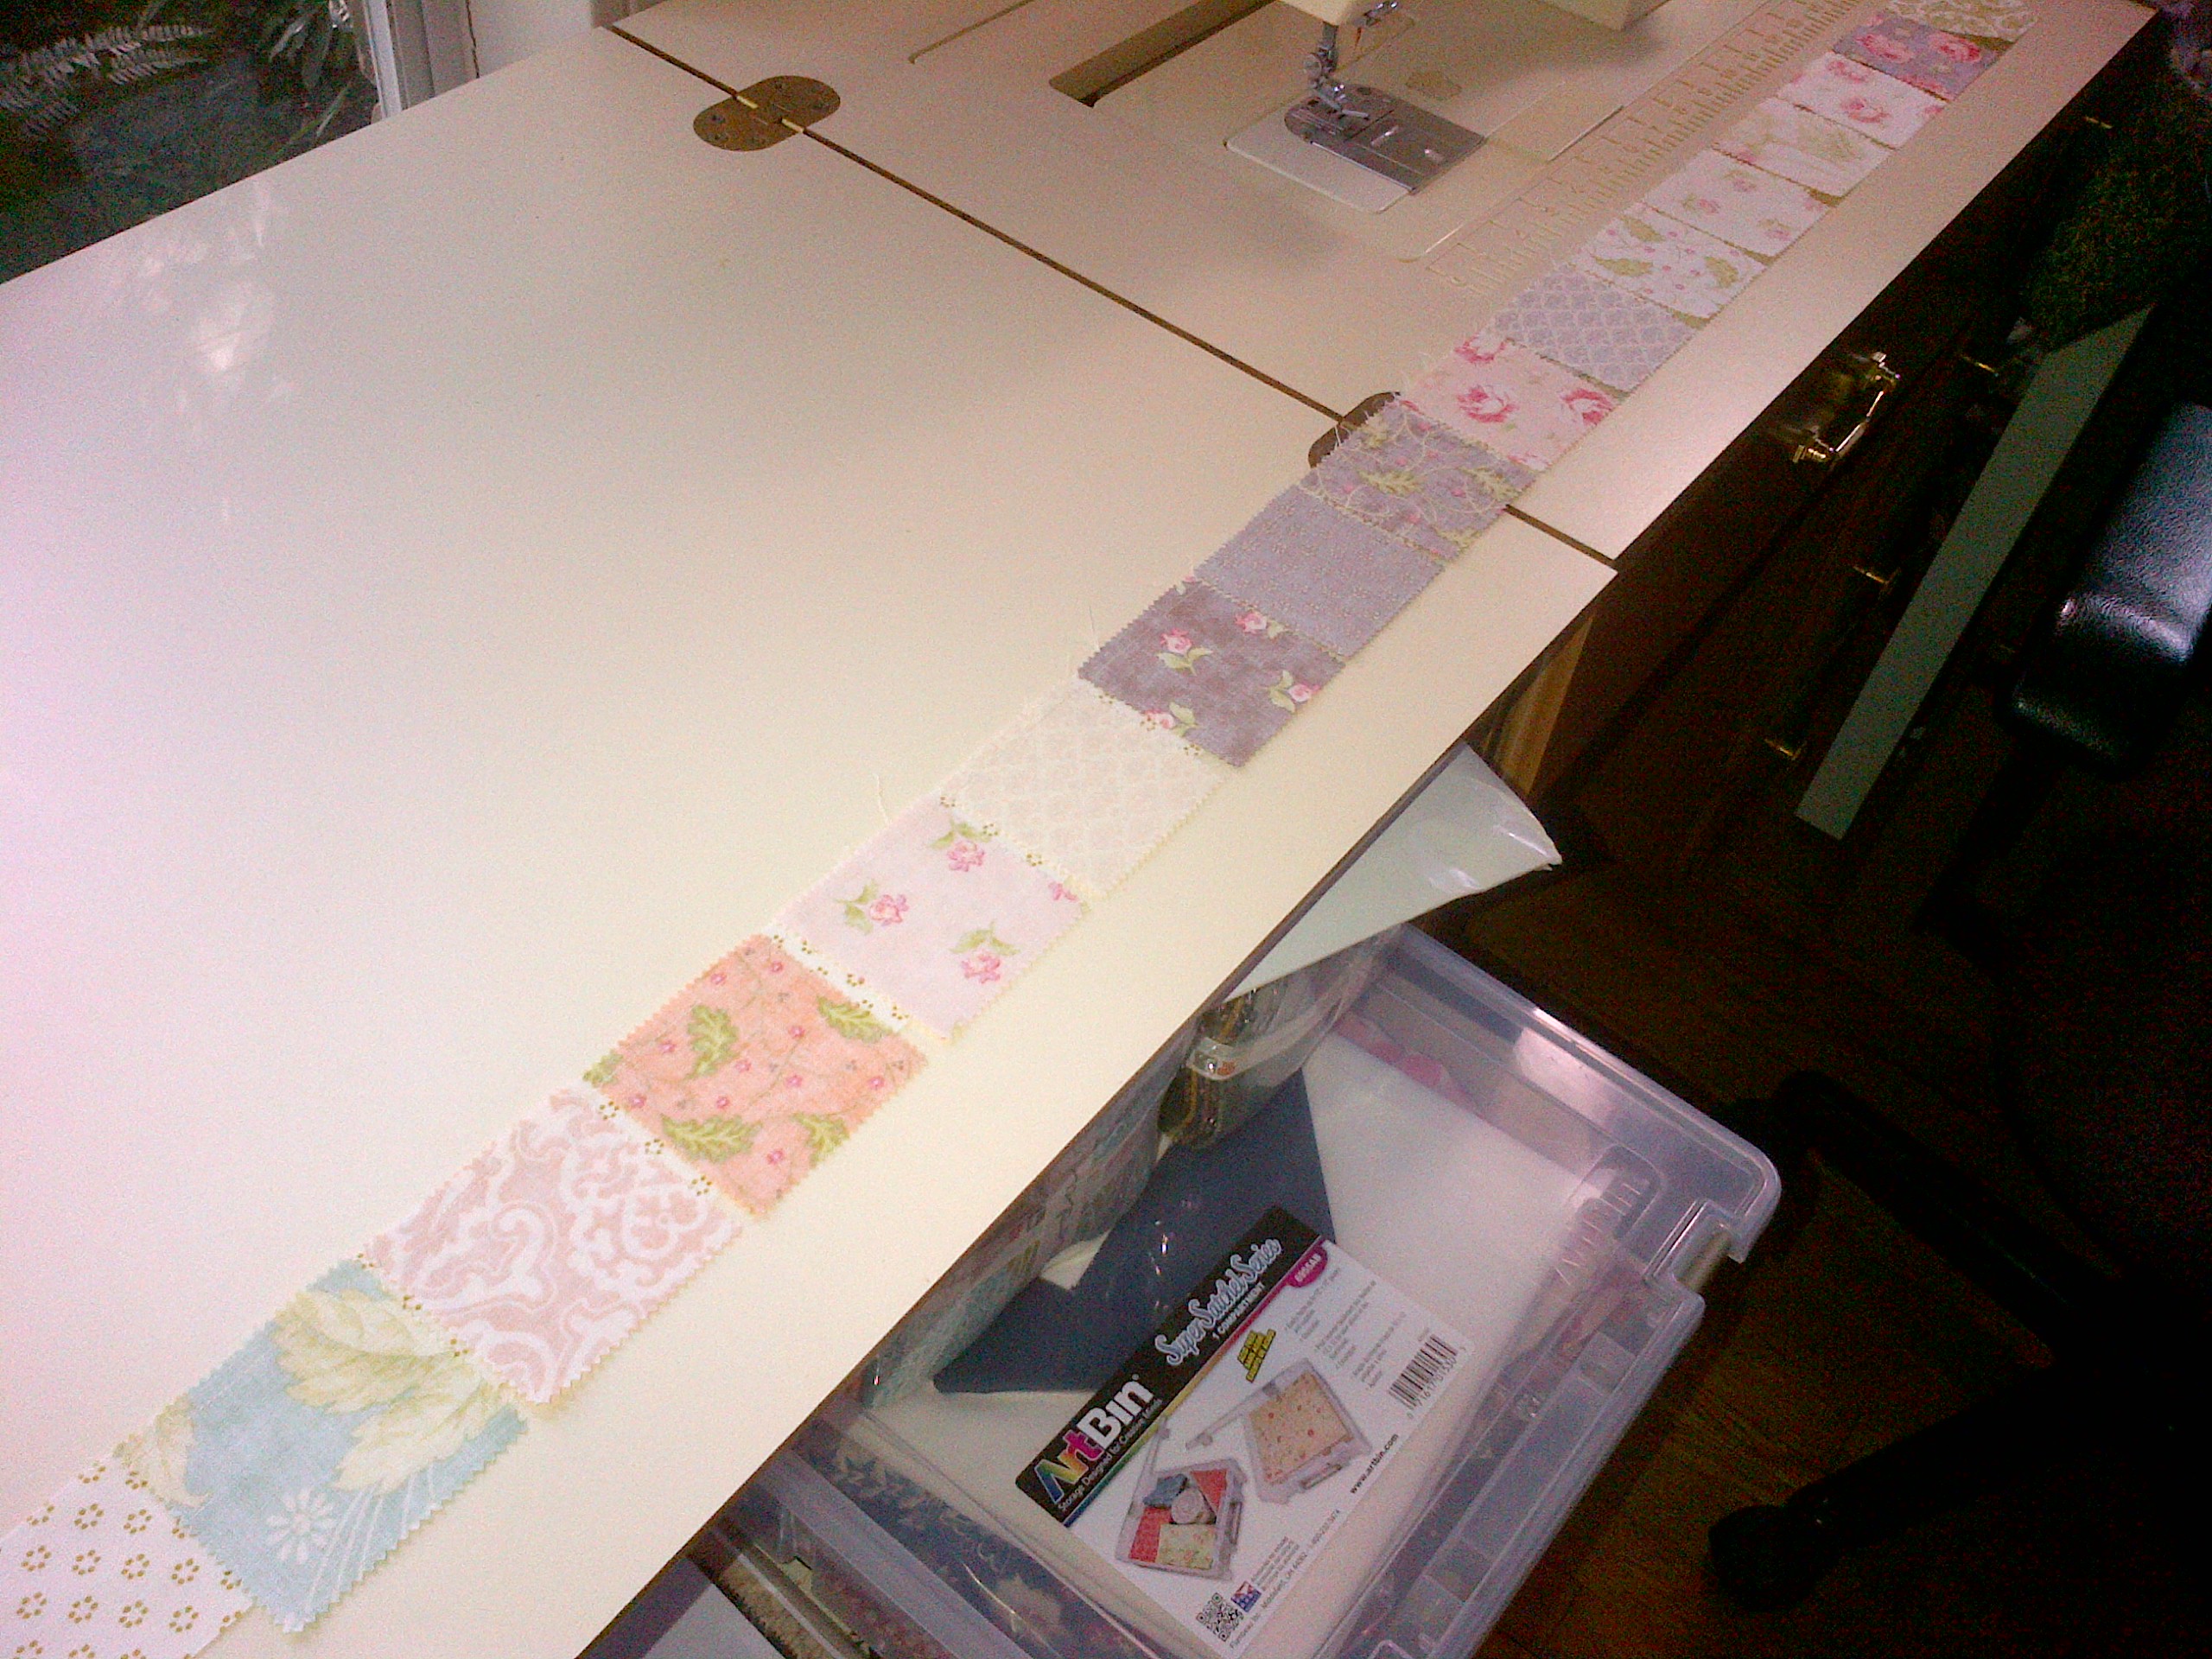
The pattern calls for 6 background fabrics in 3/4 yd cuts.  Since I’m using a FQ bundle, all my cuts are FQs… 

My solution was to group my background/light tan fabrics together in 6 sets of 3 fabrics.  I am treating each set like a single 3/4 yd cut as called for in the cutting instructions.  Here are 5 of my ‘sets’ of backgrounds. 


Nant Bckgrnd Sets

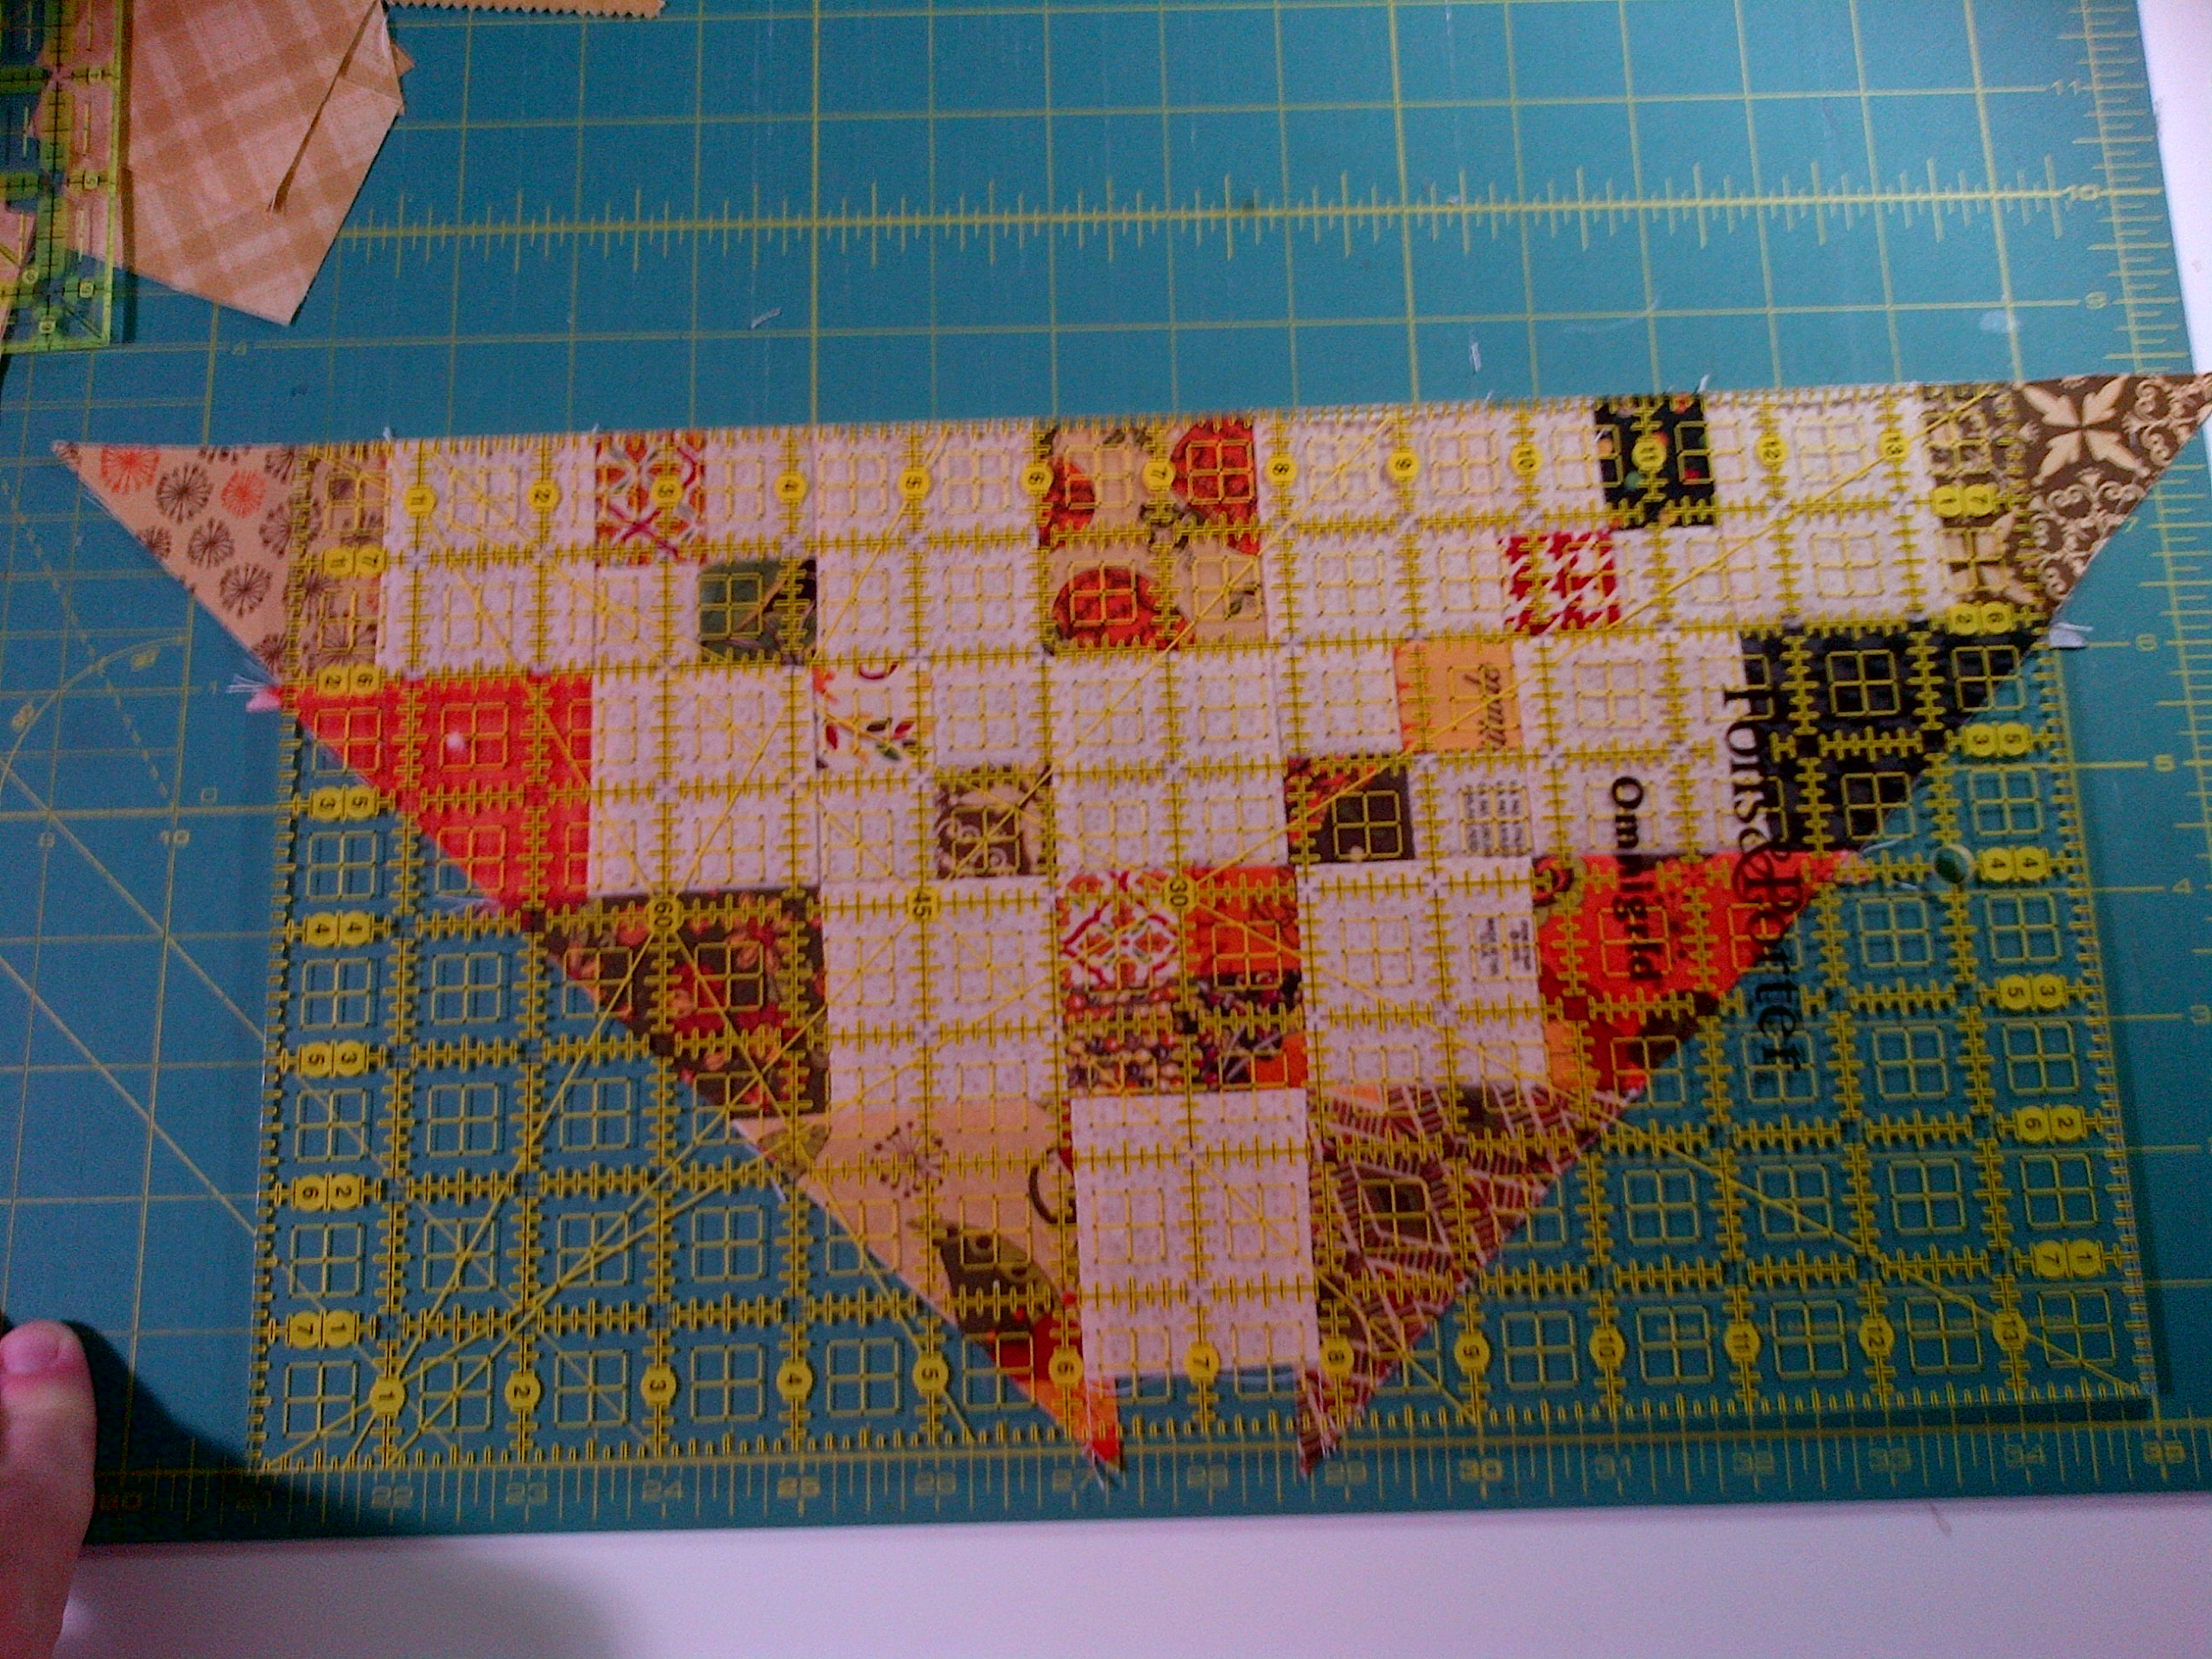
I take the three FQ pieces and stack them neatly on my cutting board and proceeded to cut. 

First, after trimming up a straight edge, I did the two skinny cuts for the 9 patch units. 

Then, I cut three strips at 4 1/4″ each. 

The pattern wants you to end up with six (6) rectangles that are 8″ long and also (21) squares.  To do that I took one of the strips (that is 3 fabrics deep) and cut twice to get my 6 rectangles.  Then I was able to get one more cut done for 3 of the squares. 

I took the next strip group and cut it into 5 squares (15 total for all fabrics). 

Finally, I just had to make one cut off the last set of strips to give me the total 21 squares needed.  That left me with 3 background strips that were around 4 1/4″ x 17″ long.  Scrap bin stash!

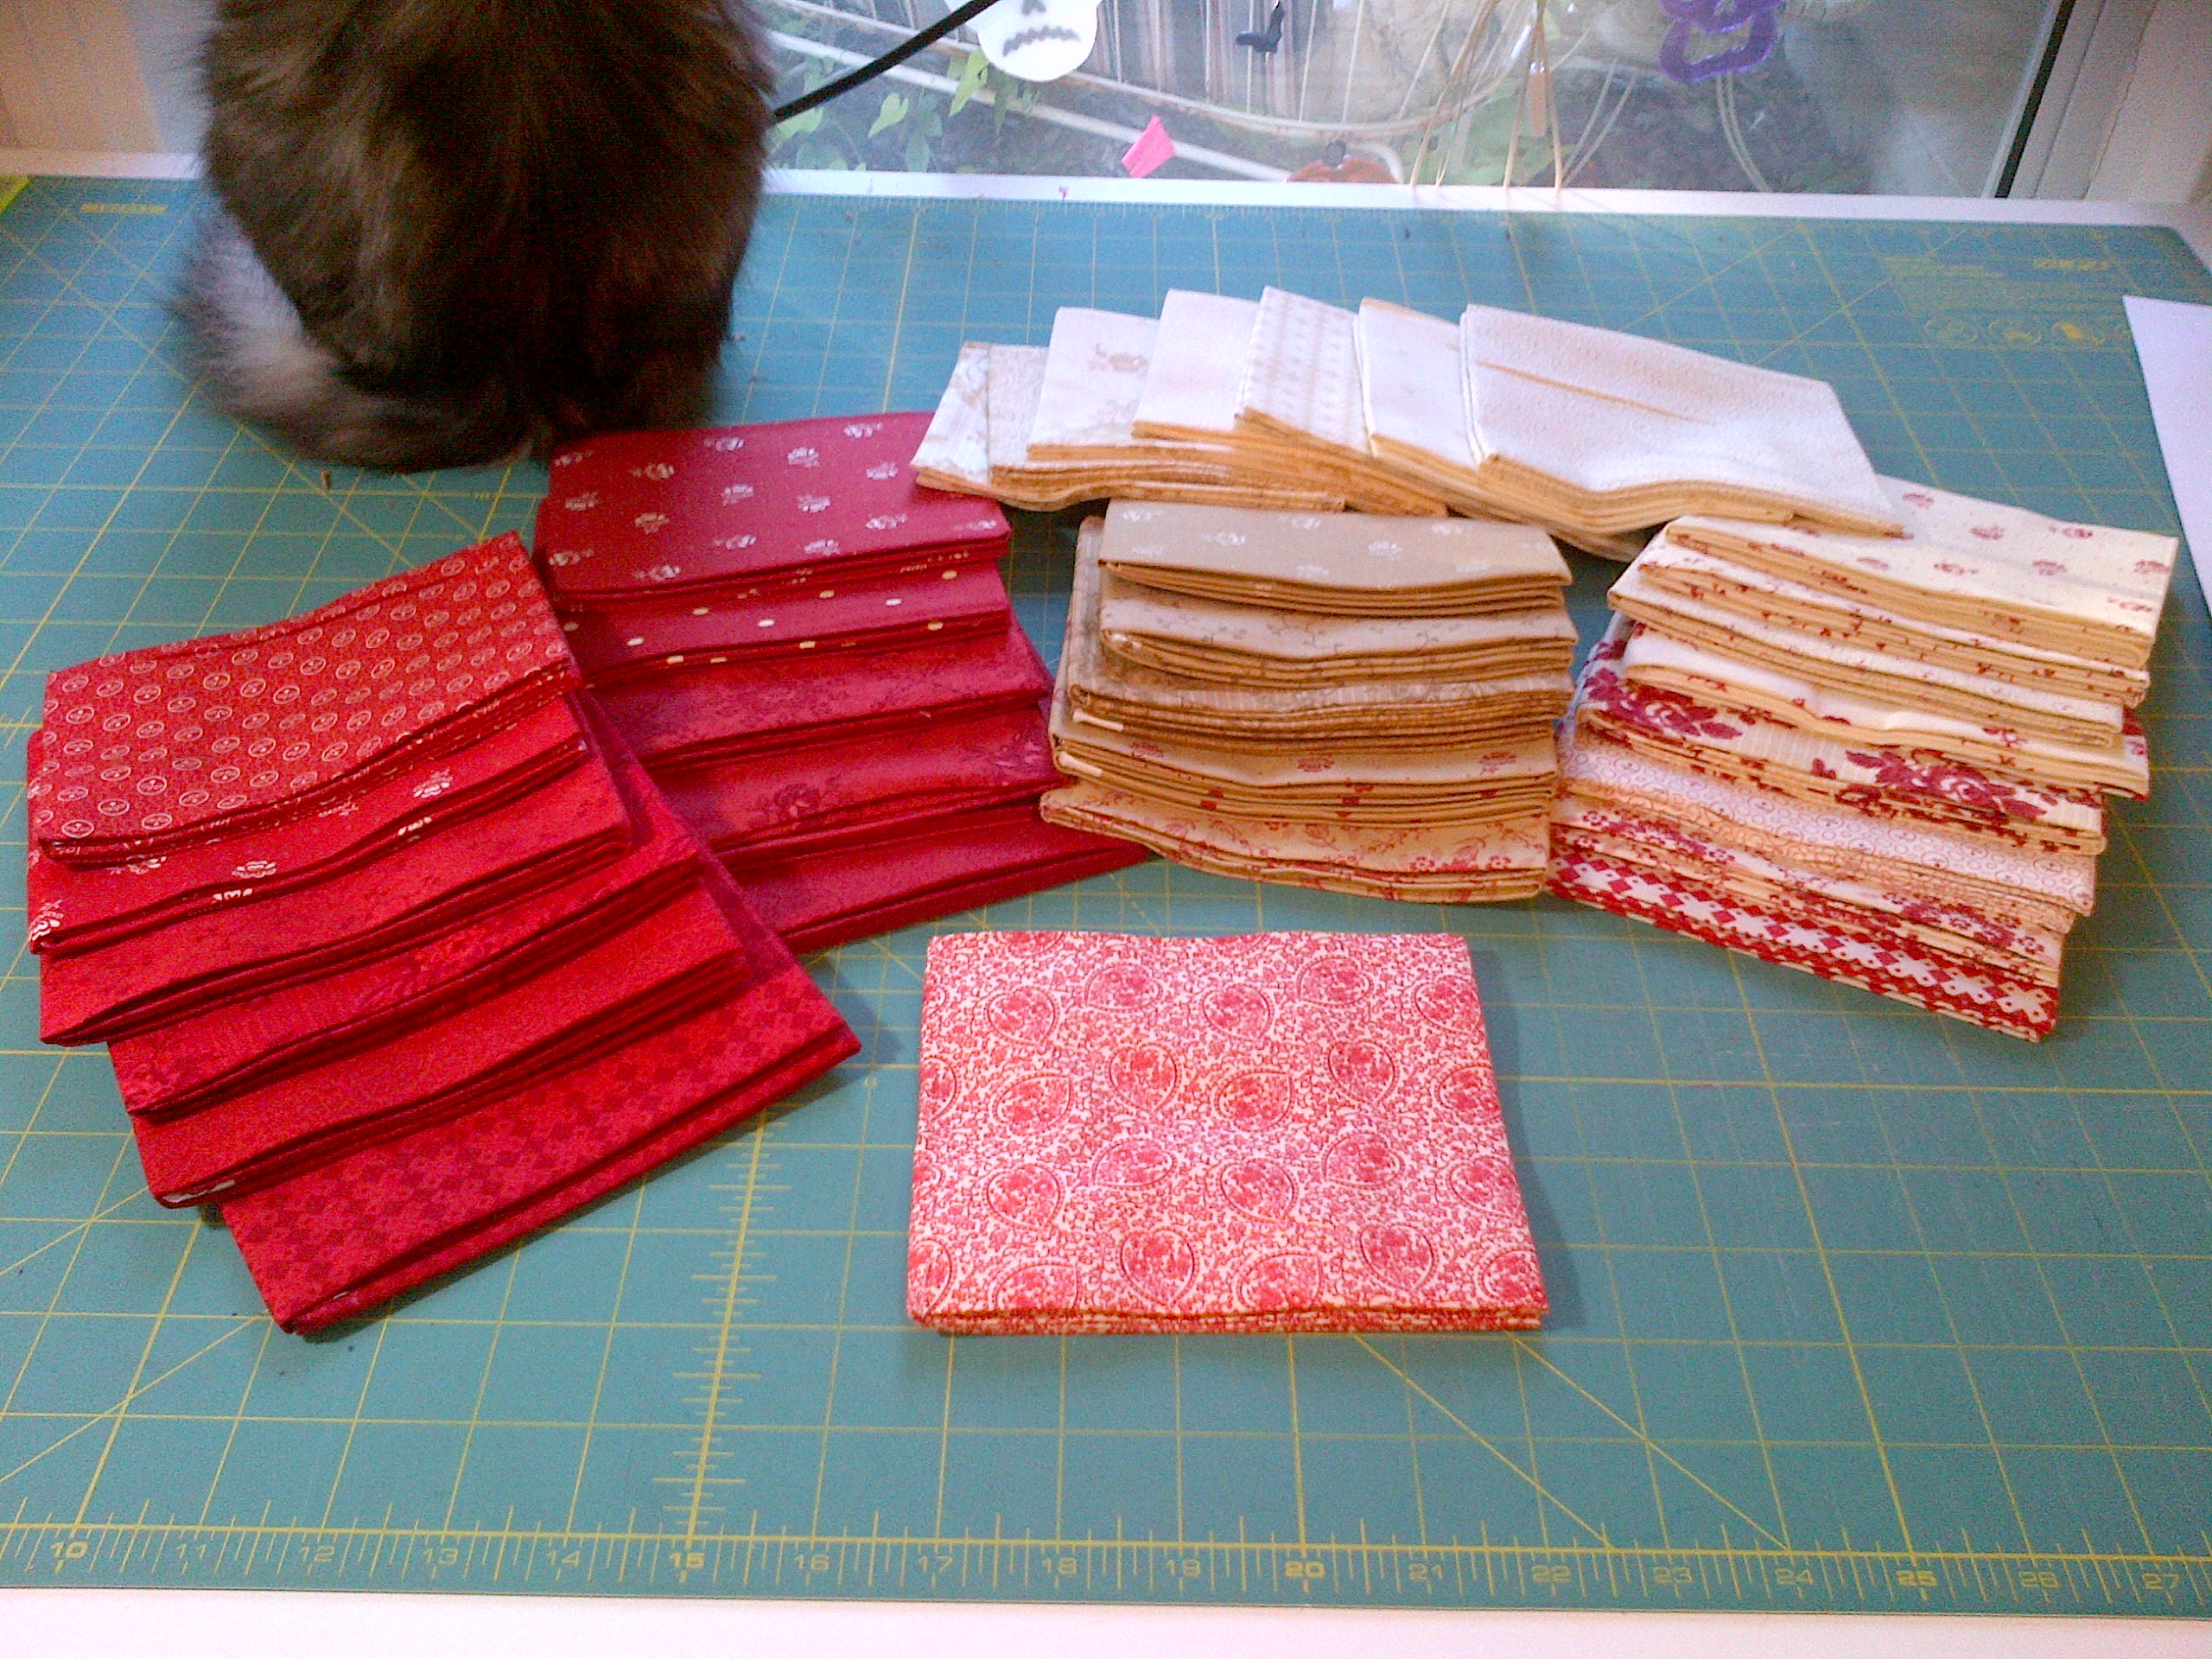
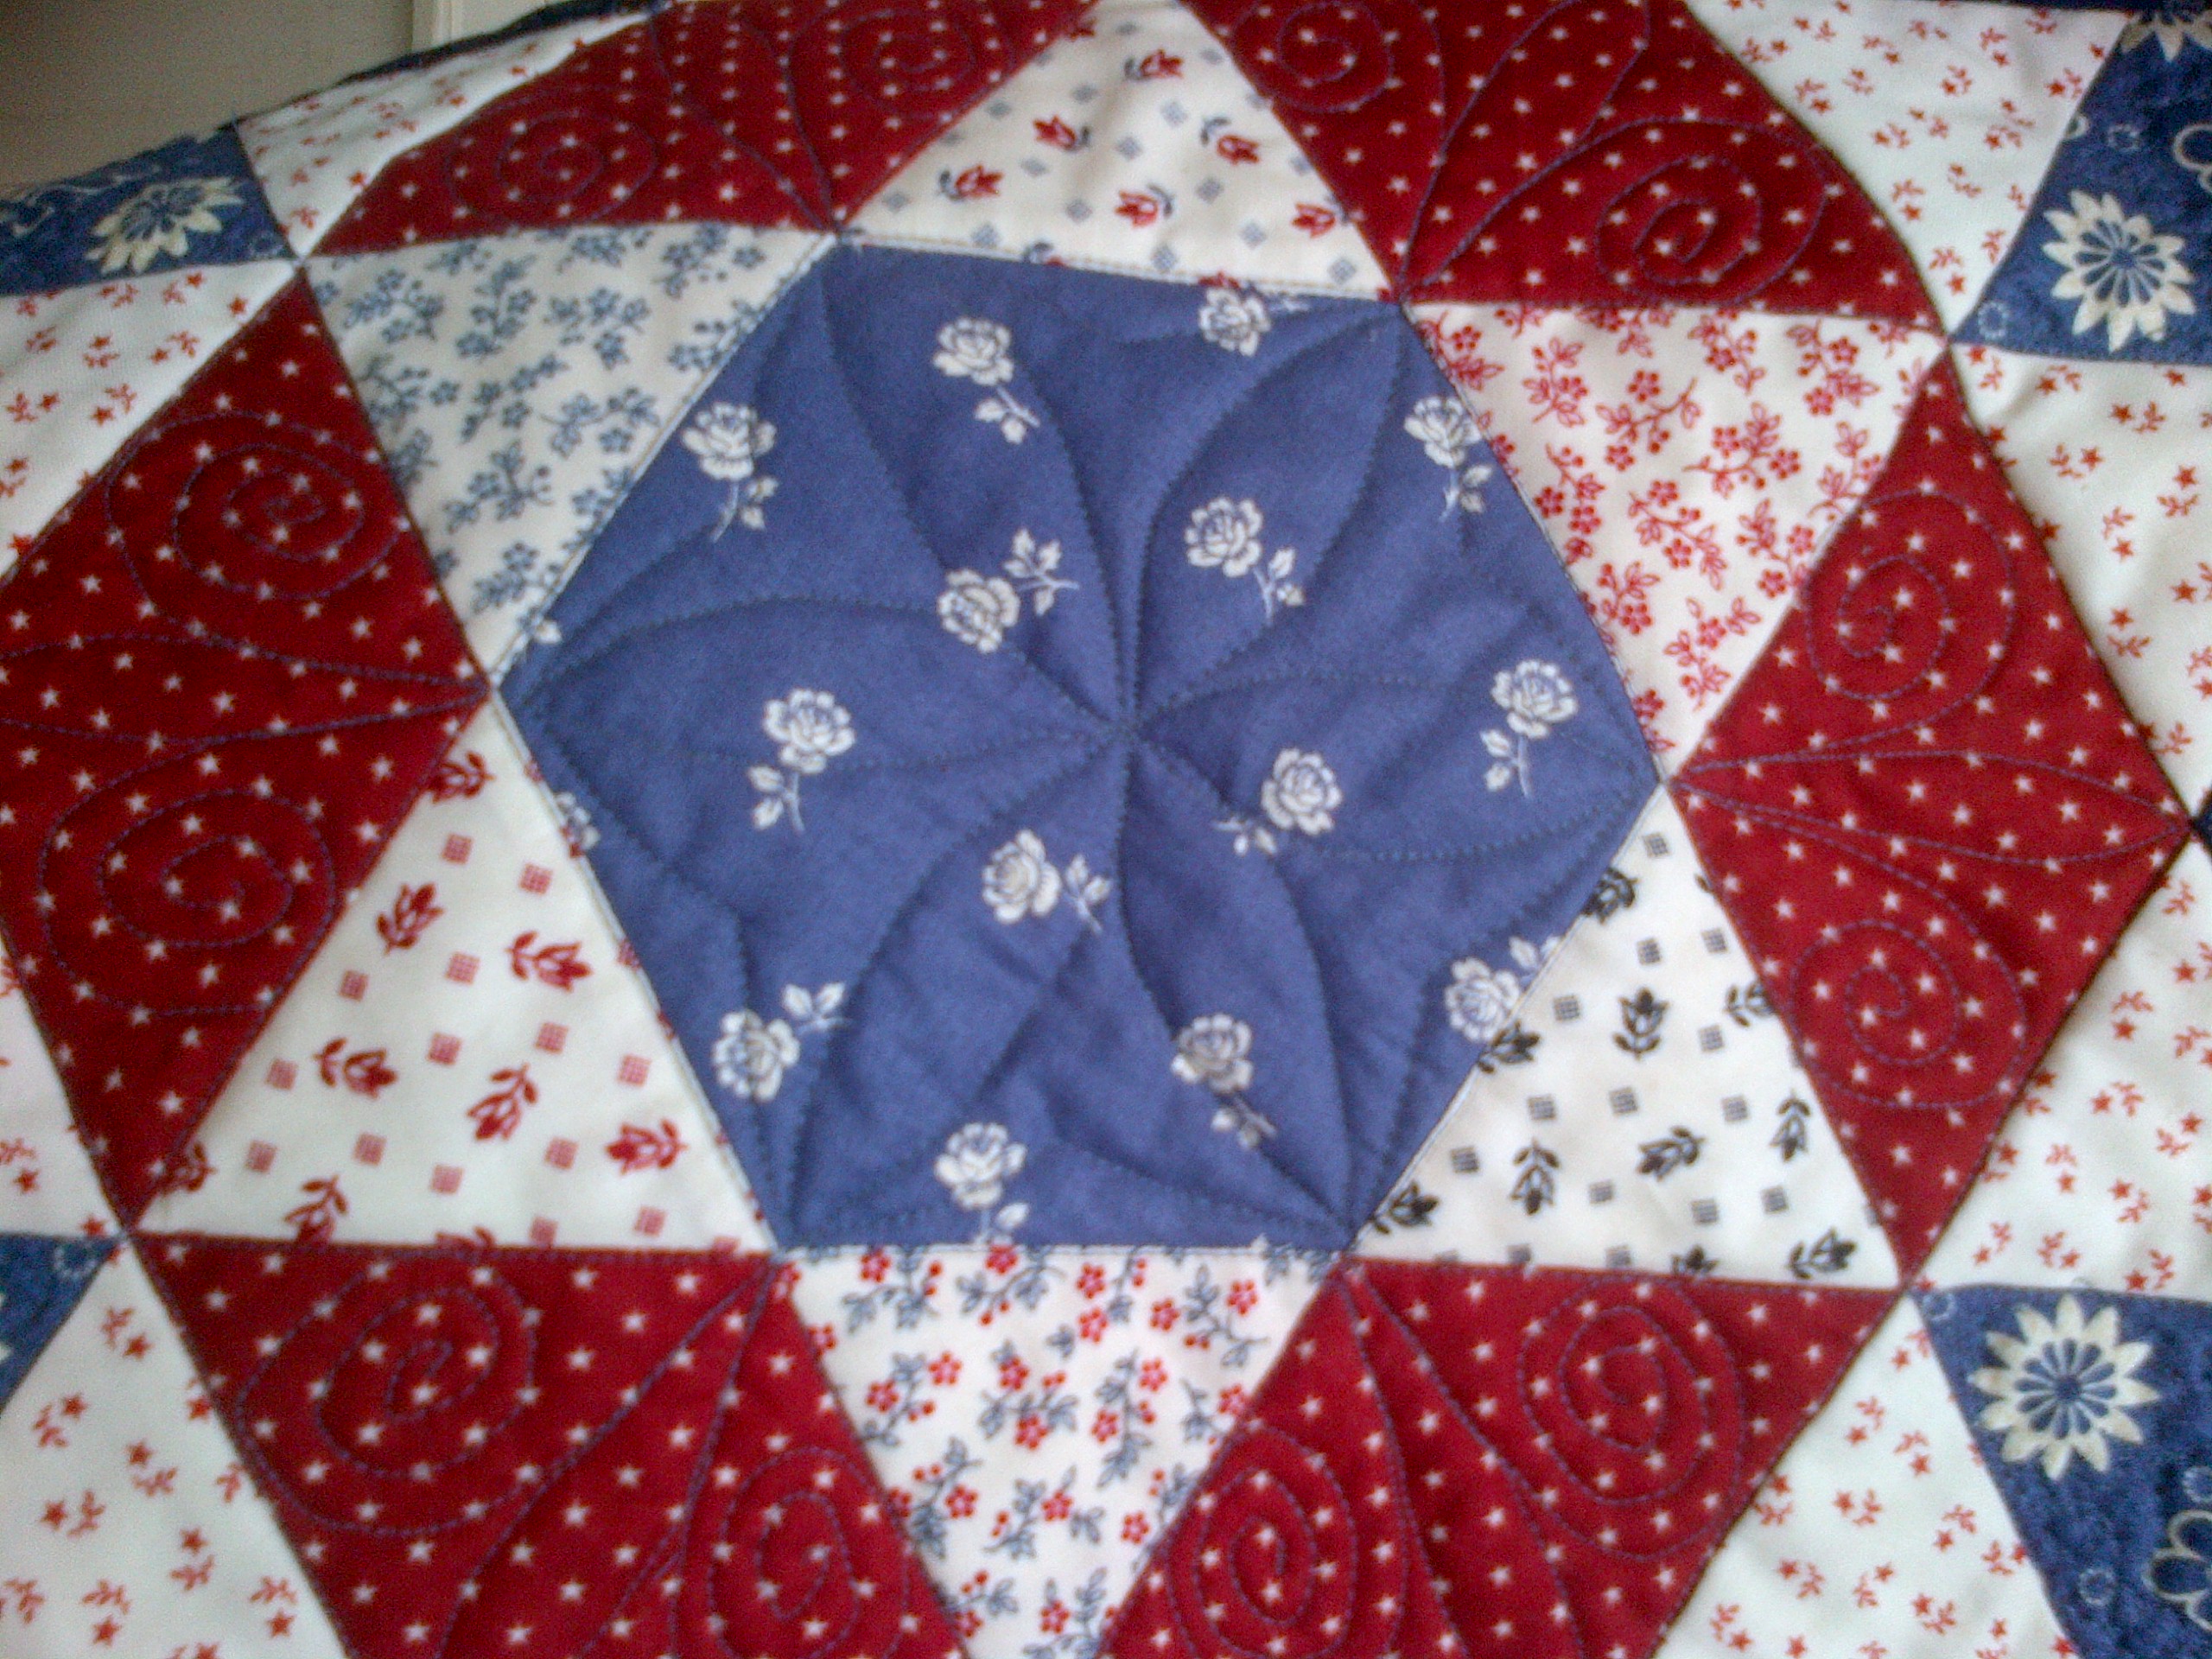
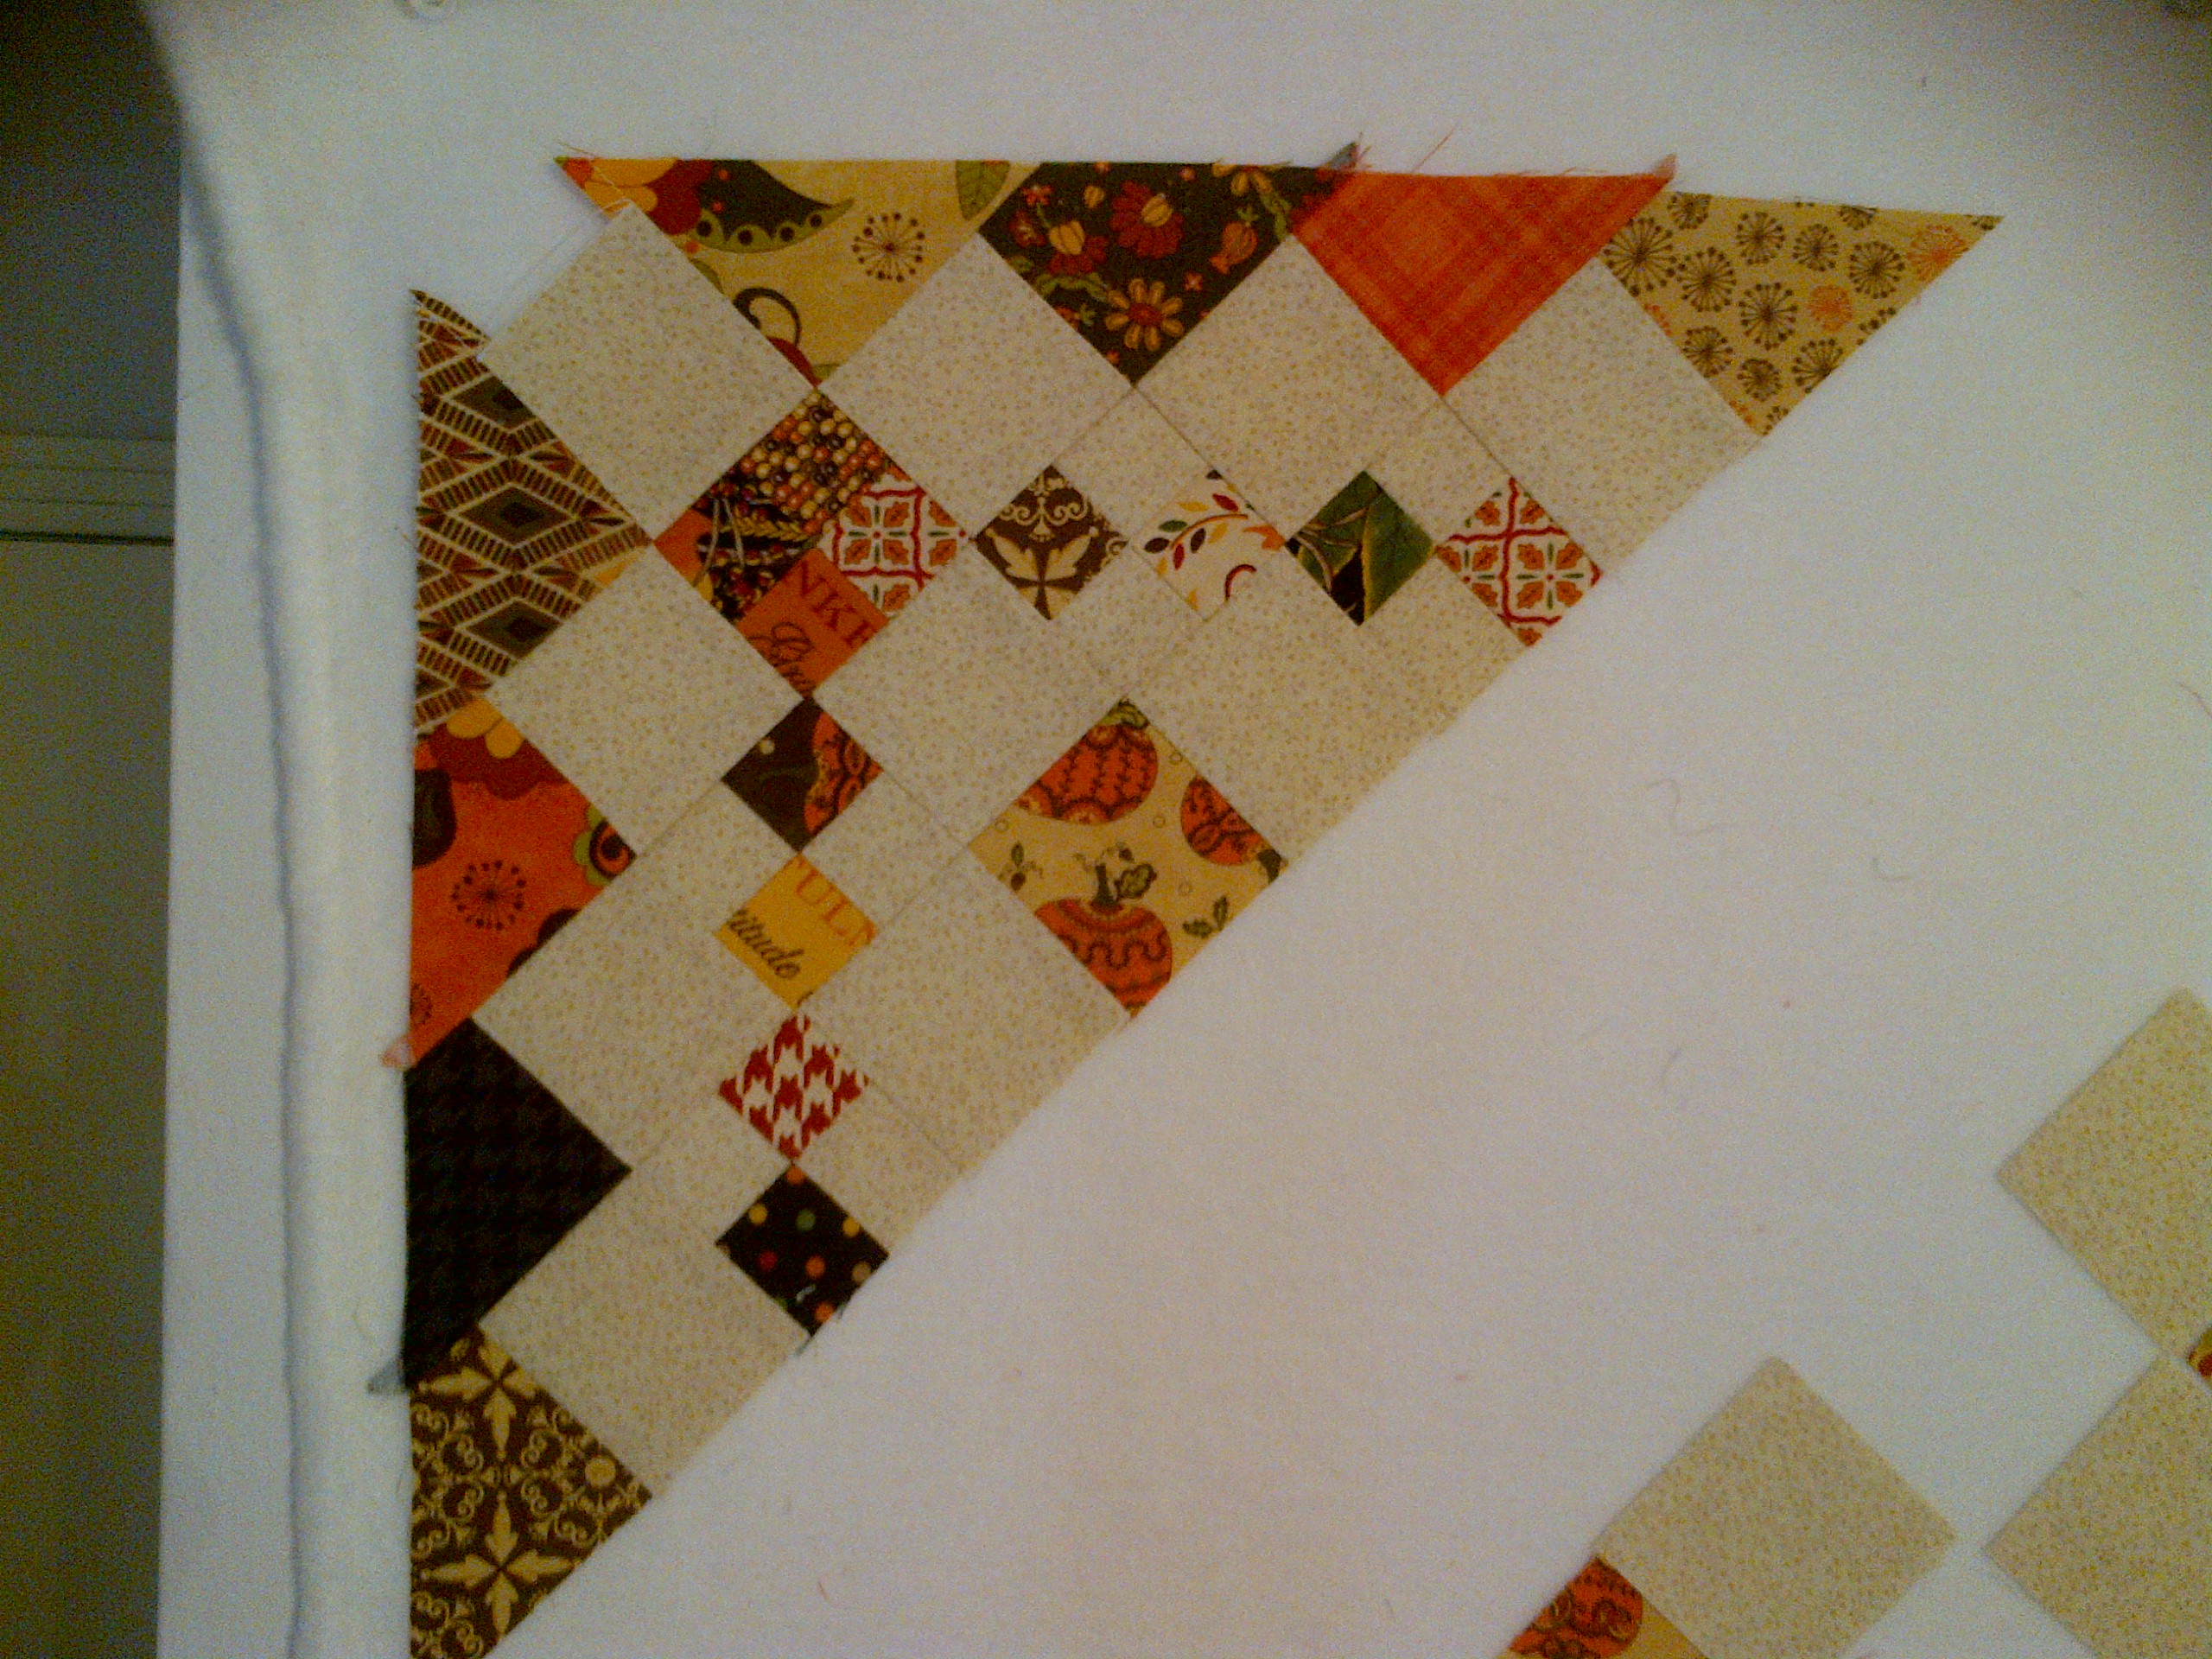
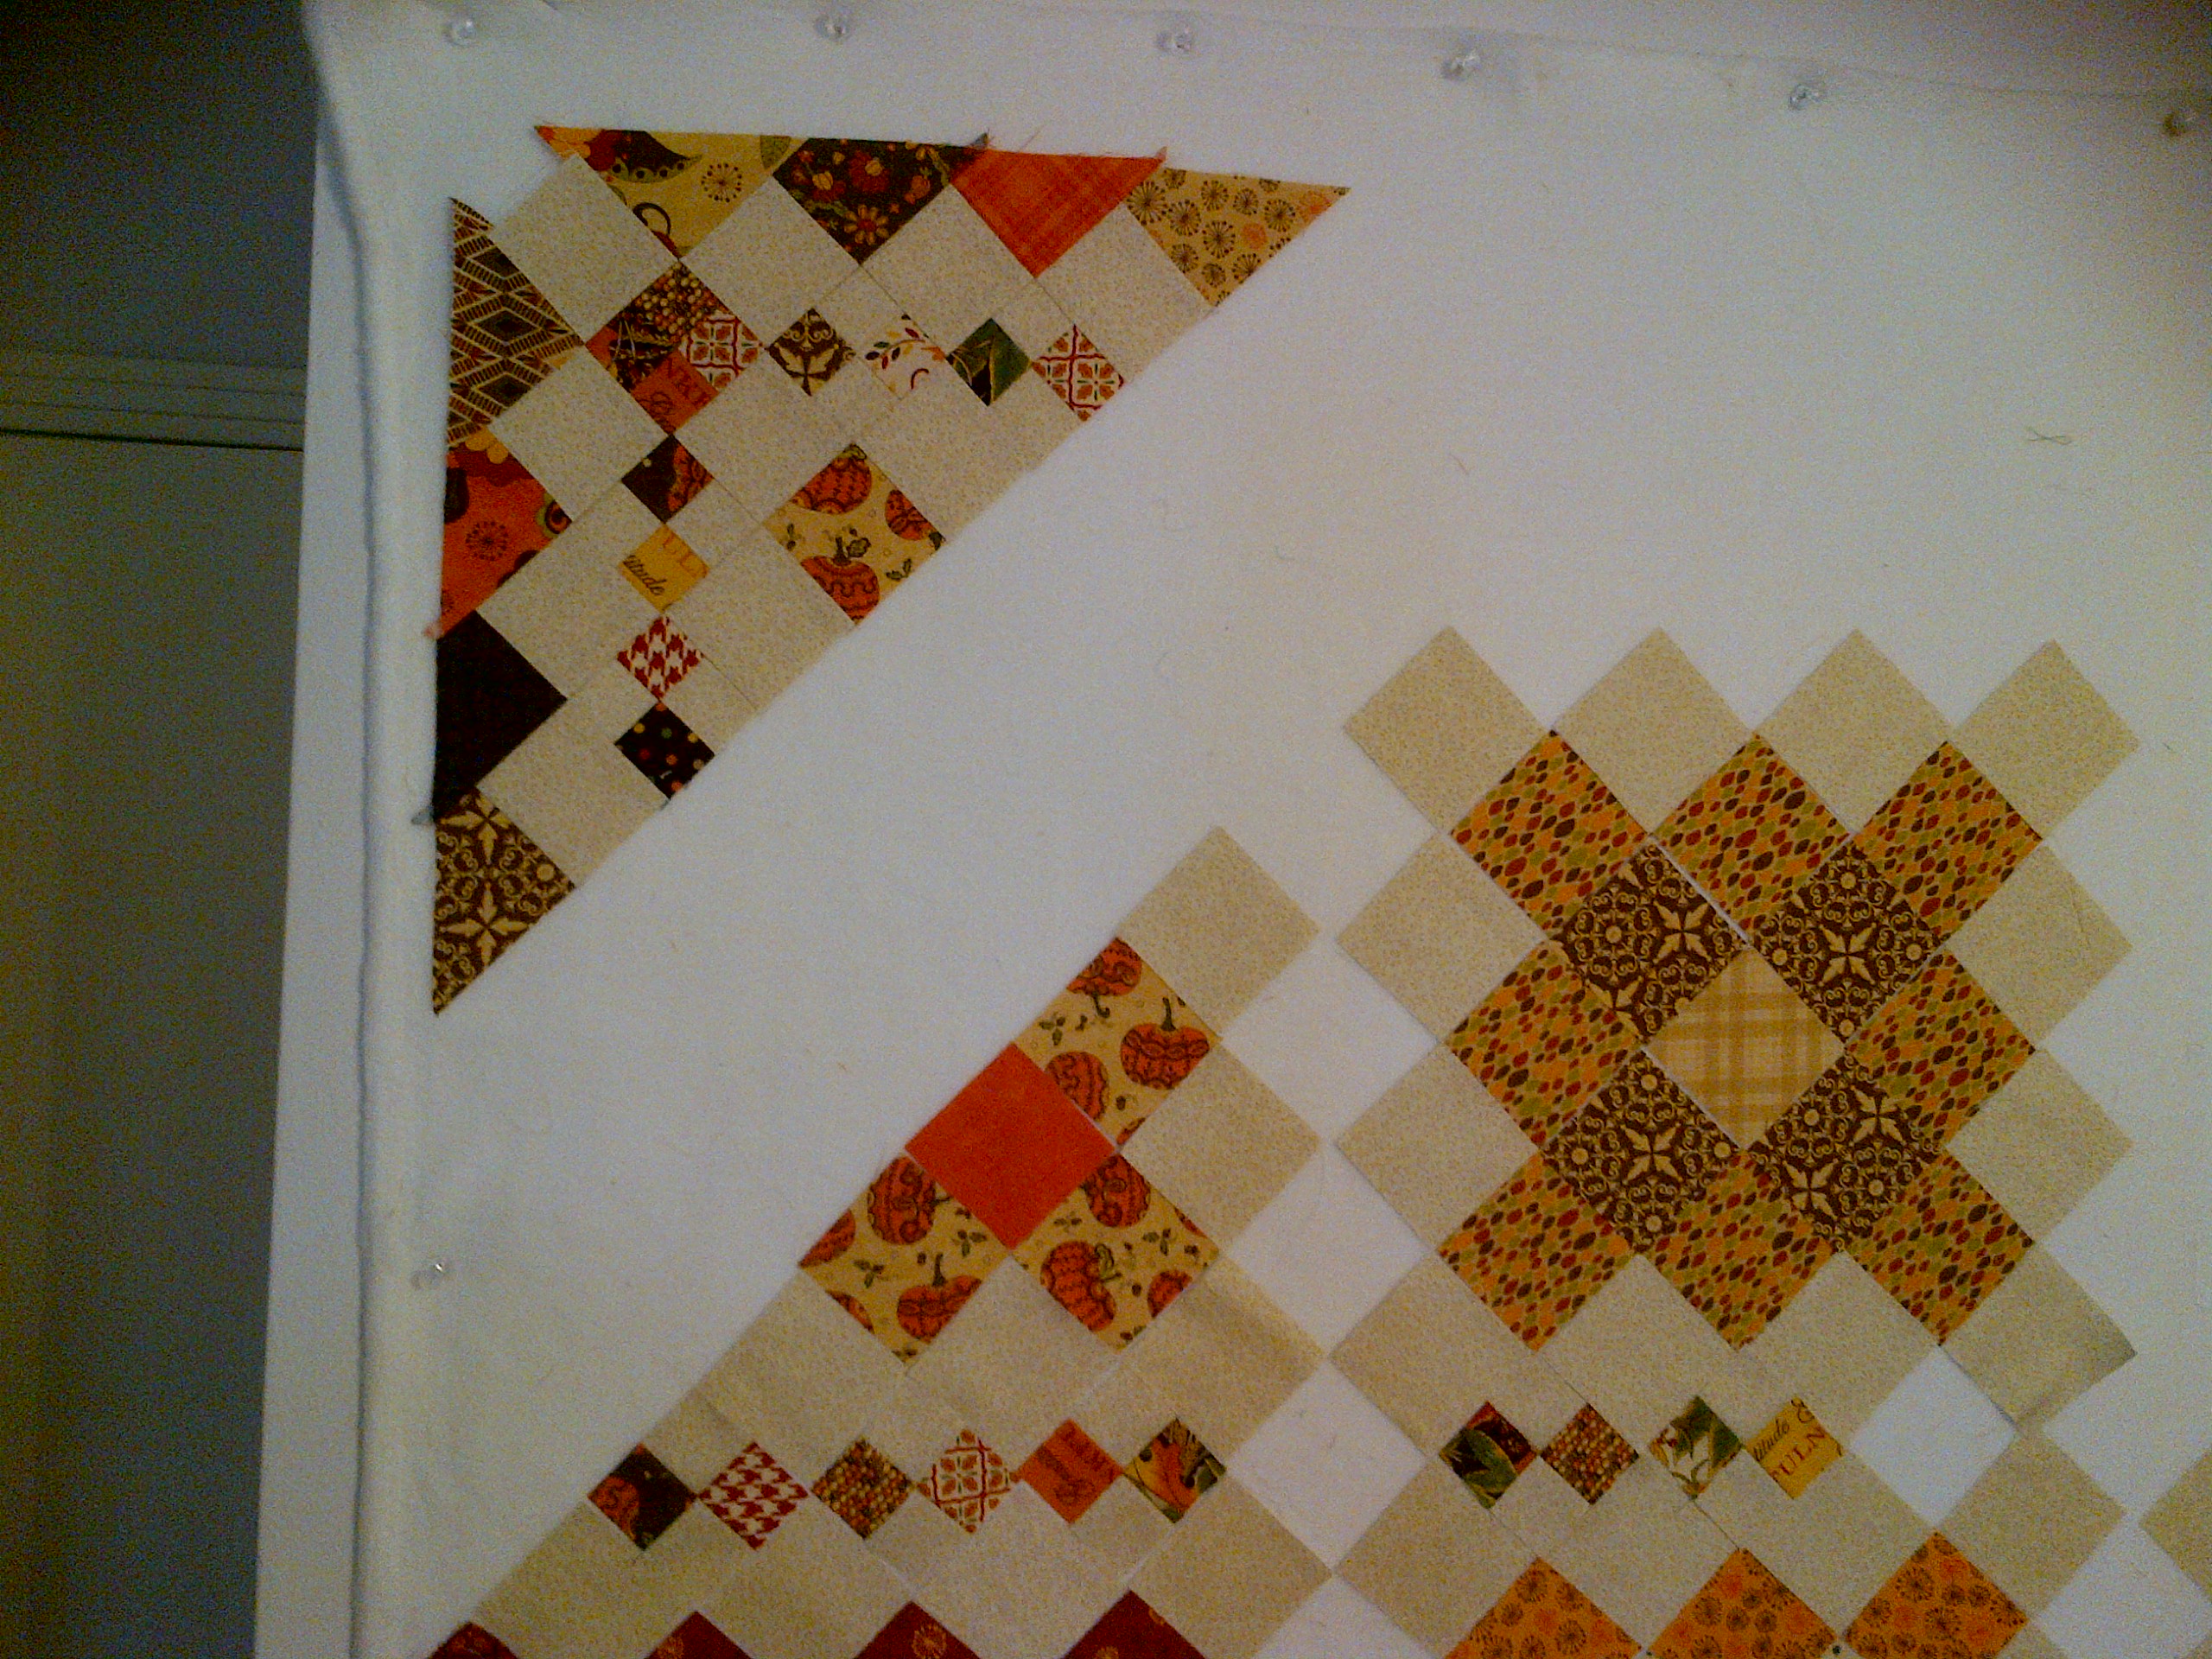
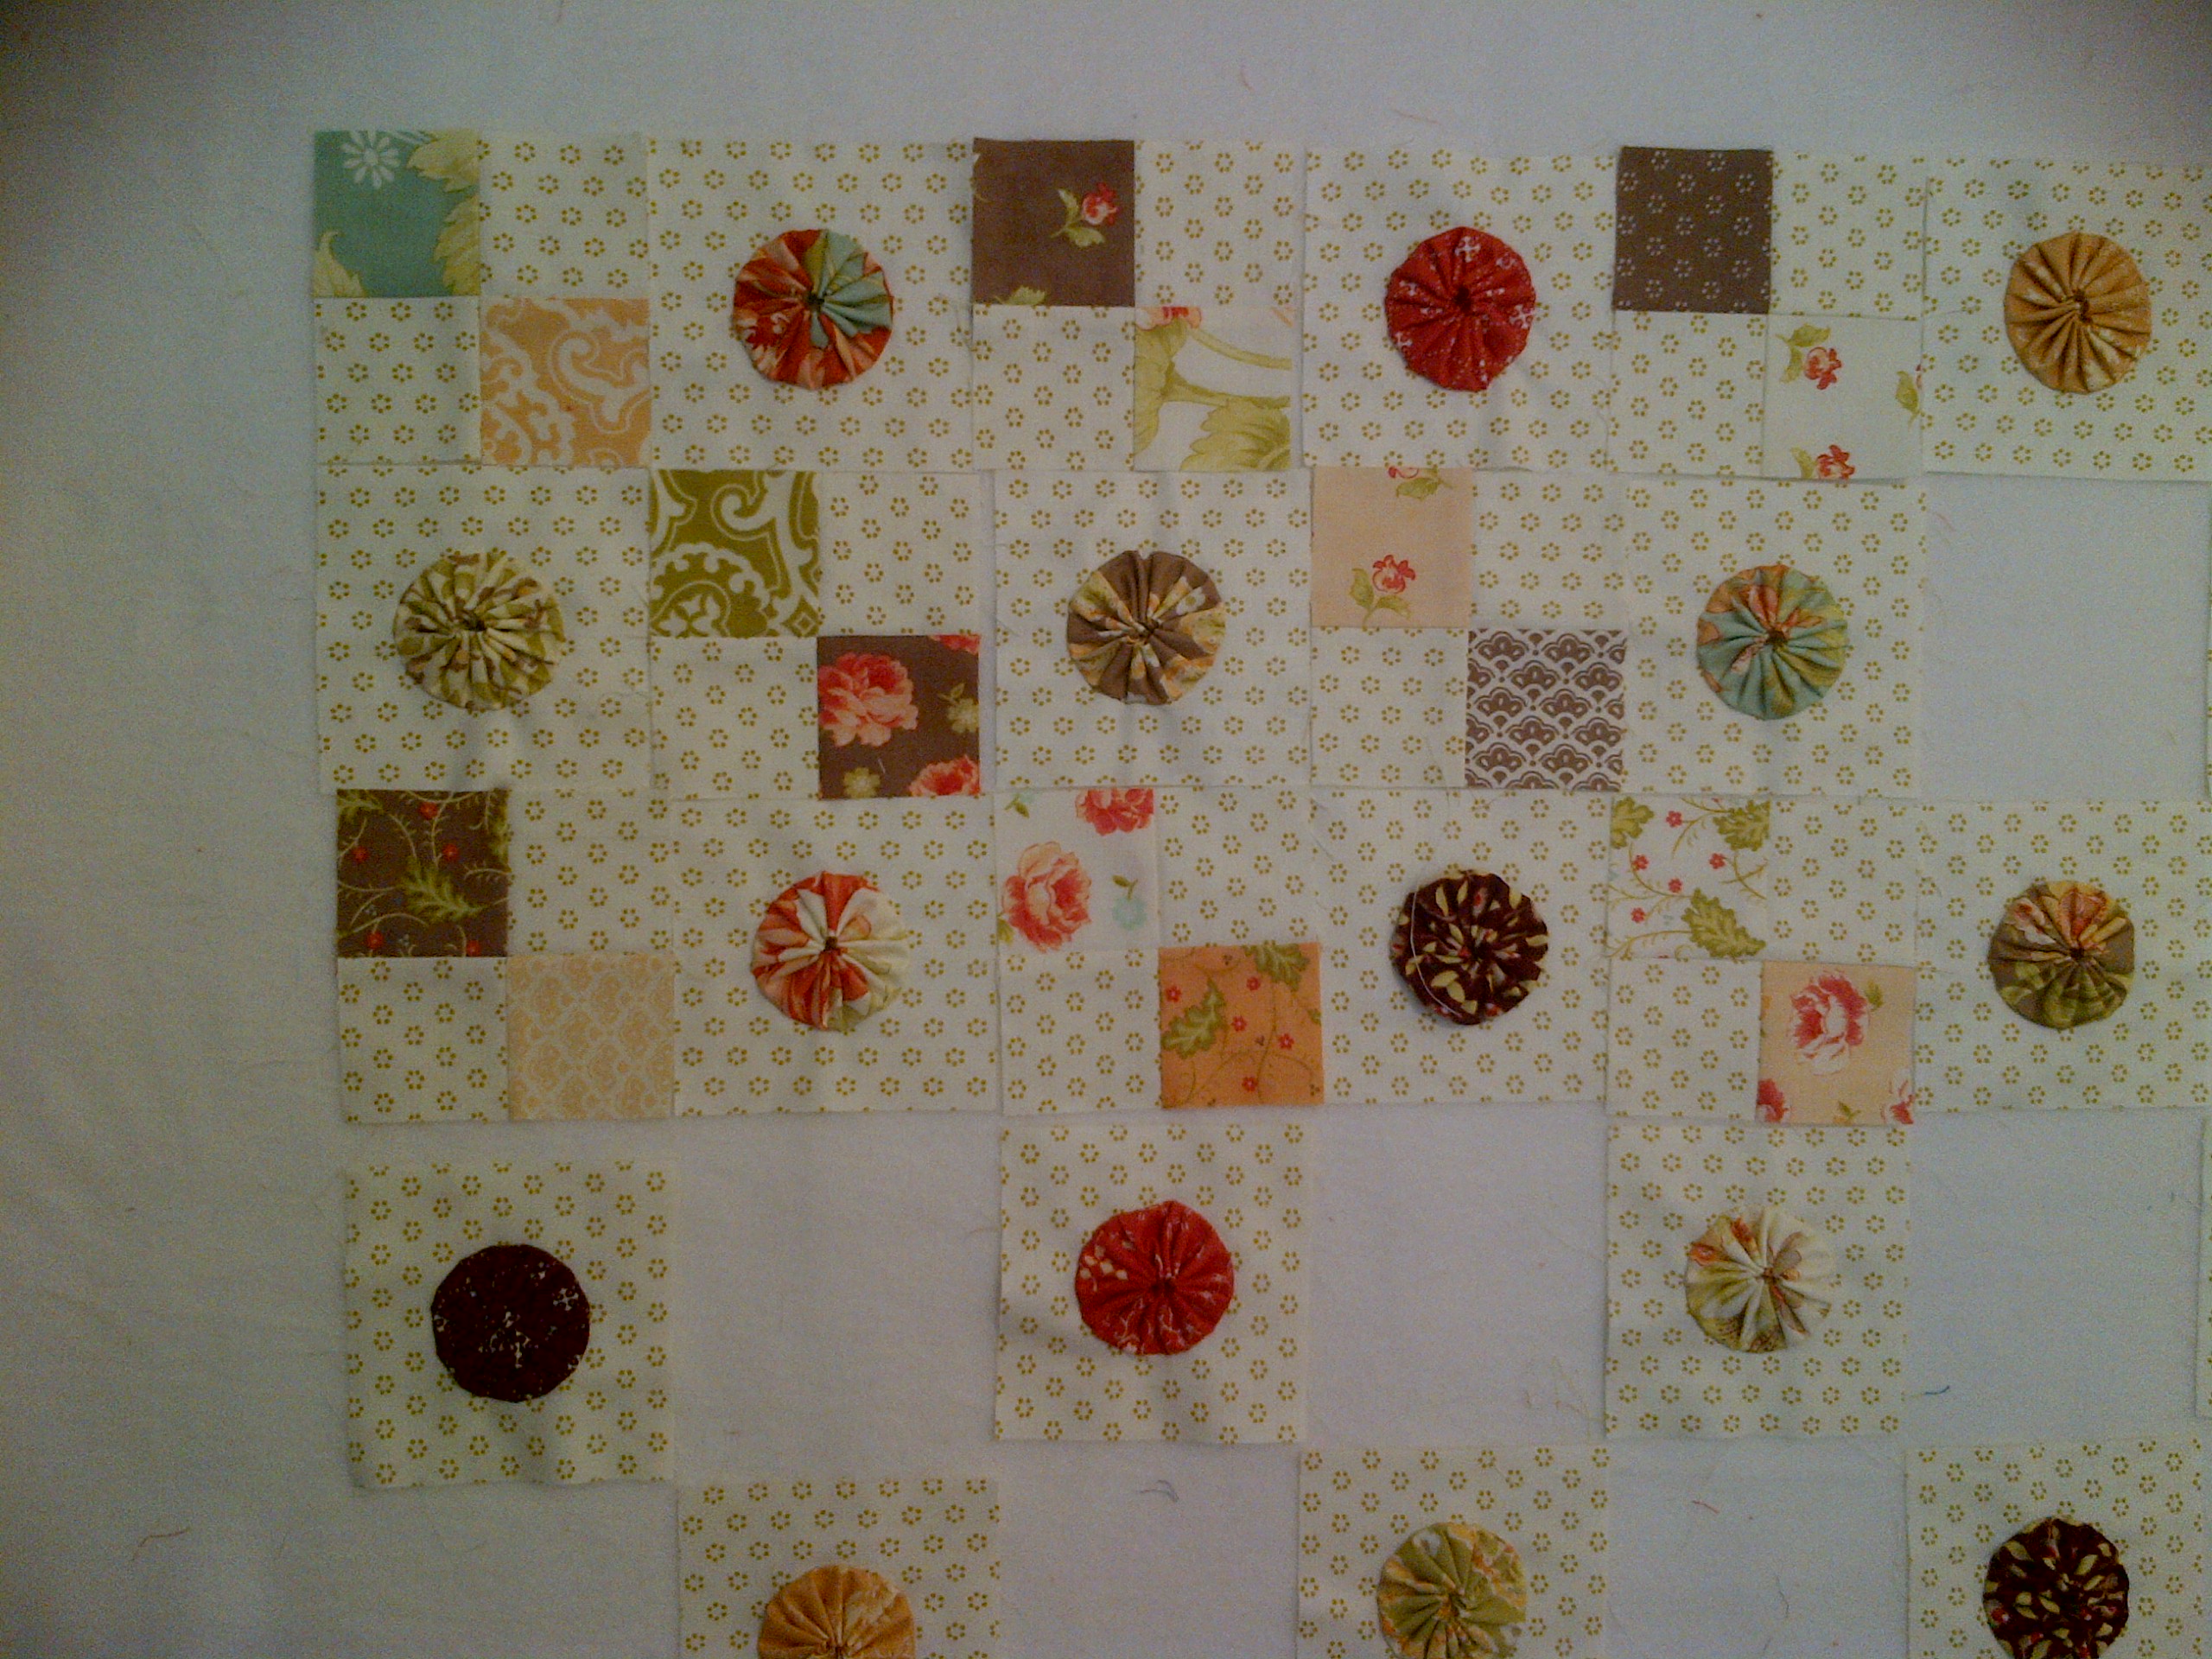
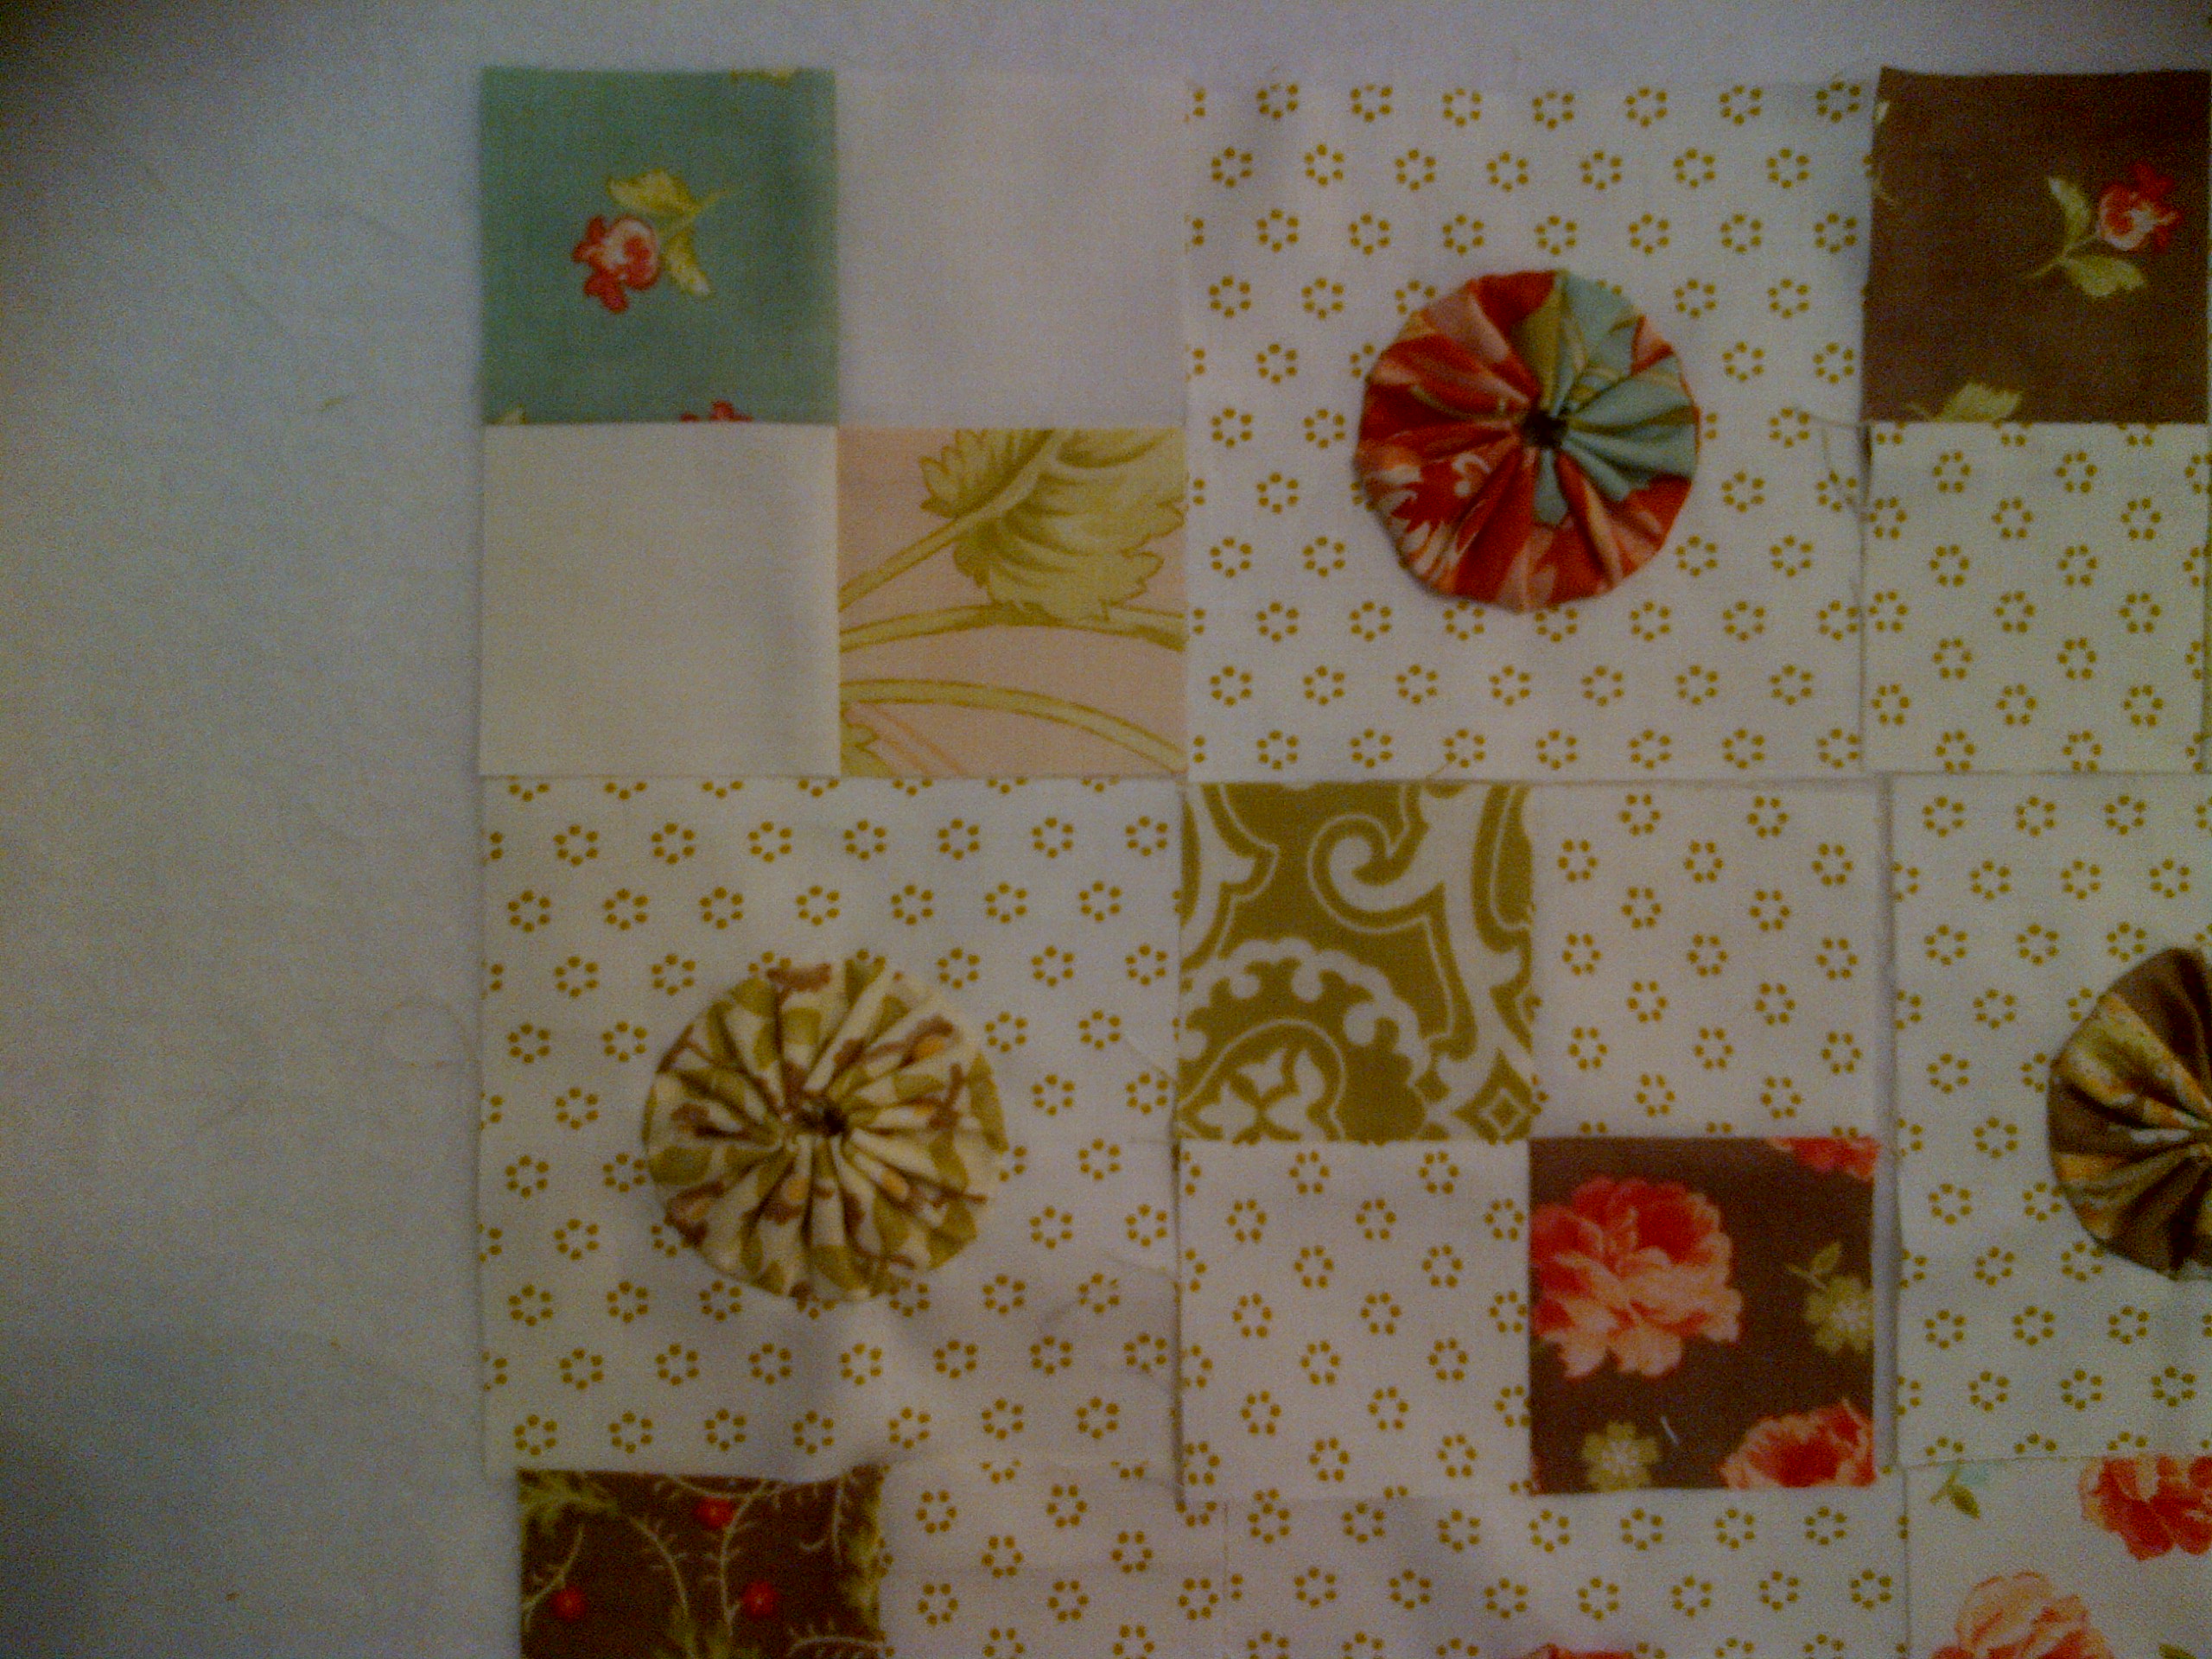
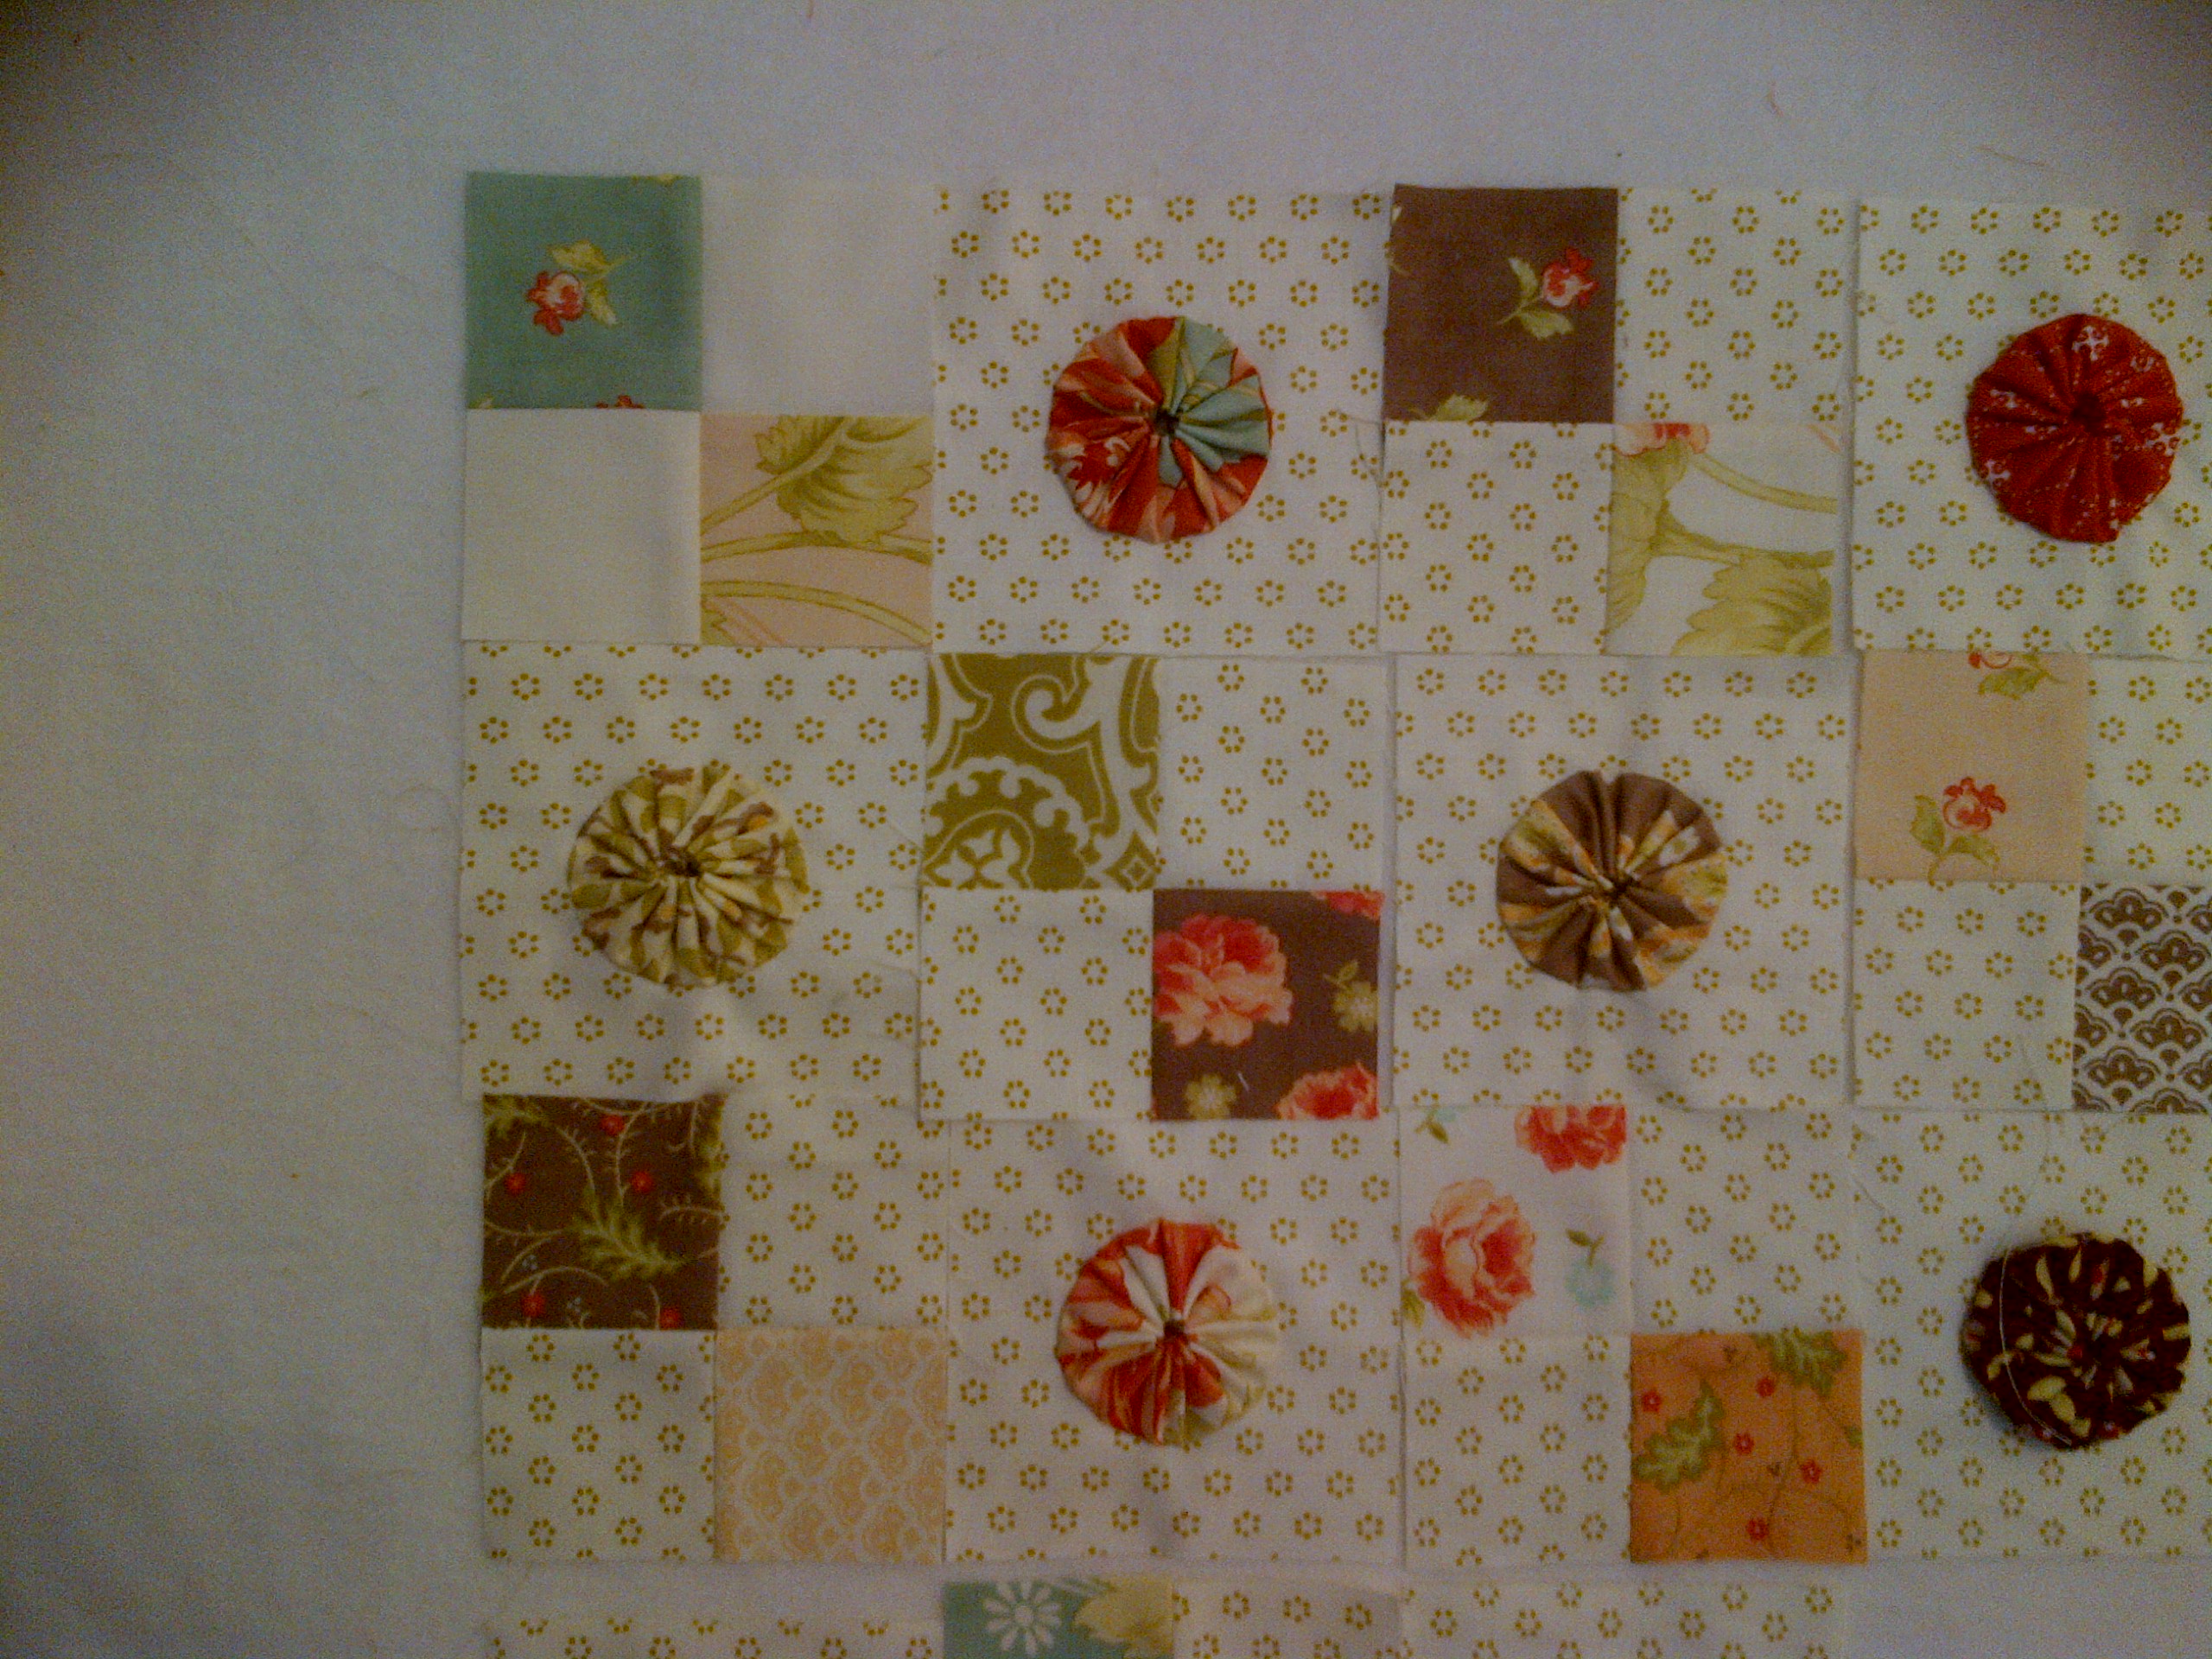
Here’s the result of one of my 3/4 yd sets:

Nant Bckgrnd Set 1

The project pieces are at the top, again 6 rectangles (2 of each fabric) and 21 squares (7 of each fabric).

My leftovers are on the bottom of the picture.  Some smaller pieces that I may never use, but certainly stash away those 4 1/4″ strip remains.

My progress so far … I have cut the red strips for the 9 patch units and I have cut this one ‘set’ of background fabric.  I plan to catch up tonight on the cutting though!

Here’s Jewelry, helping me out as always…

Nant Bckgrnd Jewelry

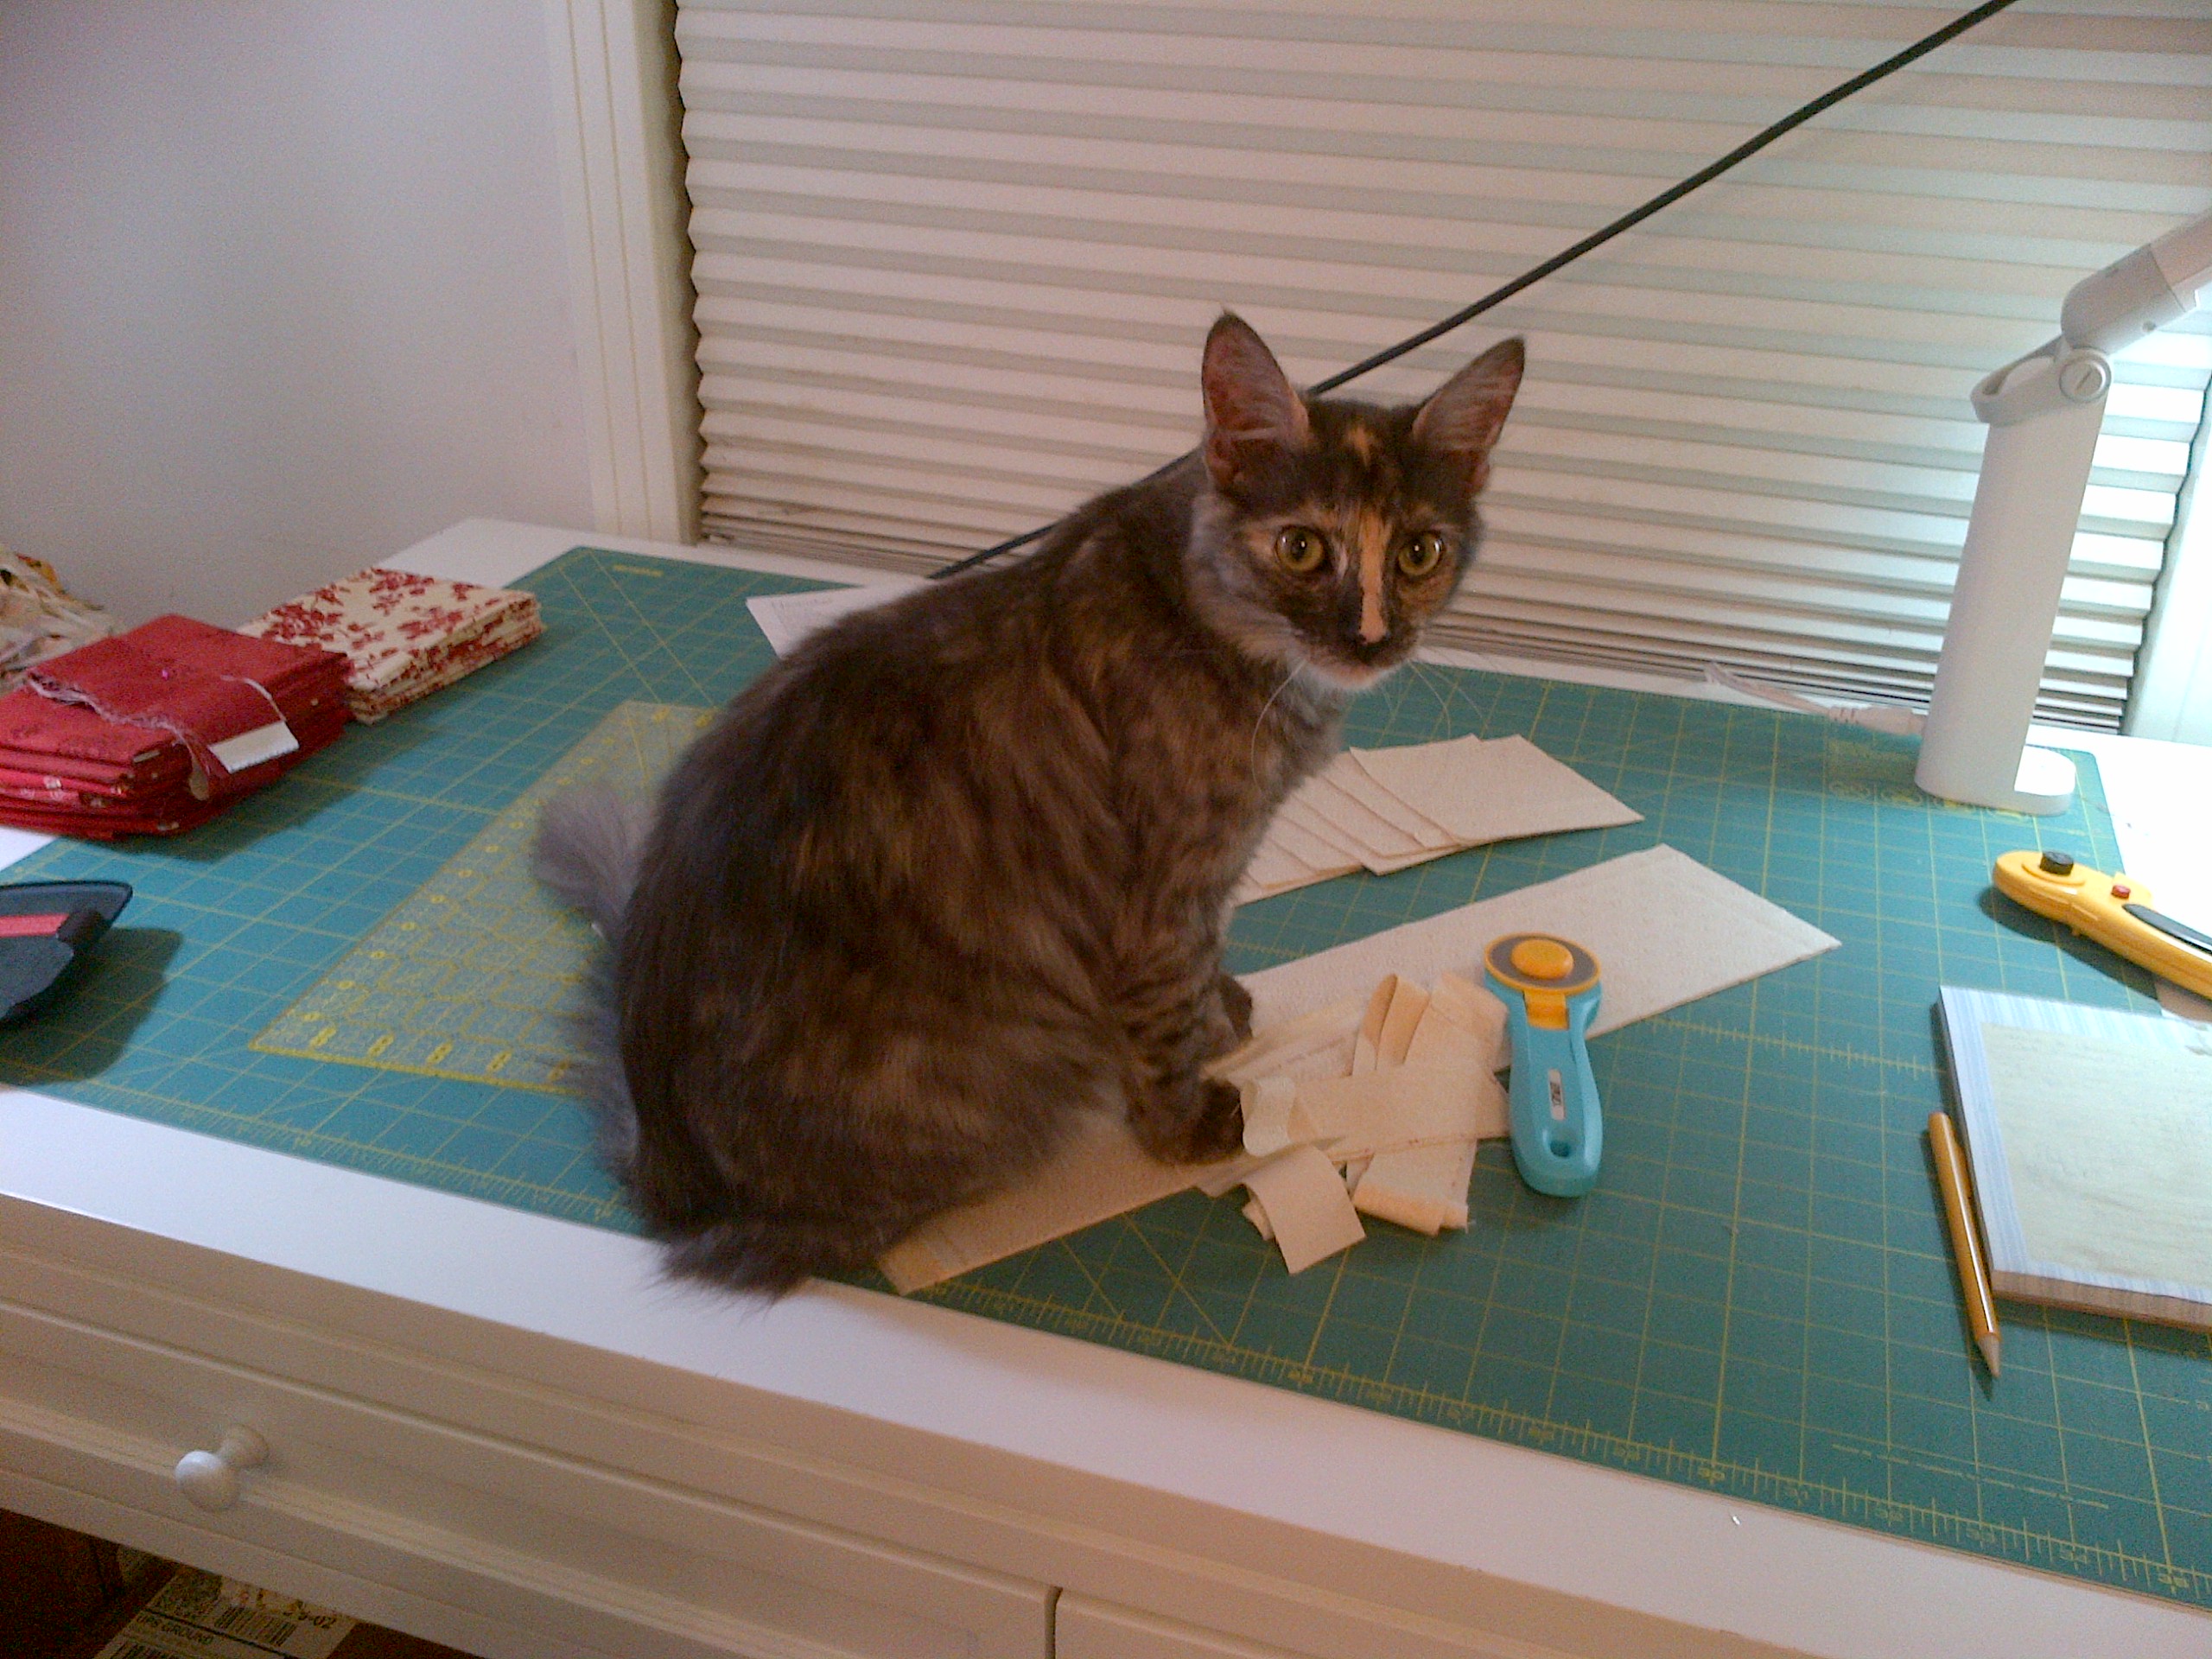
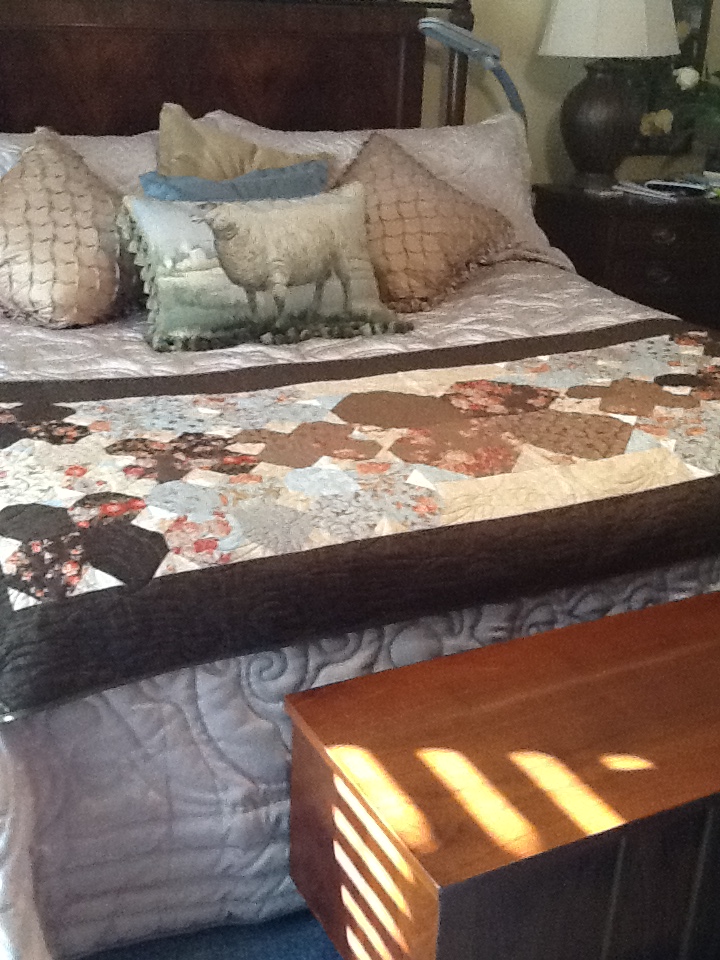
Good thing this quilt will be for me.  I wouldn’t let my kitties sit and walk on my quilt pieces for someone else’s quilt.  Or at least, not intentionally.

Have a great day!  Thanks for visiting!

Jennifer

I want to play too!

Some of my favorite bloggers are doing a sew along project, starting now, using the Midwinter Reds collection by Minick & Simpson.  The pattern they are all doing is Nantucket (also by M&S).  I had already decided that I loved, loved, loved this fabric and had also purchased this pattern.  Hence – I am inviting myself to sew along with them and see how well I can keep up!  Click on my link to visit Nicole over at Sister’s Choice Quilts to read more about the sew along.  Or click on this link to go over to Thelma at Cupcakes ‘n Daisies blog to read her post on it.  Sinta, at Pink Pincushion hasn’t blogged yet on the sew along, look for it this week.  And finally, there is Lisa over at Stashmaster and you can read her blog post too!  Lots of girls doing the same quilt.  Wonder how different they will all look when they are done?

Nantucket Pattern

The pattern calls for 12 red fat quarters, 9 of which are featured as stars in the center.  Here are my 9 choices for the stars:

Nantucket Stars FQs

The lightest one will be in the center, similar to the pattern design.

Here is my FQ bundle, all spread out.  Once I take off that Moda Ribbon – it is a good sign I’ll actually get started on the quilt project..

Midwinter Reds FQ Bundle

I had also thought of doing this pattern, that I got free as an insert to a quilting magazine subscription solicitation… I put it to a vote and Nantucket won out.  When I asked why my husband voted for Nantucket – he said because “it looks more difficult”.  Thanks Sweetie.  I like the size of Nantucket more anyway though – I want to be able to use this as a lap quilt when I’m done.

Midwinter Optional pattern

BUT FIRST!

I had to finish up my Clover quilt top.  I completed the basic pattern for the parade on Nov 1st … but I already had intentions on adding borders to make it larger.  The pattern triangles seemed to call out for something similar in the borders – so I decided to try prairie points for the first time.  I think it echos the design elements pretty well.  I have them just on the top and bottom right now and still deciding if I’m going to do the sides.  I think it looks good like this.  What do you think?

Clover Borders Grass

I need to do the borders on the sides – don’t I?  I know the answer. … I’m just ready to move on to my new projects…  I love this result though.

Clover Prairie Points Clover Prairie Points 3

Clover Prairie Points 1

So – are you doing a Midwinter Red quilt project now?  Perfect for Christmas, you know!

Thanks for visiting today.  And THANK YOU to all the sweet readers who left me a comment on the Clover quilt.  I appreciate it very much!

Jennifer

Witching Hour – Made It!!

I have 15 minutes to spare!  Clover quilt flimsy is DONE!  D.O.N.E.  That was a tough one for me.  No actual blocks to put together, just square after square after square set on a diagonal.  I’m happy to have the quilt though and I will be adding some borders to it before I FMQ it myself.  It’s done just in time for the Thanksgiving holidays.

Here’s my reveal for the purposes of the AYOS parade tomorrow:

Clover Flimsy

Fabric collection is mostly “Posh Pumpkins” by Sandy Gervais, but I had a charm pack of “Give Thanks” by Deb Strain that went into the four patch units.

I haven’t measured it yet.  It is something like 36″ square.  I literally just trimmed the corners down and put it back up (barely) on my design wall so I could snap some pictures.

Here’s my favorite block in the set, I think because of the brown medallion fabric:

Clover Block 1

But I also like this one, because of the polka dot fabric.  I bought lots more of that fabric – when I thought I was going to make this thing bigger…

Clover Block 2


This is my fourth completed AYOS project for this year.  They are fun to do, but this one stressed me out.  I’ll be skipping on the November AYOS because of another sew along I want to join and to get caught up on my BOM projects that are already underway and one that just started this month (Hampton Ridge).

I look forward to seeing some other Clovers tomorrow in the AYOS parade hosted by Sinta and Sherri.  I need some ideas on how to quilt this top.

Thanks for stopping by and I hope you and your family had a safe and happy Halloween tonight!

Jennifer

Quick update on Clover

Grabbed a couple of quick pics this morning on my way out.  I am seeing a light.  Only about 20 more 4 patch units to make and place on the design wall, then I can finish the assembly.  I have my strips sewn, just need to slice, dice and resew to make the units.  Plenty of side triangles left to finish as well.  The colors in this picture came out kind of neon for some reason.  Looks much better in person.

Clover Bits


Here’s the updated design wall.  A few nights ago, I decided to get some momentum going and did some chain piecing of all the squares except 4 patch units.  The rows that have the end setting triangles are already sewn together.  The other rows are just stuck up there for now.  A few more holes, rearranging and it should be a fast finish after that!

Clover Wall Almost Done

I had already talked myself out of making the 5×5 setting, because it is just not as fun as I wanted it to be.  However, I have the matching pumpkin panel, so maybe just a single block with a pumpkin and two others to make this a 3×4 setting and with borders, it could be a good lap quilt.  I’ll have to check out that math later tonight.  Stay tuned!

Have a great weekend!

Jennifer

Happy Birthday Mom!!

Special day for our family.  My mom is having a birthday and if anyone is the center of an extended family – it is her.  She does everything and has always done everything.  She’s a social butterfly and attentive wife, mother and grandmother.  Now that I’m writing this post, I wish I had a good picture of her to include…. darn.  My parents also celebrated their 50th anniversary this year.

I thought I would do a post today to accomplish two things at the same time.  1)  Honor my mom’s birthday and showcase the prior quilted items I have made in the past for her, and 2) update more items to my Quilt History page.

First up is a bed runner I made for her.  I think it was a Christmas gift for 2011.  NO LABEL!!! !@#$@#$I guess I can still make one and attach it.

The colors go great with her neutral toned bedding.  The fabric is Park Avenue by 3 Sisters and I got the pattern from the book “Bed Runners using Precut Fabrics” by Kathy Brown.  My mother is also a retired English teacher, so I need to comment that I know I should underline book titles, but I don’t have that option in my free WordPress application.

I gave her the coordinated fabric covered buttons as an option, but she decided to leave them off.  They would have gone in the center of each “flower” block.

Moms Bed Runner 4

This is on her actual bed. 

Moms Bed Runner 3


Moms Bed Runner 1

I was under a time crunch and I wasn’t confident enough to do the quilting myself yet, so I just gave her the quilt top with the backing/binding material in her gift.  She had it quilted locally and the woman selected a dove/bird motif as the pattern.

Moms Bed Runner 5

The next one to show you is a table topper I made her on July 4th, 2012.  I started this project when I got home one night from work and stayed up all night to finish it, and free motion quilt it myself!  I did the binding by hand and completed the label applique on the drive to her house that next morning.

It is called Ozark Star and the pattern is by Fons & Porter.  They did a segment on their show one day on this project and I really liked it.  Since it was 4th of July, I found some great fabrics I had in my stash by Anna Griffin called Fleur Rogue along with a random charm pack and yardage that was also patriotic looking. 


Ozark Star Center

Nora loves her hair clips.  Not just for hair apparently!

Ozark Star with Nora

I even threw some fast embroidery on the label to try and spice it up.  I think this backing fabric was a juvenile print called “Rescue 911” if I recall correctly.

Ozark Star label

Another table runner that I made was documented extensively on my blog already … it was the quilt along I did with Pam Buda called “Forget Me Not”.  Here’s the finished quilt runner, but you can click on my tags to the right and see all the posts relating to this quilt.

I gave this to my Mom on her birthday last year, 2012.

FMN Quilt

I still love this quilt and the details I put into it.  Like the wooden forget-me-not flower button.

FMN Border Closeup


Finally… I have tried and tried to remember if this was my FIRST quilt or my SECOND.  The other option is a king size Christmas log cabin quilt which I haven’t shown you yet.  But… I think this might be the second.  I didn’t label it, so there you go.  LABEL YOUR QUILTS!

Complete unknown fabrics from Hancock Fabric and WalMart.

Christmas Tree Wall Hanging 1


So – HAPPY BIRTHDAY MOM!  I reserve the right to whip up another quilted gift for you tonight… 🙂

Have a great day and thanks for stopping by!

Jennifer

Fell hard, fell fast!

I don’t subscribe, or even normally buy a copy, of Quilters Newsletter.  But the latest issue had a quilt on the cover that I couldn’t pass up.  I found my copy at Joanns Fabric, but I know FQS is carrying it right now as well.  It comes packaged with a bonus CD with other quilt patterns.

The cover photo is a quilt made by Terri Krysan and is called REACH for the STARS (picture from October/November 2013 issue):

RFTS Cover Quilt

The fabric collection she mentions is unfamiliar to me .. Paisley by Maywood I think?  I couldn’t find much on my internet search.  It is a georgeous group of fabrics and patterns.  But that was no matter, because I knew which collection I was going to use … American  Gothic by Pam Buda for Marcus Fabrics!  The link takes you to the Marcus Fabrics page for this collection. 

I grabbed the picture below from Pam Buda’s blog entry where she announces the arrival of the collection last month in our local quilt shops.  Click here to go to her blog post.

American Gothic Bundles

I loved her neutral/black/white color scheme but I had not settled on a pattern yet.  I love how these colors work together in varying tones and contrast and the fussy cutting opportunities in the Reach for the Stars pattern will make it extra special. 

Close up picture also from Quilters Newsletter website.

RFTS Closeup


I grabbed the two photos of Reach for the Stars directly from the Quilters Newsletter website.  This is also being presented in a monthly quilt series of which this is Part 1 of 7.  Guess I have 6 more issues to buy now!  Perhaps a subscription would make sense at this point.  Those crafty marketing people!!

So… what to do?  I went through and meticulously assigned the fabric requirements for the entire quilt to the individual fabric SKUs for American Gothic and placed my order with FQS for delivery early this week.  I really needed another light fabric to coordinate (the most outer border fabric) … and I decided on ‘Perfect Pairings – Cream Paisley” by Kim Diehl.  I just hope it goes as well and I think it will, based on the pictures on FQS.

PerfectPairing-6060-44-450


Has anyone else fallen for this pattern yet and plan to make it?  There was no kit available in the magazine – it was strictly up to you to pick your pallete and your fabric and get to it.  I hope to do the first block this week.  Keep you posted!

Thanks and hope you are having a great Monday!

Jennifer


Stay strong!

Worked on my Clover quilt for AYOS this week, but I don’t have much to show (or so it seems to me).  And I TOTALLY get why she named the quilt pattern CLOVER.  See below…

I started assembling a few rows together so I could get some instant gratification and see how much the layout would shrink as I went along.  Assembling each individual block together and on point isn’t my favorite activity right now.  I spent 3 hours last night putting together the first four rows while trying to keep them square (or triangle if you prefer) as I added more.  It was hard and I unpicked the stitches more than once.

Clover Fabric Cutting


Once I got a row as ‘perfect’ as I could get it, I added the next one – but only after I had squared up the entire row individually first.  Then I pinned the hell out of it before running it under the machine.

Clover Corner Pins

Here’s a picture of the pattern namesake:

Clover Seam Ripper


Once it was attached, I recheck my levels:

Clover Squaring Corner


This looks pretty good.  It was also after 1:00 am this morning.  Only four rows attached.  And my big idea to make this thing BIGGER!  OMG!!

Here it is up on the design wall corner:

Clover Corner Closeup

Carrie gives you large setting triangles so that you will have this 1/2′ cushion on the edge.  This wee little corner looks pretty good to me.

Clover Corner Design Wall


It does shrink up quite a bit.  I have the next two rows sitting next to my sewing machine, so don’t think that what you see goes next to each other.  I still LOVE LOVE LOVE the colors and the fabric collections and the overall look of this quilt, so I will try to push on.  I don’t know how far I’ll be by month end for the parade though.  I’ll stay strong for now!

All the best to you for a great weekend ahead!

Jennifer

Design Wall Friday – a New Project!

Oh boy – look what I have gotten into here.  I am really REALLY liking this quilt already.  My daughter stayed up later than she should while I was working on it last night, and she finally passed out to sleep in the guest bed.

Clover pattern by Miss Rosie’s Quilt Co and fabric from (mostly) Posh Pumpkins by Sandy Gervais.  I have thrown in some charm squares from “Give Thanks” by Deb Strain.  The polka dots are Give Thanks as well.  These colors are just so beautiful together!  I had a few yards of the background fabric already, but I don’t recall what it is right now.  This will be a great early Fall to mid December blanket:

Clover yardage purchase


The pattern mostly calls for cutting 2 1/4″ squares and also 1 3/8″ strips to subcut into the four patch units:

Clover in process

I love how this is taking shape:

Clover Initial 3 Rings

And since I am making it 5 x 5 blocks, I am playing around with options for the center squares of each block.  One color for the center block, first ring and second ring.  I’m thinking of following the pattern and using the background fabric in the center for the outer ring, using the ‘solid’ orange for the inner ring and a dark orange print for the very middle block.  See below to illustrate:

Clover Design Wall


One last look at the pattern that is being made by the four patch units:

Clover - a beginning

Clover – a beginning


Have you gotten started yet?

I’ll end with a picture of the two tuxedo kittens snuggling with Nora this morning.  Diamond is in the foreground and Rosy is sleeping on Nora’s cheek:

Tuxedo Kittens with Nora

Thanks for stopping by for a visit!  See you again real soon!

Jennifer

Pumpkin Time!

We are getting a head start on our Halloween festivities.  The decorations got pulled out of storage last weekend and have been strewn EVERYWHERE in the house, in the yard, on the porch – you name it.  My kids also love to paint pumpkins.  Which is great for me, because the carving process is kind of cumbersome.  And these are just small pumpkins right now.  We’ll get some bigger ones this weekend to cut up and light.

Kids Pumpkin Painting 2013 2

One thing to notice here… my kids poured out their own paint into their little plastic palettes.  Look at Nora’s and then Oliver’s.  Amazing.  While she is still dutifully planning out how to decorate her pumpkin, he has already slathered a ton of blue paint on his.

Kids Pumpkin Painting 2013

Here she is paining her stem in sparkle pink!  Oliver is planning on making his a zombie pumpkin.

I love this time of year – the start of all of the holidays!

I also got my CLOVER pattern from Miss Rosie’s Quilt Co yesterday.  This is the chosen October pattern for the AYOS project hosted by Sinta and Sherri.  I decided to jump into this month and make a fall themed quilt for the family.  You can also order the pattern as a PDF download or paper copy from Carrie’s website.  Click here to link over to the Clover pattern on her shop site.  It is also for sale at Fat Quarter Shop.  (Sorry – I can’t seem to make this image bigger without it getting really distorted):

MRQ-Clovers-202

I had bought a charm pack a while back of Posh Pumpkins by Sandy Gervais for Moda and instantly knew that was what I wanted to use for the quilt:

Posh Pumpkin Charm Pack


NOTE TO SELF:  ALWAYS BUY TWO CHARM PACKS – ONE IS NEVER ENOUGH.

So, when I started reading through the directions, it was clear that it would have been best to have two charm packs instead of one to make the quilt.  However, I like this one so much that I want to make it into a lap quilt – so a layer cake would have been best anyway!

I couldn’t get this out of my mind and I finally just decided at lunch time to race 30 miles away to GRS Creations and Fabric in Old Town Spring.  They have nearly EVERY Moda collection that comes out.  Tons of fabric.  TONS and TONS!  I don’t know why I don’t visit more often!  Oh yes, … money.  That would be a reason.

So … my trip to their shop netted me one layer cake of Posh Pumpkins and perhaps a wee bit of yardage to go along with it.  I’ll show my winnings tomorrow … they are tucked away in my backseat at the moment.

Can’t wait to get started on this one!

How about you – are you joining AYOS this month?

Jennifer


Yoyoville revisited

Welcome Fall!  This was a beautiful weekend in central Texas.  We visited my MIL and on Saturday, I could really feel the weather break into a true Fall breeze and temperatures.  It was absolutely wonderful!  Can’t wait for it to reach down a little further south, to Houston this week.

Since we were on a road trip for a couple of days, I quickly got some handwork pulled together for my idle time.  I had already been thinking about visiting Yoyoville again (pattern by Bunny Hill Designs).  I already had the yo yos completed in the Tapestry collection by Fig Tree quilts… now I needed to applique them all to 3 1/2″ squares of background fabric.  I had a rare chance to visit my LQS in Humble, TX (shout out to It’s A Stitch).  They have the Honeysweet fabric already in, but not on the shelves yet.  They were generous enough to open up the first bolt and cut me off three yards of what I thought would be a great choice to go along with the Tapestry yo yos.

Here’s my little sewing kit getting unpacked:

Temple Sewing Kit 10-06-2013

And here’s a picture of the threads and background squares I have cut up to work with:

Temple Sewing Kit 2

Again, the squares are from Honeysweet and are little dot hexagons in a soft olive green.

I had a pile done by Saturday afternoon … finished on the right, glued down on the left:

Temple squares WIP

I STILL love that Tapestry collection!  And the Honeysweet neutral went great with it.

After coming home tonight, I wanted to preview the layout of the quilt center.  I wasn’t sure if that background would be a bit too much through-out.

But first – I had to make up some four-patch units to alternate with the yo yo squares.  I cut off a 2″ strip from my background and then opened up a mini charm pack of Honeysweet and sewed it along the length of that strip:

Strip Piecing 4 Strip Piecing 3 Strip Piecing 2
I trimmed them all down to 2″ x 3 1/2″ and then combined units together to get the 3 1/2″ squares.

Here’s a sample up on my design wall.

Yoyoville Auditions 2

I wasn’t thrilled.  I wanted to be thrilled, but I wasn’t.  The background from Honeysweet didn’t seem like it would be directional, but turns out it is – and it clearly shows up that way in this layout.  …  SO … I decided to just use the vanilla solid fabric from Honeysweet instead for the four patch units and see how that would look:

Yoyoville Alt Audition 1

MUCH better!  I like that base of solid vanilla in those squares.  Here’s another look from a bit more of a distance:

Yoyoville Alt Audition 2

By the way, the poppy print (seen in the 1st, 2nd, and 4th units) is my very favorite – in all the colors.  I will have to buy yards of that I know already.

Since I don’t have any of the Honeysweet vanilla solid yardage yet, I pulled out the two squares from one of my layer cakes and now I can make a few more four-patch units to play around with.  I’m so excited to be working with this collection now.

This weekend, I also received my yardage of small, light gray polka dot fabric from the Vintage Modern group (Bonnie & Camille).  That will be my setting fabric for the Birdie Stitches quilt.

I’ll leave you with a couple of pictures of my fast growing kitten clan.  Jewelry and Rosy.

Jewelry 10-06-2013

Jewelry


Rosy 10-06-2013

Rosy

Have a great start to the week!  See you soon!

Jennifer